Campus
M3.2 🌱 Techniques & Pratiques 📖 40 parties ☀️ Terroir tropical & sahélien 🌐 English

Setting up Irrigation

Planification, choix du matériel de plomberie, montage des cannes d'aspersion et entretien pour une couverture d'eau homogène et douce.

📋 Sommaire des chapitres (40 parties) Afficher / Masquer
1 Nous allons vous montrer comment mettre en place un système d’irrigation par aspersion dans une entreprise maraîchère bio intensive en sol 2 Irrigation by sprinkling, what is it ? 3 The setup is done in 5 steps. 4 CONSTITUTION OF A PLOT WITH A SPRINKLER 5 You need a water source, for example a well, a borehole, a water tower, a river or a stream.. 6 You also need a pumping station: a thermal or solar pump to extract the water.. 7 Main line 8 THE PLUMBING MATERIAL NECESSARY 9 4x 10 4x 11 You will need the following tools: 12 INSTALLATION OF THE SPRINKLER SYSTEM ON A 100M2 PLOT 13 10m 14 10m 15 INSTALLATION OF THE SPRINKLER SYSTEM ON A 100M2 PLOT 16 Main line 17 Main line 18 1 19 Cut the main pipe using a knife or a hacksaw at the level of the 4th and 8th footbridges where the secondary pipes 20 2x 21 4x 22 INSTALLATION OF THE SPRINKLER SYSTEM ON A 100M2 PLOT 23 3m 24 Cut the secondary lines at the level of the stakes to install the 4 connection tees of 30/25 mm. 25 Tee fitting or 26 PER pipe 27 Male fitting 25/15 28 Clamping nut 29 Clamping nut 30 To ensure the sealing, without damaging the male thread, make two turns of teflon in the direction of the thread. 31 Female 32 Connect the female valve of 15 mm for the sprinkler heads. 33 Make two turns of teflon on the thread of the watering head in the direction of the thread. 34 Repeat these operations on the three other spray rods. 35 Attach the rods to the stabilization stakes with a rope. 36 INSTALLATION OF THE SPRINKLER SYSTEM ON A 100M2 PLOT 37 Test the system to ensure proper functioning and to check that there are no leaks. 38 INSTALLATION OF THE SPRINKLER SYSTEM ON A 100M2 PLOT 39 Visually check that the system is working properly and that there are no leaks when you switch it on. 40 Congratulations ! You've just learned how to create your own sprinkler irrigation system.

1
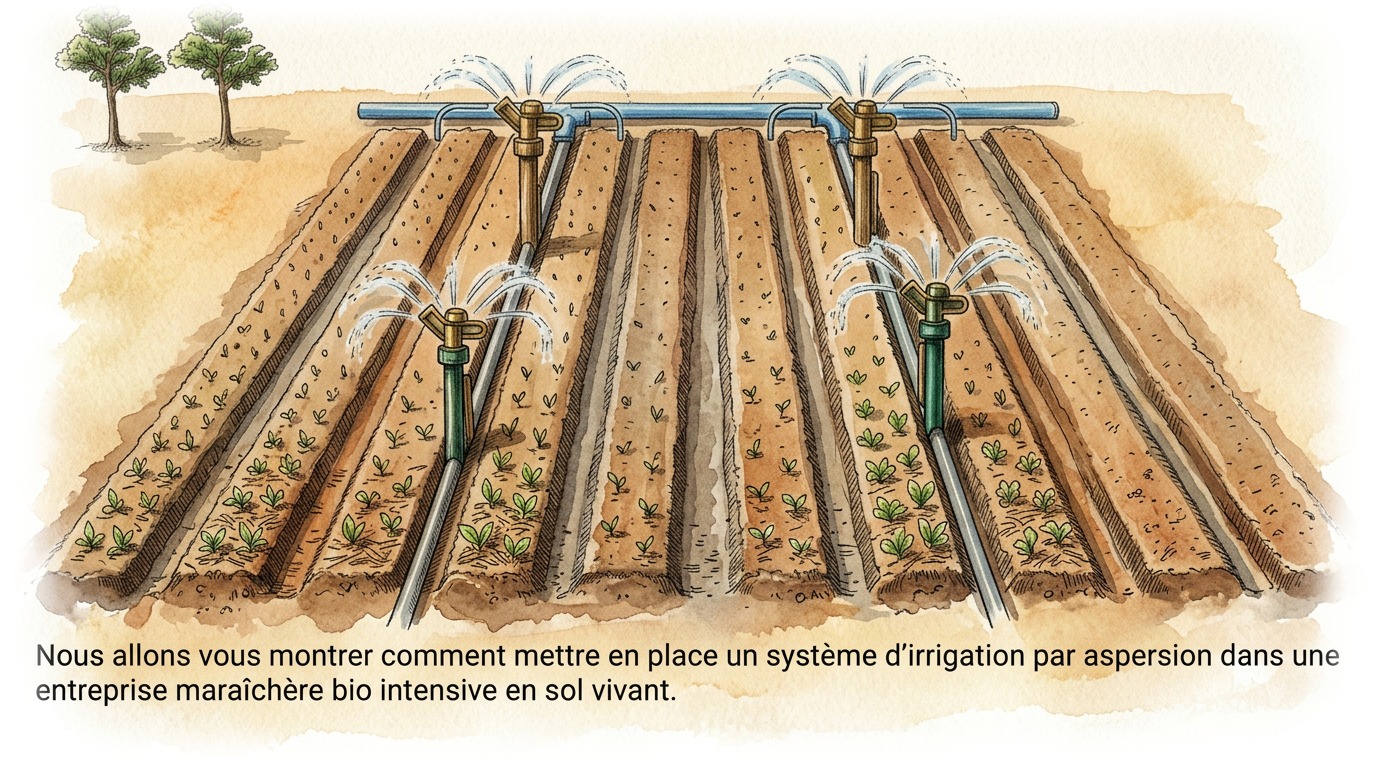
PARTIE 1 SUR 40 Nous allons vous montrer comment mettre en place un système d’irrigation par aspersion dans une entreprise maraîchère bio intensive en sol
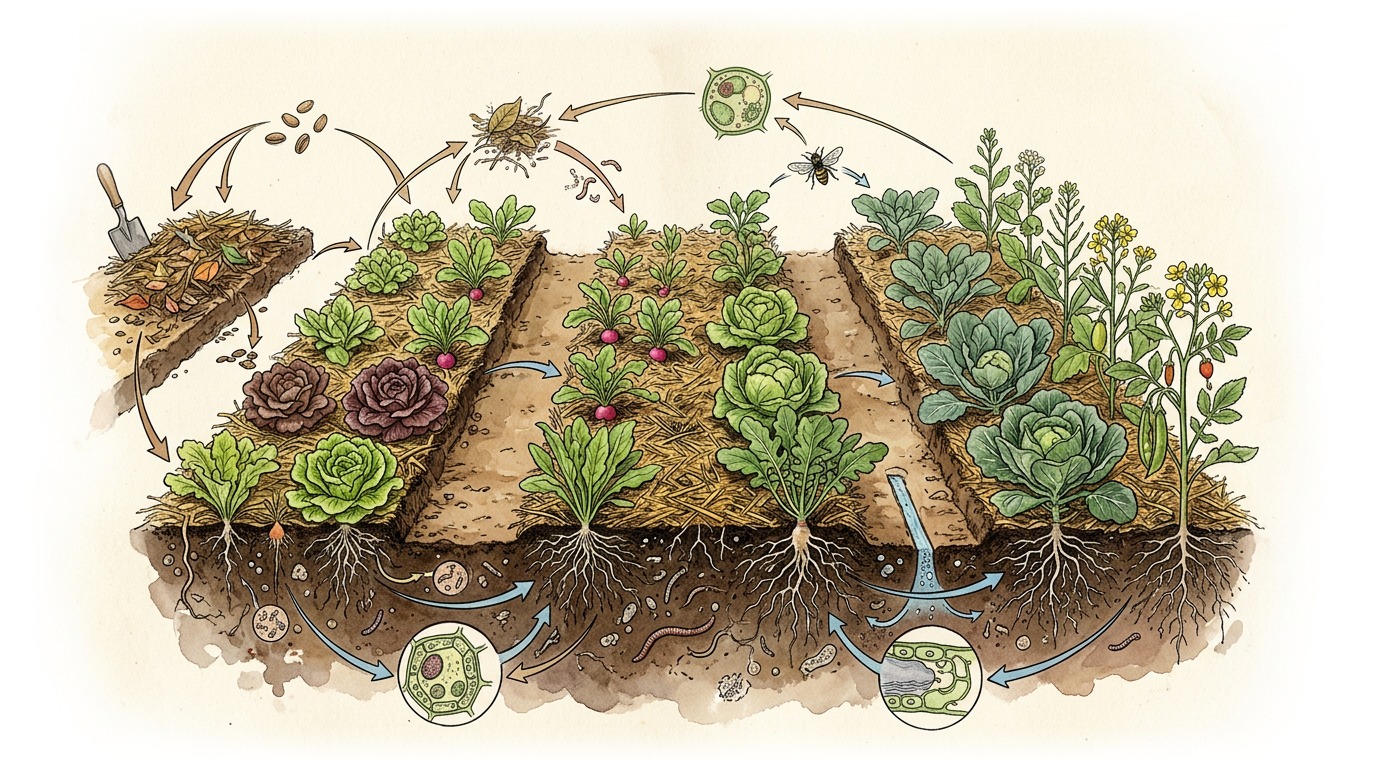
Nous allons vous montrer comment mettre en place un système d’irrigation par aspersion dans une entreprise maraîchère bio intensive en sol

Nous allons vous montrer comment mettre en place un système d’irrigation par aspersion dans une entreprise maraîchère bio intensive en sol

We are going to show you how to set up a sprinkler irrigation system in an intensive organic market

vivant.

gardening business in living soil.

2
PARTIE 2 SUR 40 Irrigation by sprinkling, what is it ?
Irrigation by sprinkling, what is it ?

Irrigation by sprinkling, what is it ?

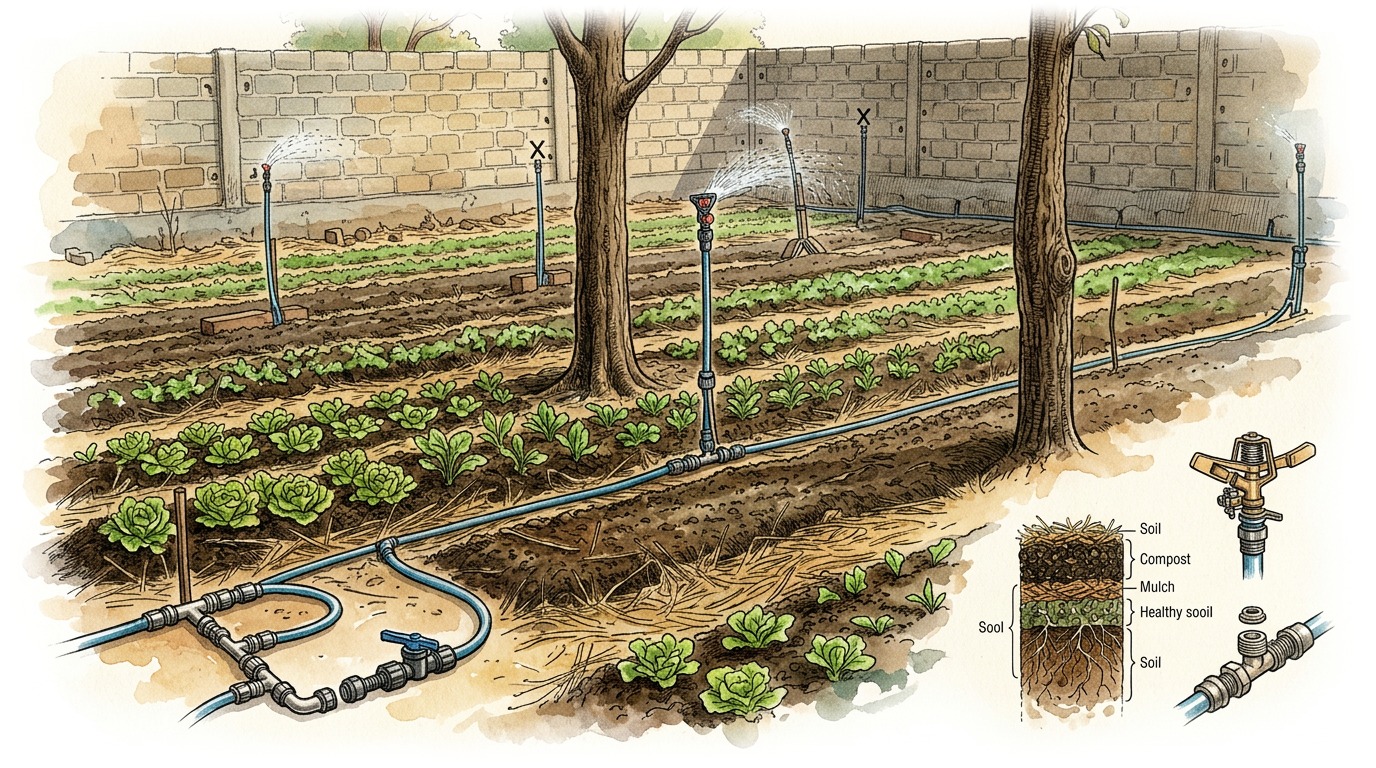
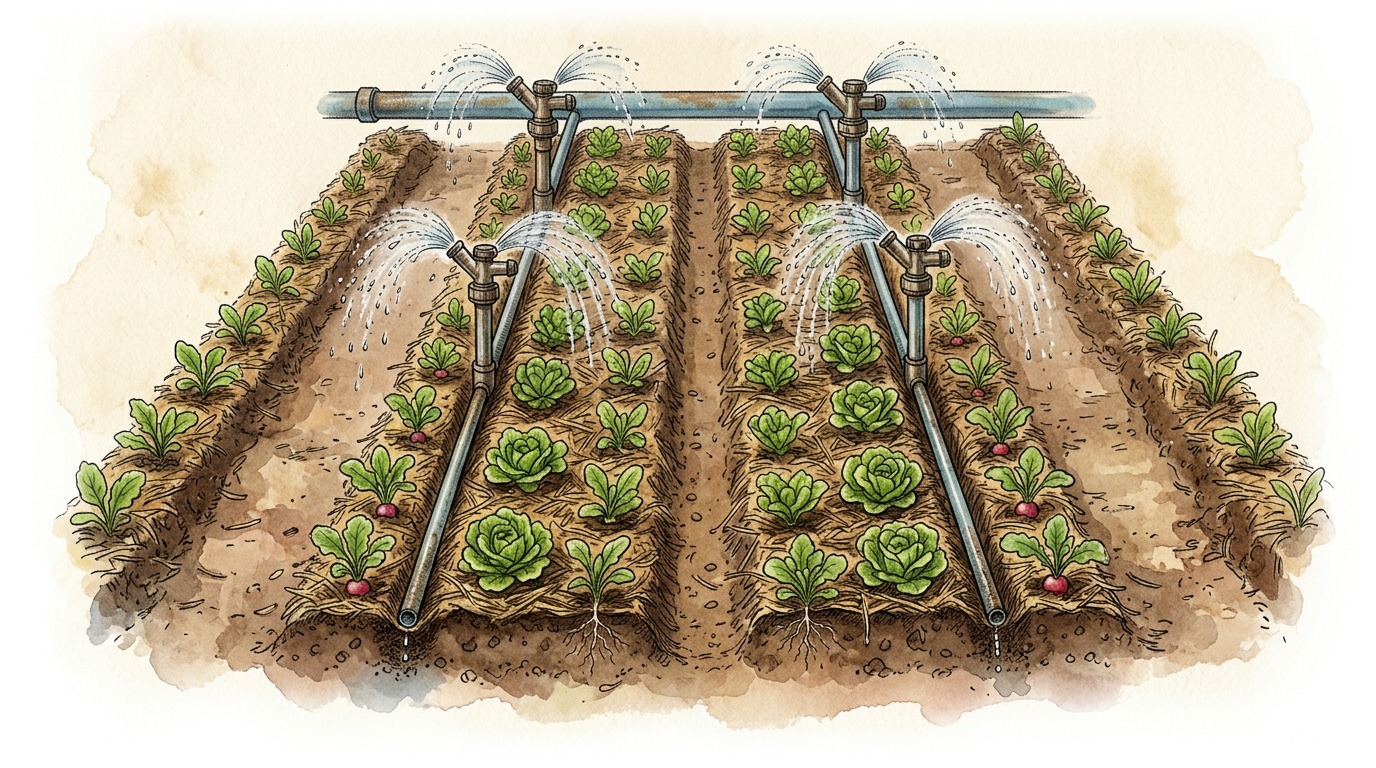
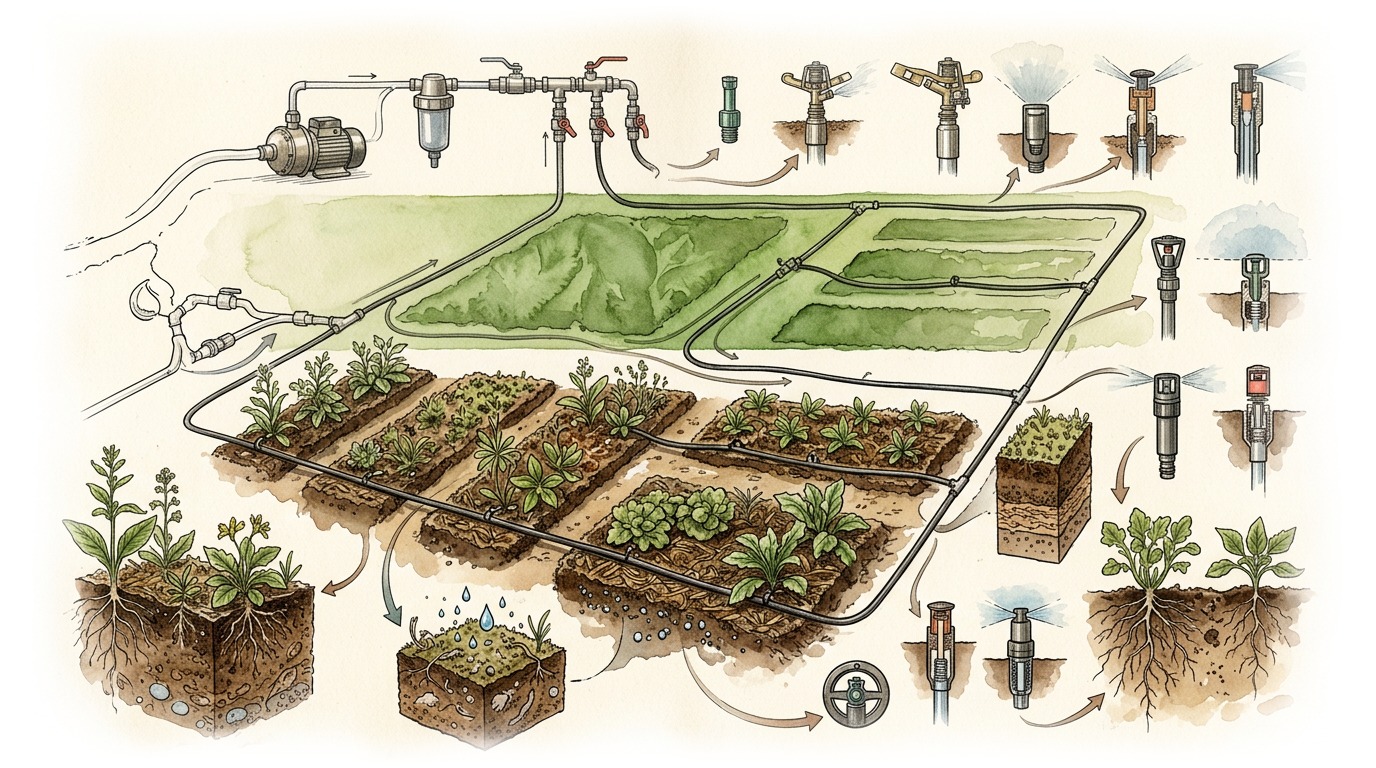
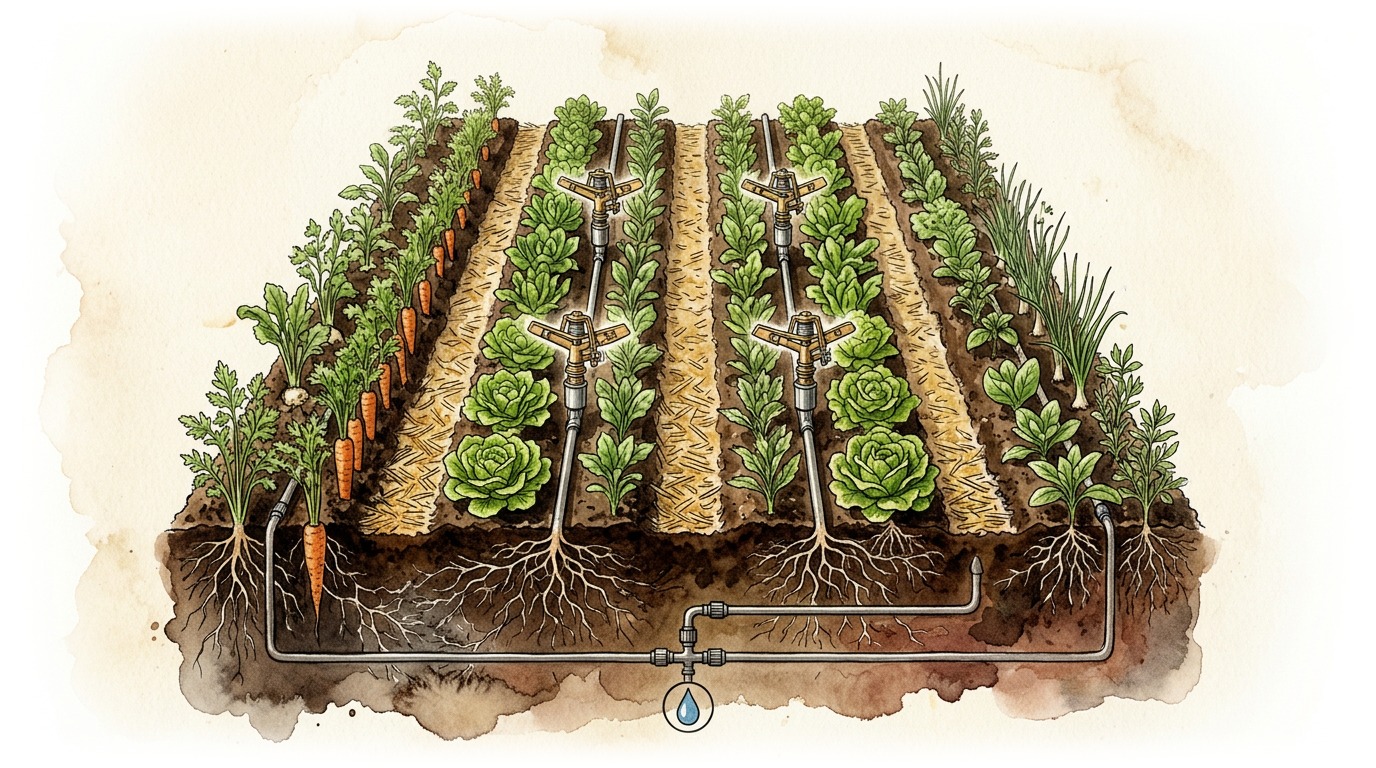
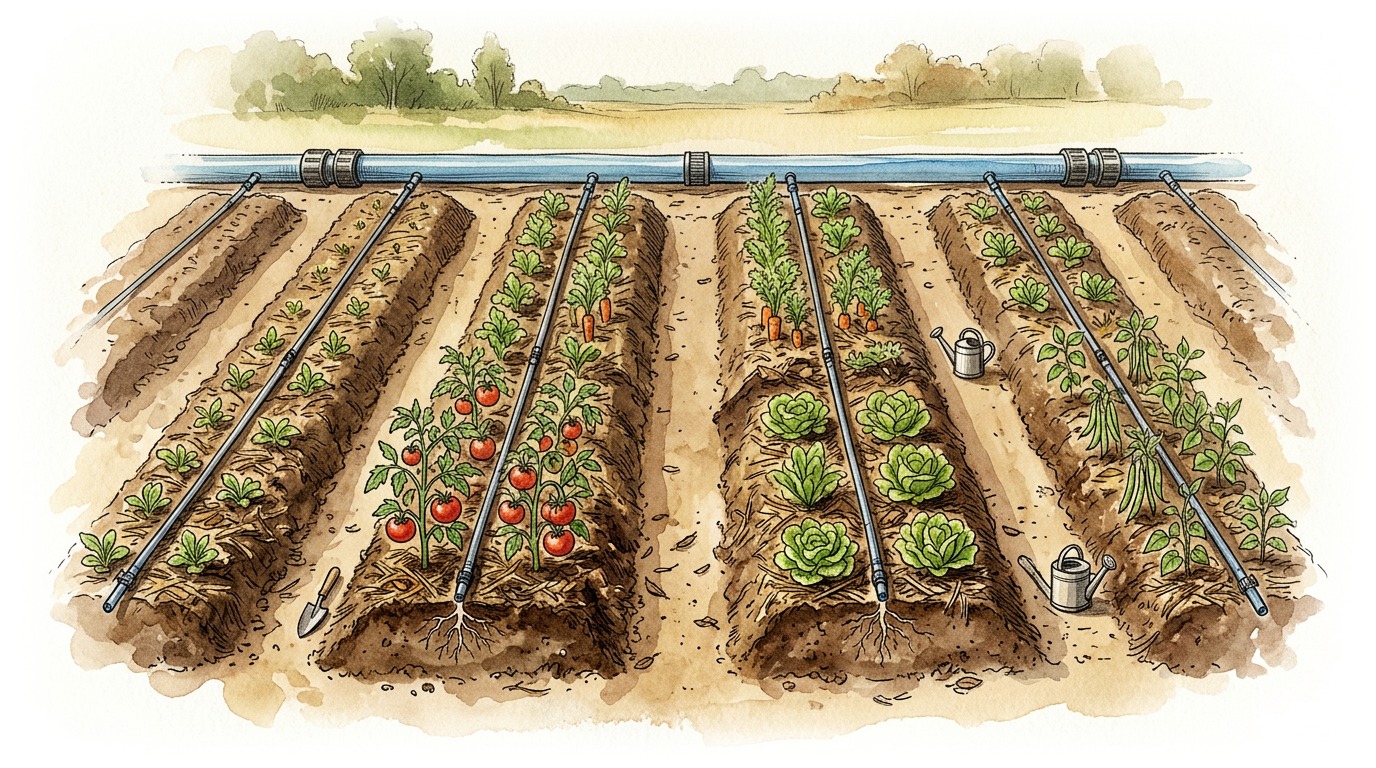
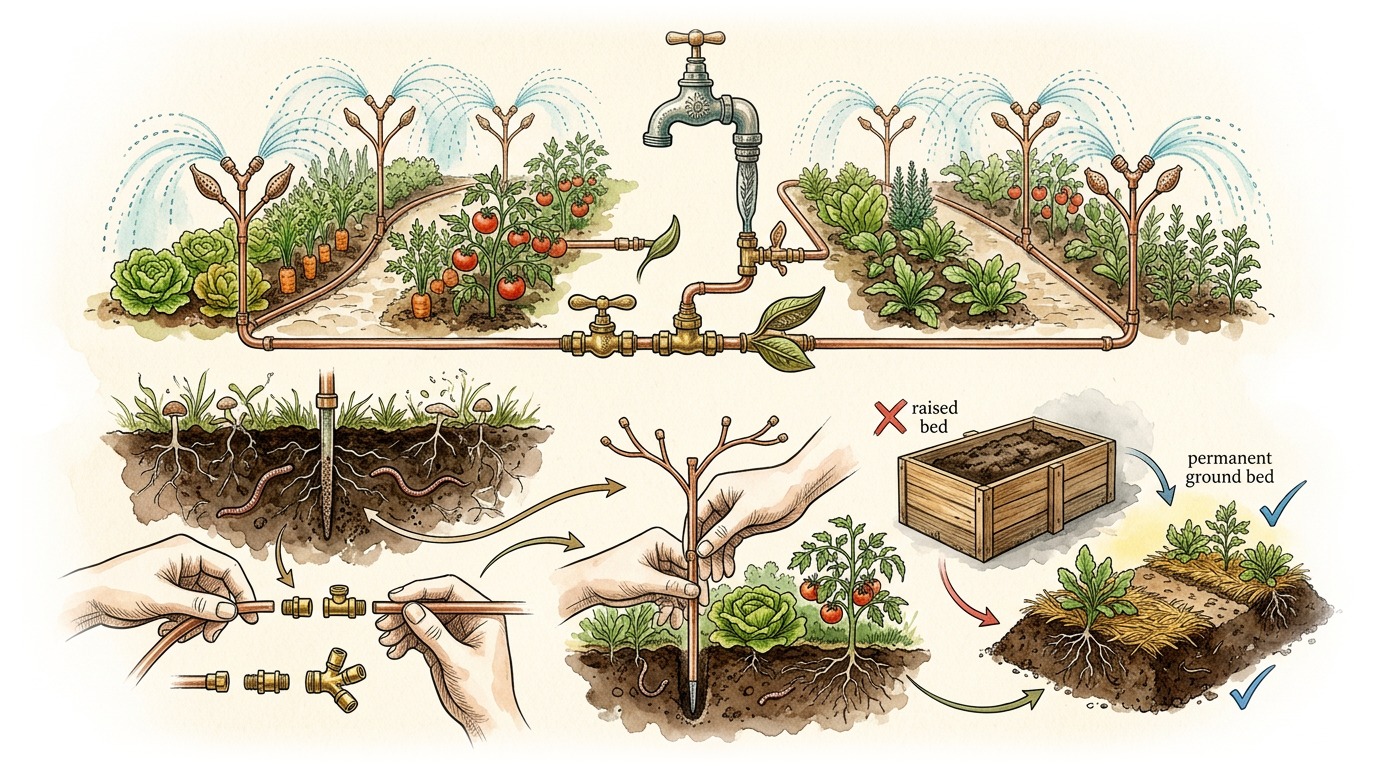
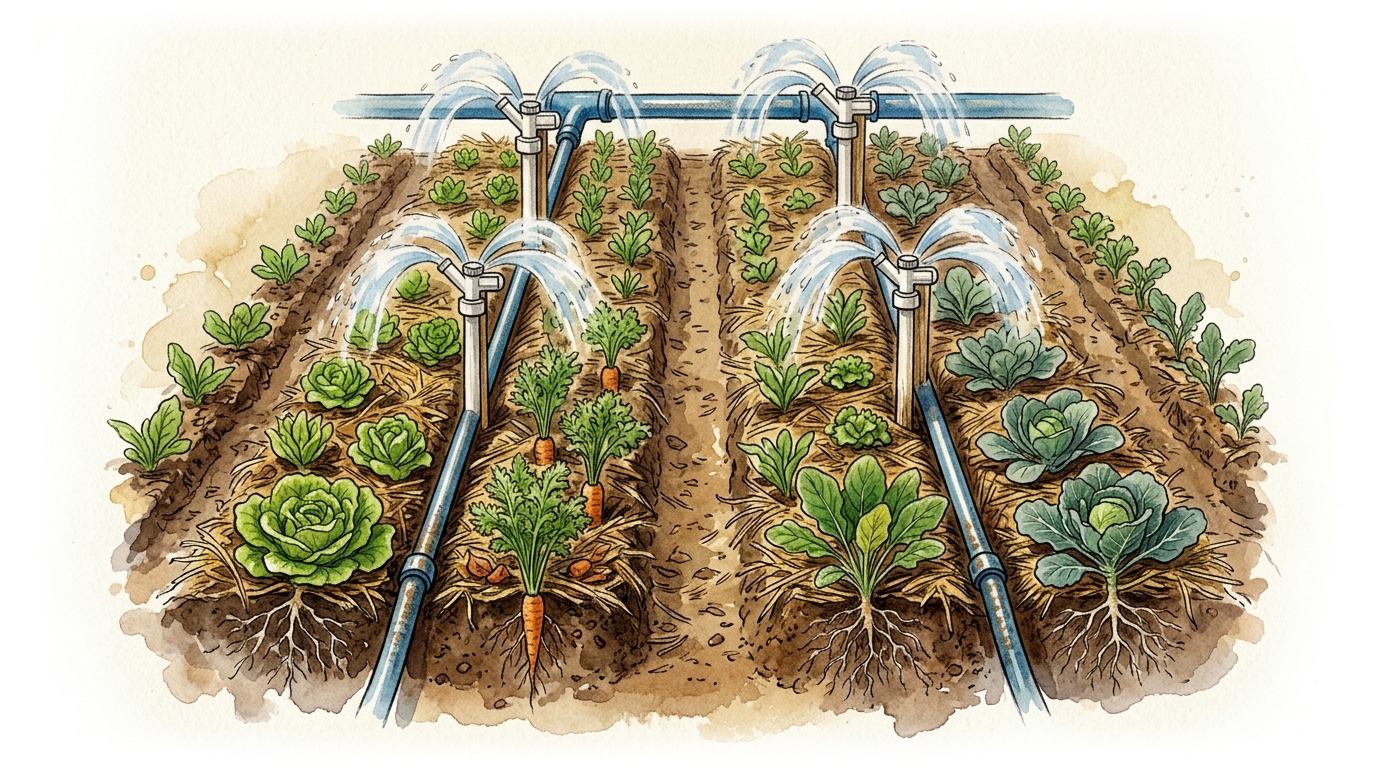
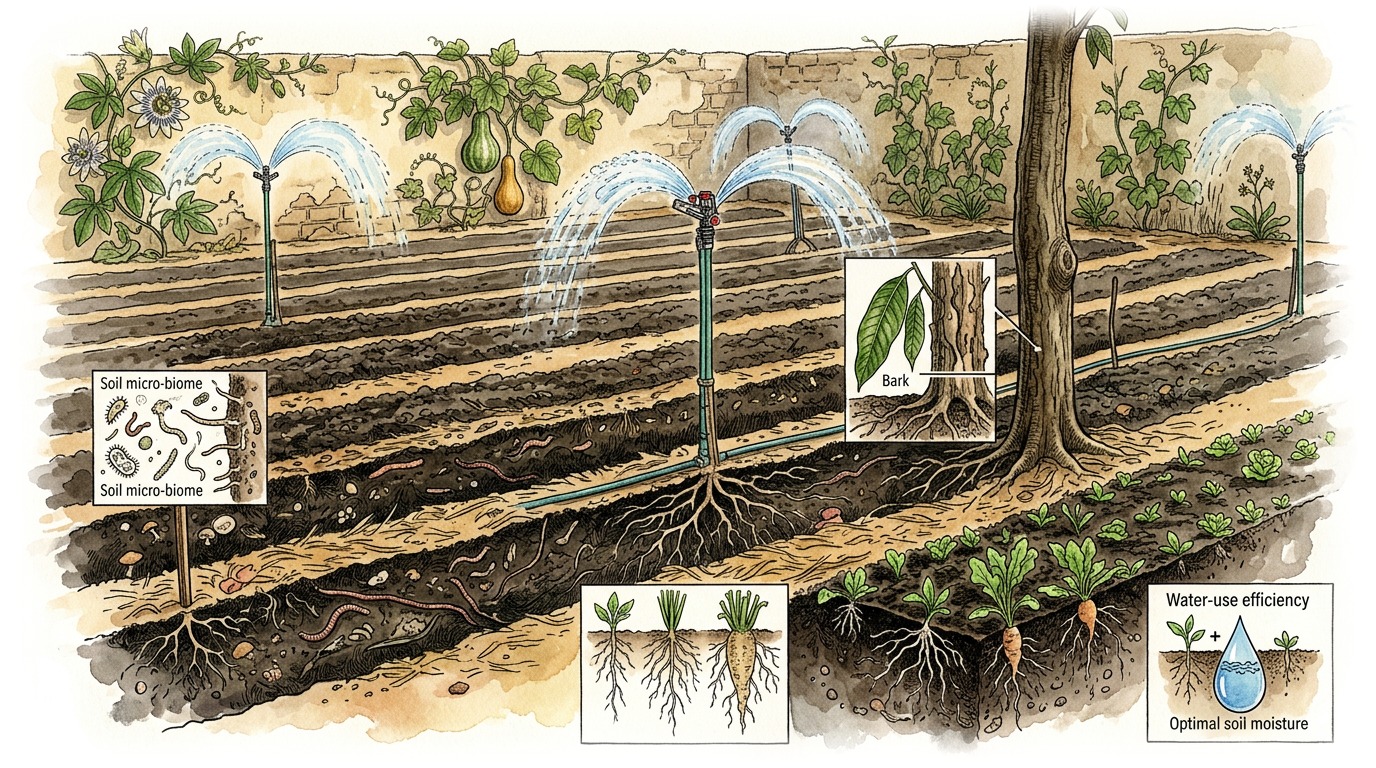
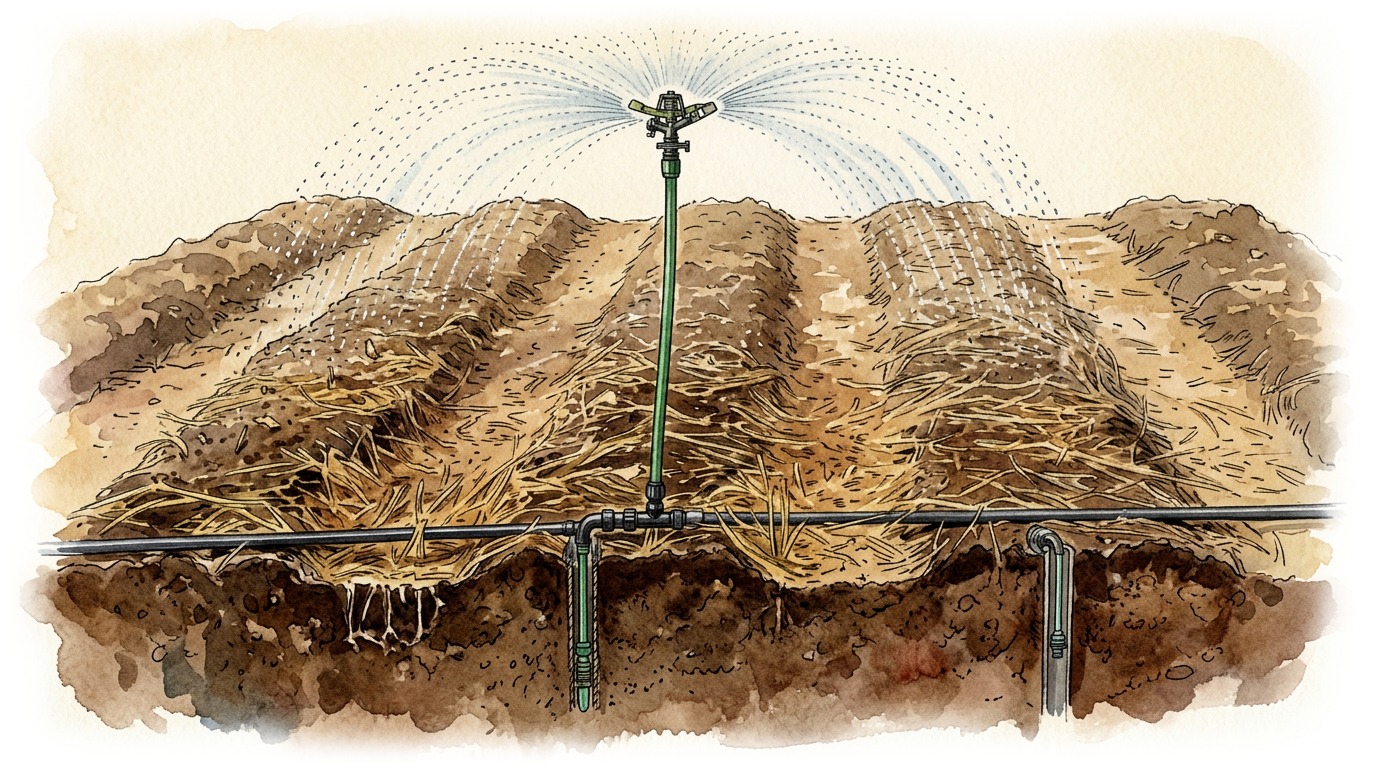
Water is put under pressure, then diffused into fine droplets imitating natural rain. This allows for a homogeneous

distribution of water creating a microclimate. This semi-automatic system allows for less manual work and saves

time.

3
PARTIE 3 SUR 40 The setup is done in 5 steps.
The setup is done in 5 steps.

The setup is done in 5 steps.

If all the equipment is gathered, it is a job that takes no more than half a day for two people for a plot of 100 m2.

4
PARTIE 4 SUR 40 CONSTITUTION OF A PLOT WITH A SPRINKLER
CONSTITUTION OF A PLOT WITH A SPRINKLER

CONSTITUTION OF A PLOT WITH A SPRINKLER

SYSTEM

5
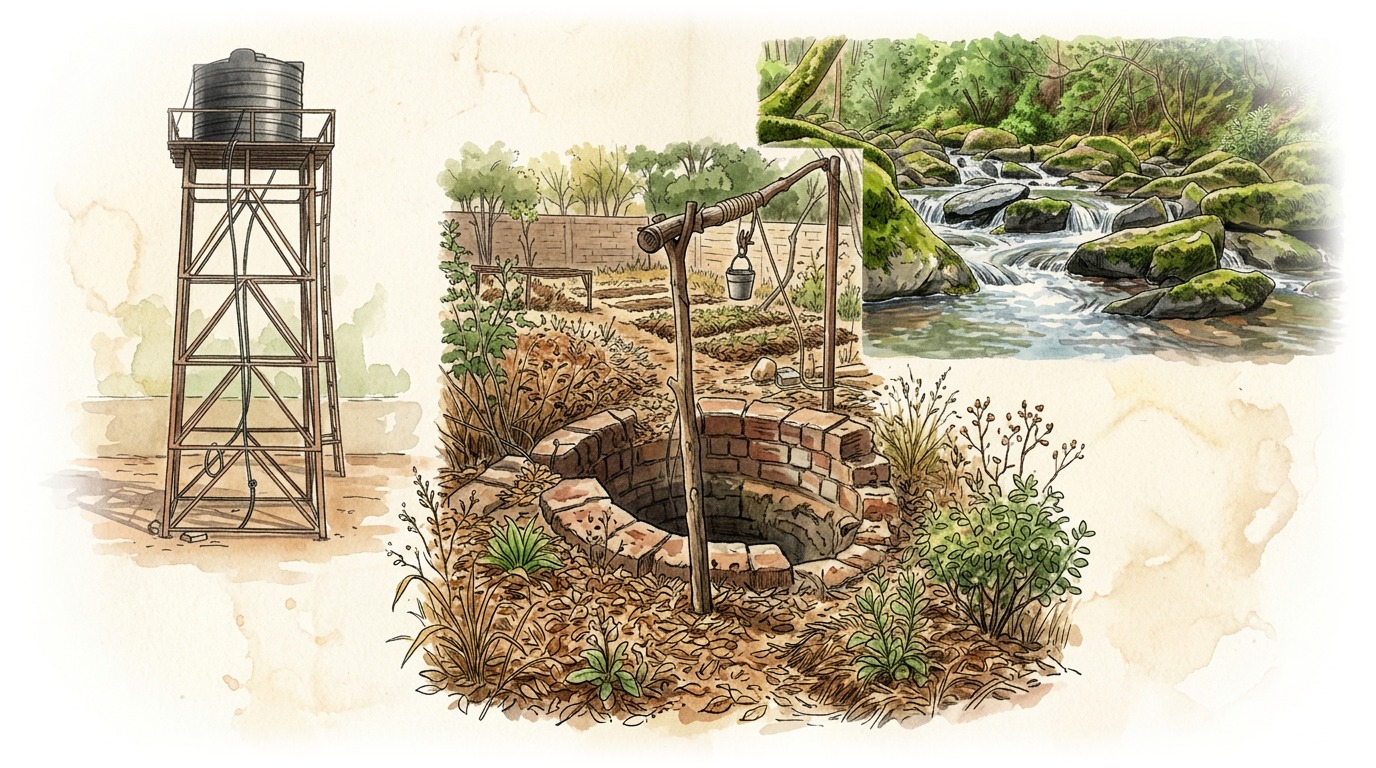
PARTIE 5 SUR 40 You need a water source, for example a well, a borehole, a water tower, a river or a stream..
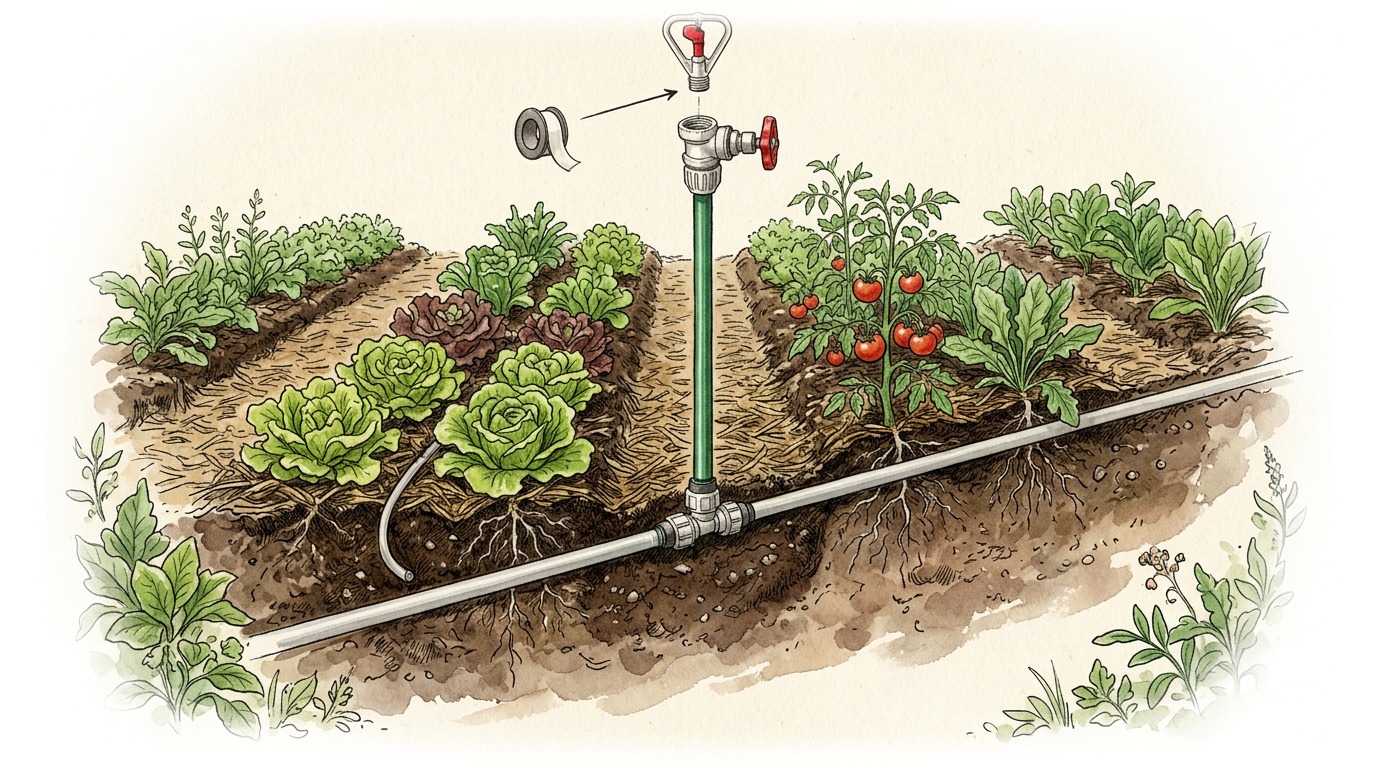
You need a water source, for example a well, a borehole, a water tower, a river or a stream..

You need a water source, for example a well, a borehole, a water tower, a river or a stream..

You need a water source, for example a well, a borehole, a water tower, a river or a stream..

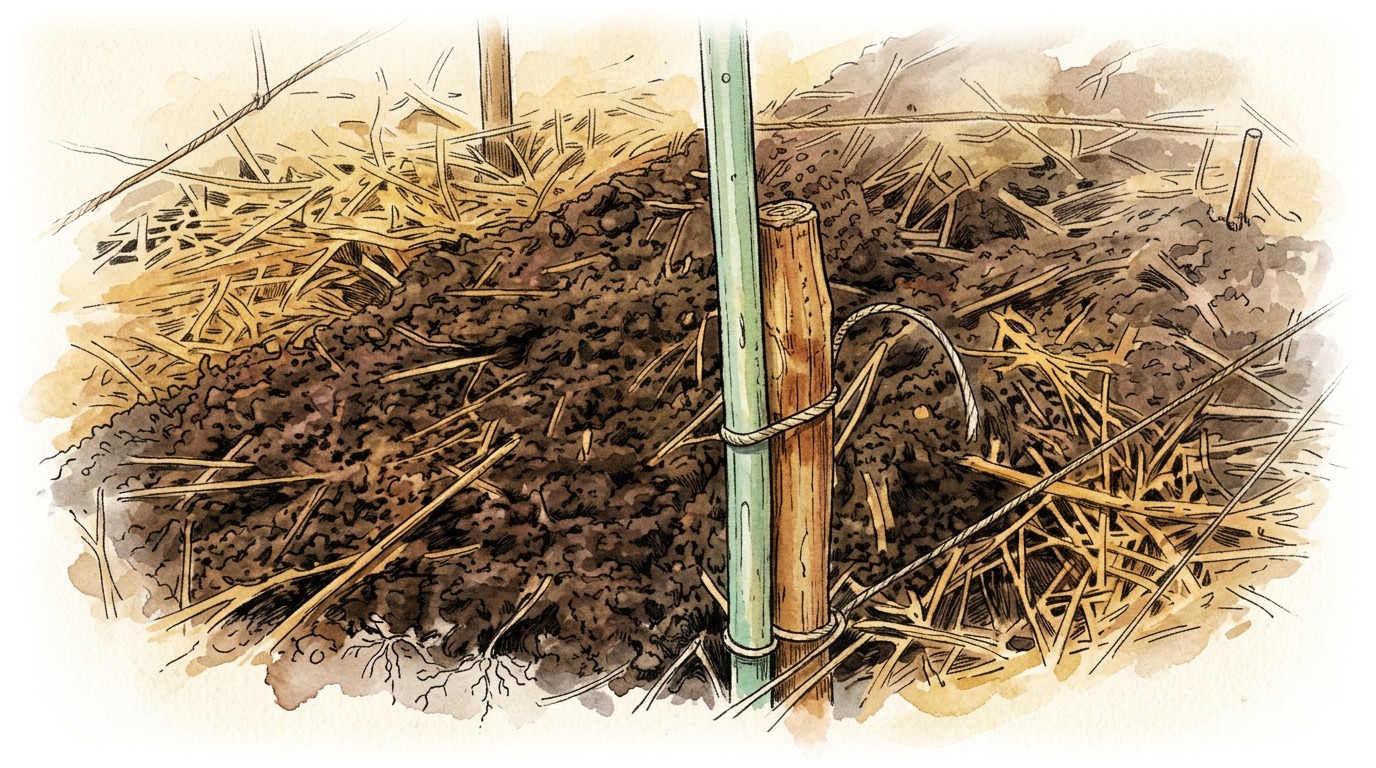
6
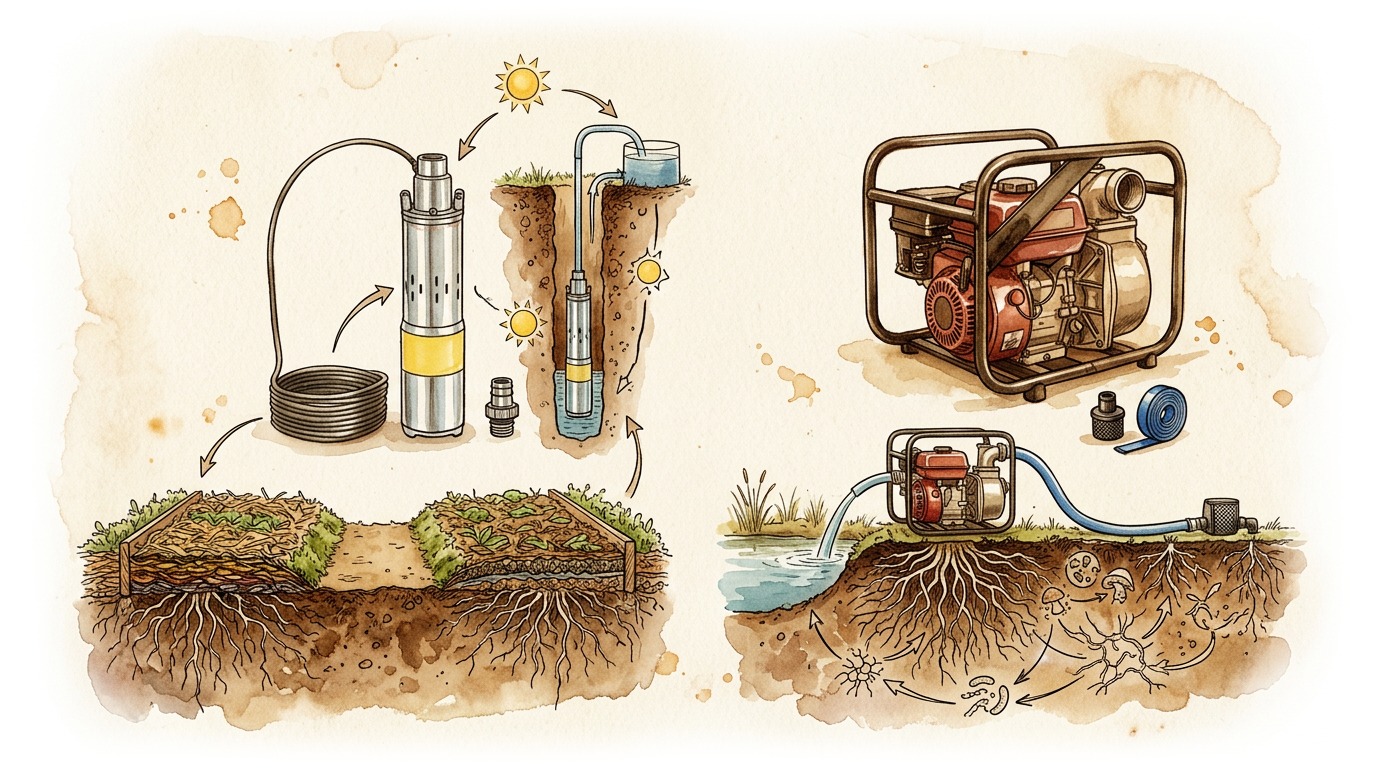
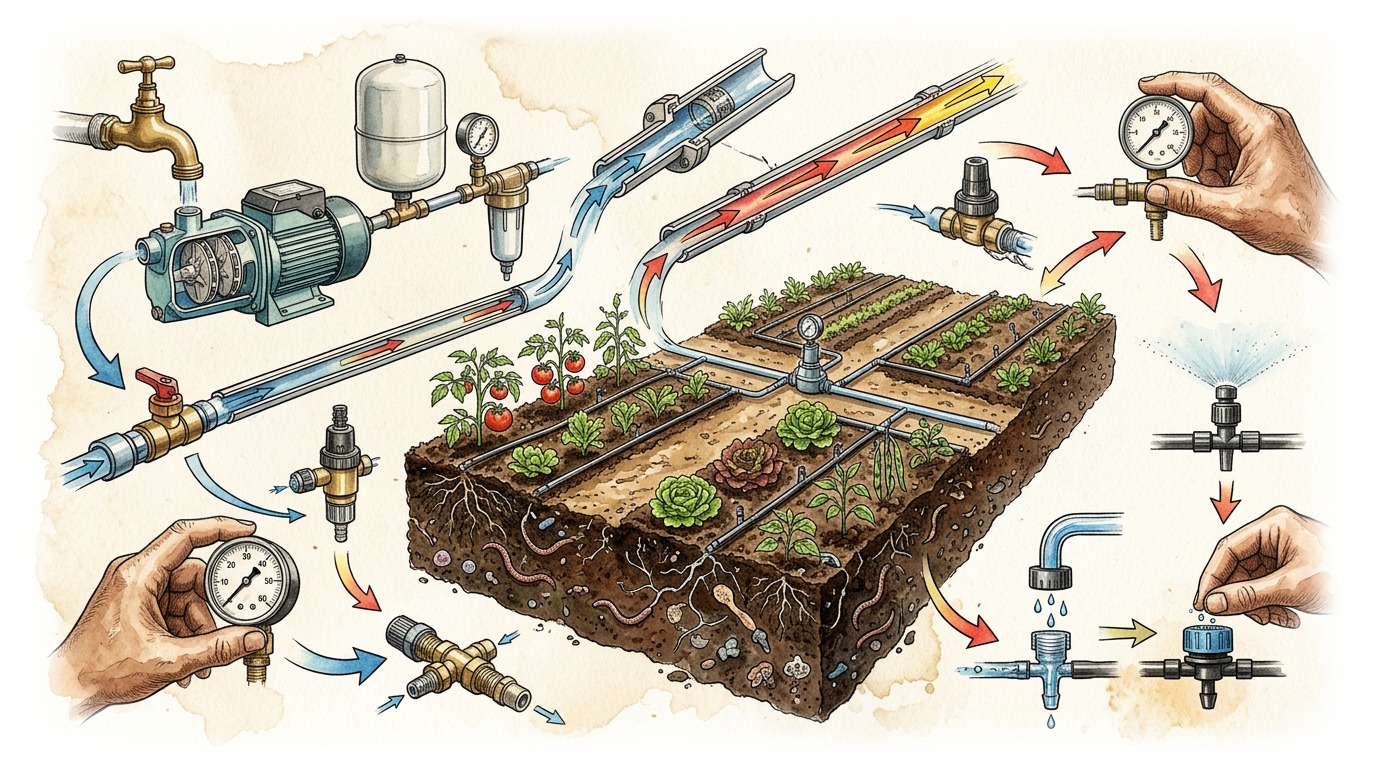
PARTIE 6 SUR 40 You also need a pumping station: a thermal or solar pump to extract the water..
You also need a pumping station: a thermal or solar pump to extract the water..

You also need a pumping station: a thermal or solar pump to extract the water..

You also need a pumping station: a thermal or solar pump to extract the water..

7
PARTIE 7 SUR 40 Main line
Main line

Main line

Sprinkler

Ramps

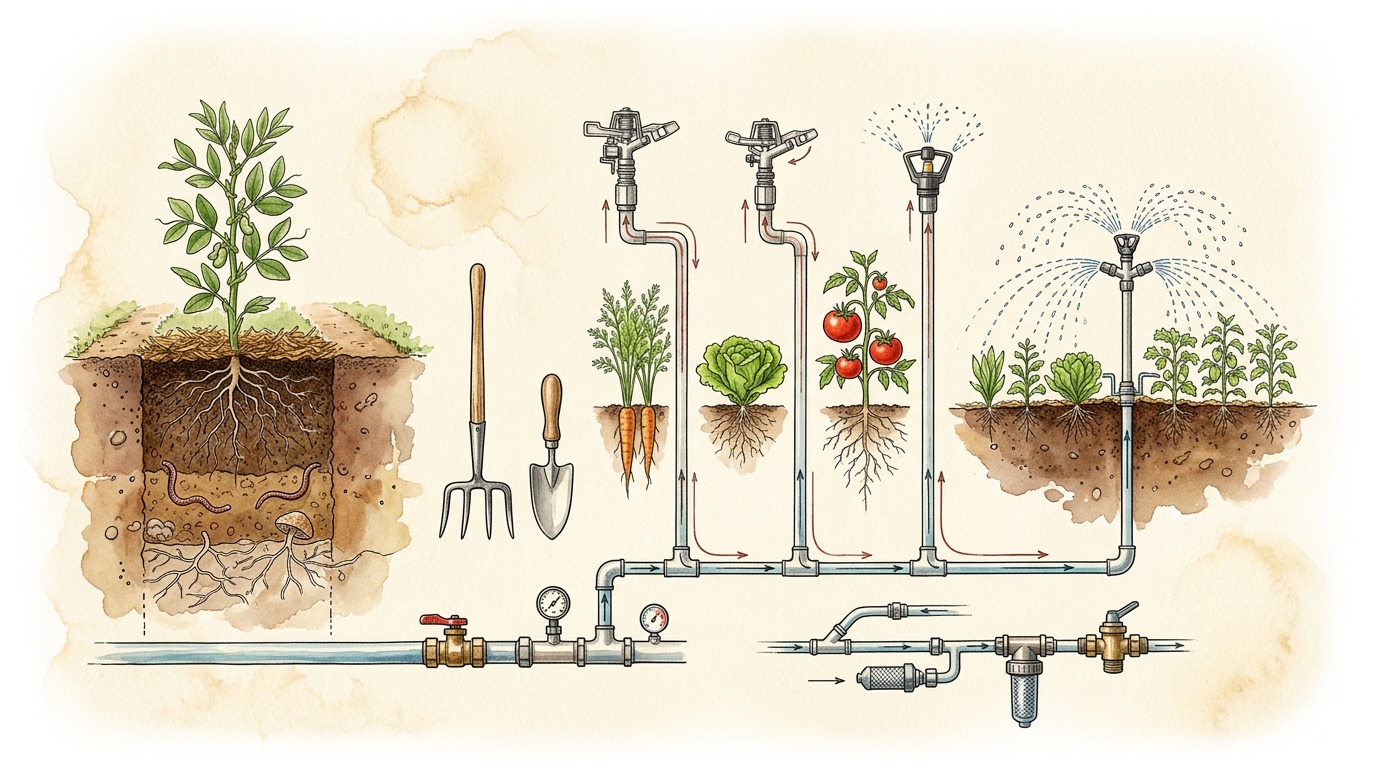
Then from the water distribution system with :

A main line

2 secondary lines which are also called "sprinkler ramp"

4 sprinkler hoses

8
PARTIE 8 SUR 40 THE PLUMBING MATERIAL NECESSARY
THE PLUMBING MATERIAL NECESSARY

THE PLUMBING MATERIAL NECESSARY

THE PLUMBING MATERIAL NECESSARY

9
PARTIE 9 SUR 40 4x
4x

4x

2x

1x

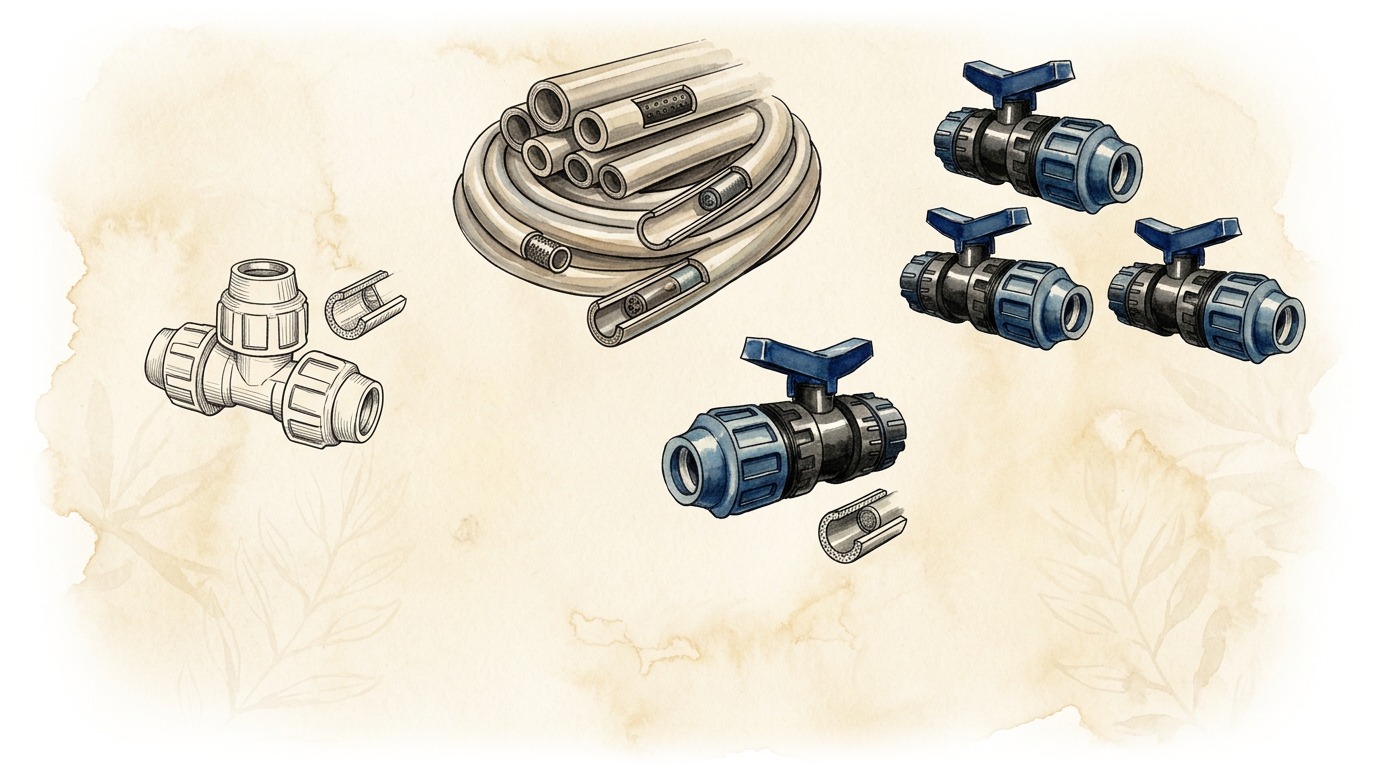
For the assembly of the main and secondary lines, you need the following materials :

A 40 mm pipe: the length depends on the distance from the water source.

A 32 mm pipe with a length of 20 m

2 connection tees 40/32

4 valves of 32

1 valve of 40

10
PARTIE 10 SUR 40 4x
4x

4x

4x

4x

4x

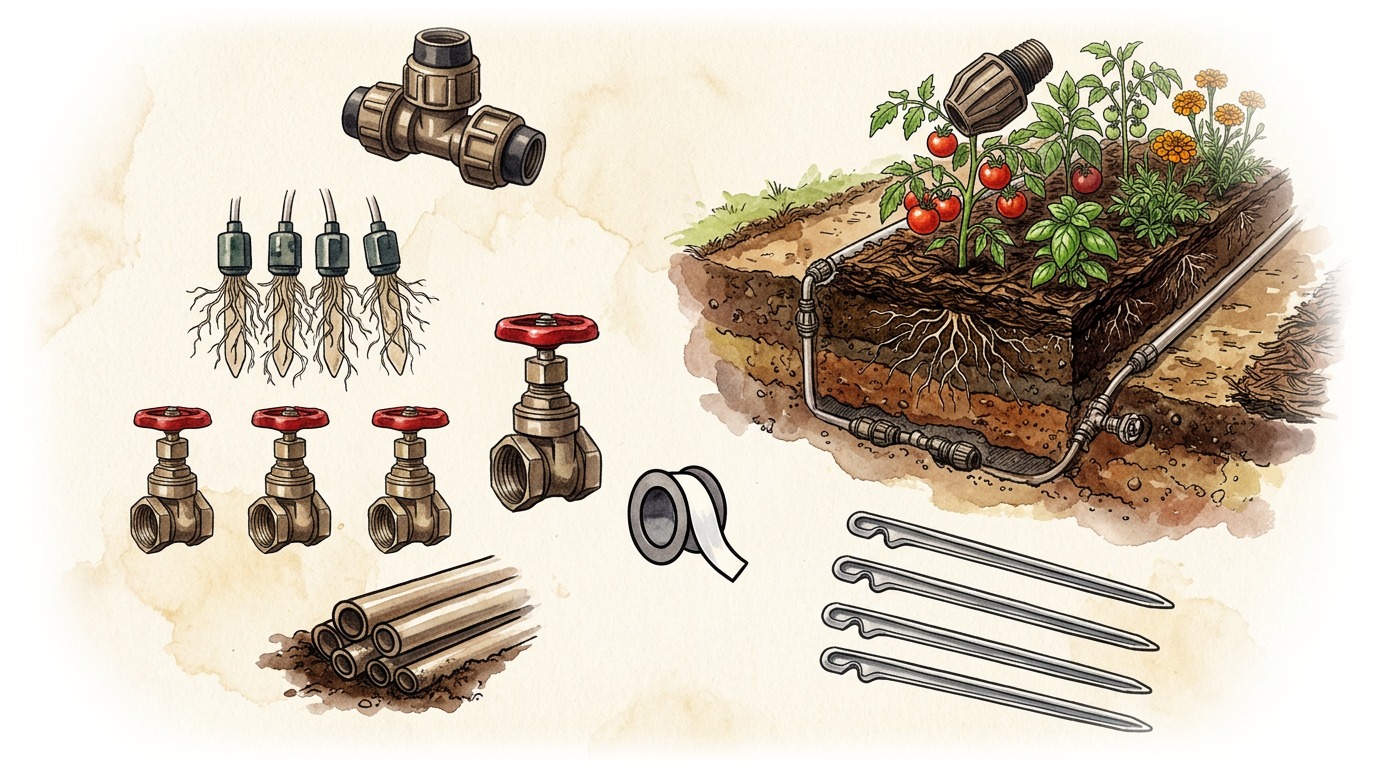
For the assembly of the spray rods, you need the following materials :

4 connection tees 32/25

4 PER pipes of 1 m each

4 male fittings 25/15

4 female valves 15 mm

4 stakes of 1 m each

Teflon sealing

4x

11
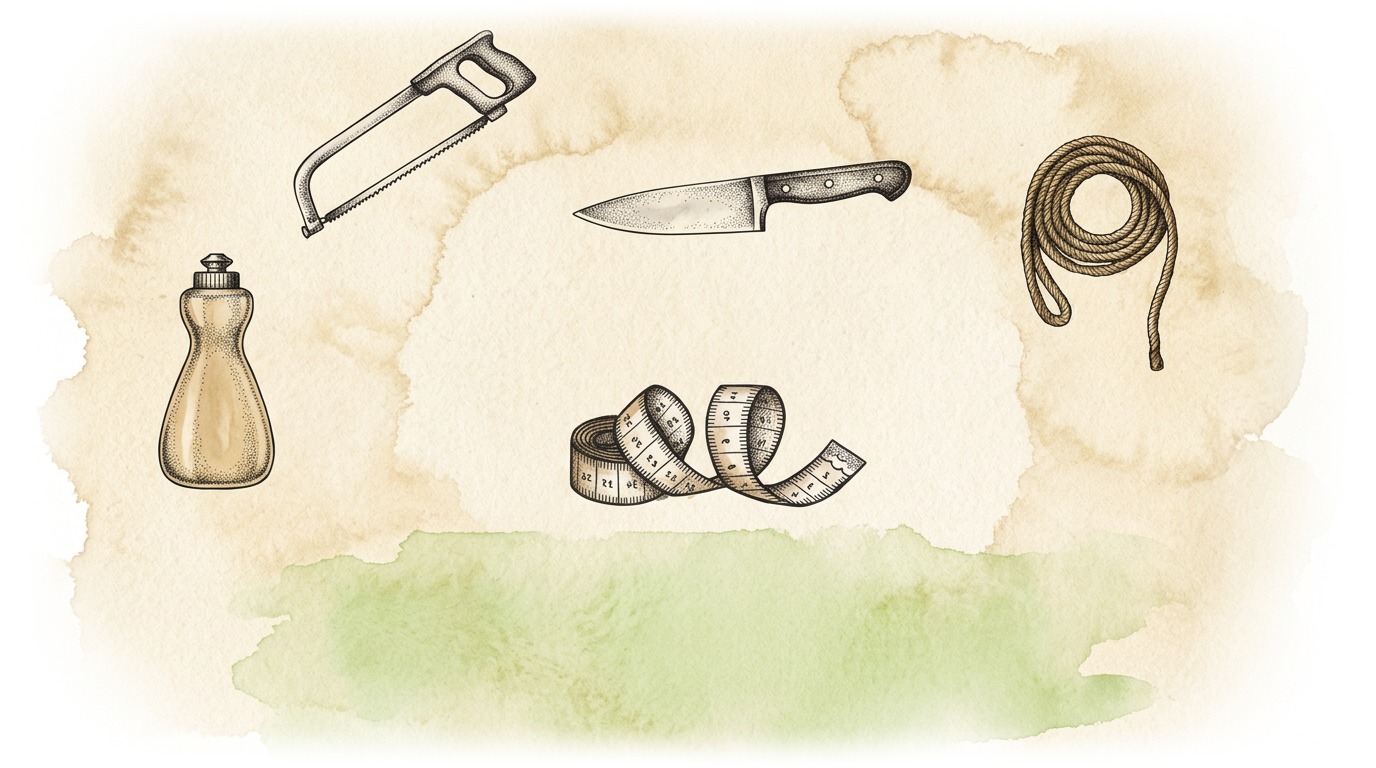
PARTIE 11 SUR 40 You will need the following tools:
You will need the following tools:

You will need the following tools:

Metal saw

Knife

Liquid soap to facilitate the fitting of the elements

Measuring tape

String

12
PARTIE 12 SUR 40 INSTALLATION OF THE SPRINKLER SYSTEM ON A 100M2 PLOT
INSTALLATION OF THE SPRINKLER SYSTEM ON A 100M2 PLOT

INSTALLATION OF THE SPRINKLER SYSTEM ON A 100M2 PLOT

STEP 1 : PLAN

13
PARTIE 13 SUR 40 10m
10m

10m

10m

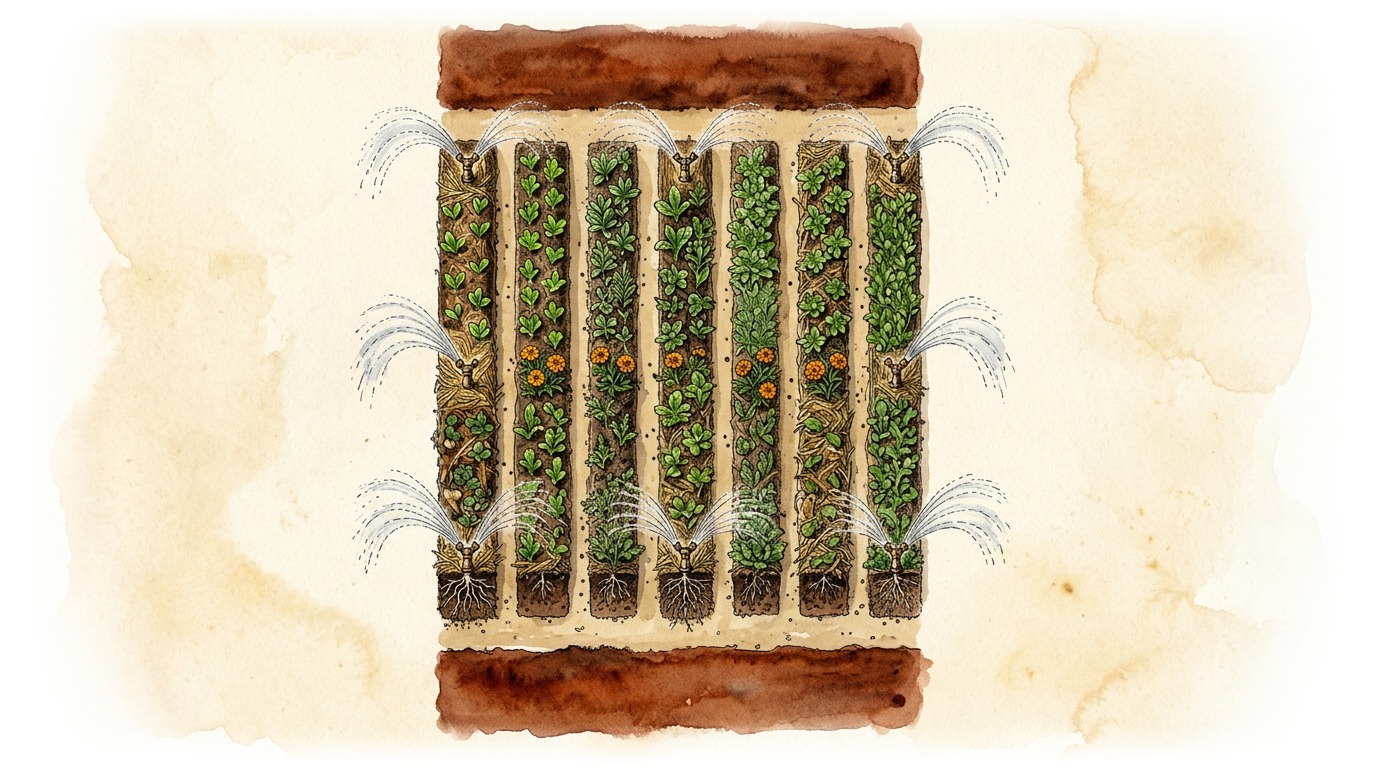
To ensure a homogeneous spraying, plan the arrangement of the sprinklers according to their ranges. The range of

the sprinklers is from 3 to 6 m in diameter depending on the pressure.

14
PARTIE 14 SUR 40 10m
10m

10m

10m

For a plot of 100 m2, that is 10 m x 10 m, you will install 4 sprinklers.

15
PARTIE 15 SUR 40 INSTALLATION OF THE SPRINKLER SYSTEM ON A 100M2 PLOT
INSTALLATION OF THE SPRINKLER SYSTEM ON A 100M2 PLOT

INSTALLATION OF THE SPRINKLER SYSTEM ON A 100M2 PLOT

STEP 2 : INSTALL THE MAIN PIPE AND THE

SECONDARY PIPES

16
PARTIE 16 SUR 40 Main line
Main line

Main line

Place the 40 mm pipe from the main line to the edge of the plot.

17
PARTIE 17 SUR 40 Main line
Main line

Main line

1x

Then install the 40 mm valve at the end of the pipe for maintenance and an extension of the irrigation system if

needed.

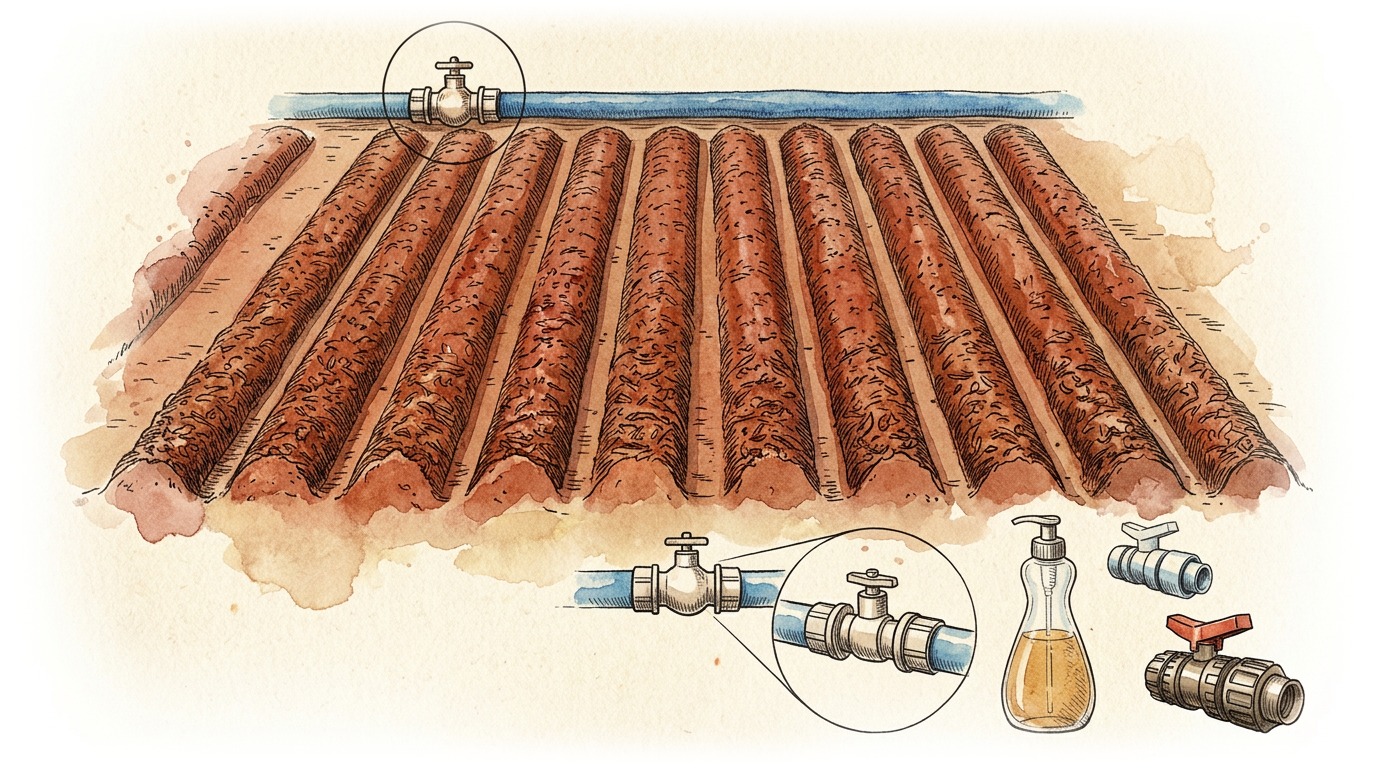
To facilitate the fittings of pipes to the valves and tees, always put one to two drops of soap on the joints.

18
PARTIE 18 SUR 40 1
1

1

2 3 4 5

6 7

Rampes

For the secondary lines, place a 32 mm pipe in the 4th footbridge.

Then place the second 32 mm pipe in the 8th footbridge.

8

9 10 11

19
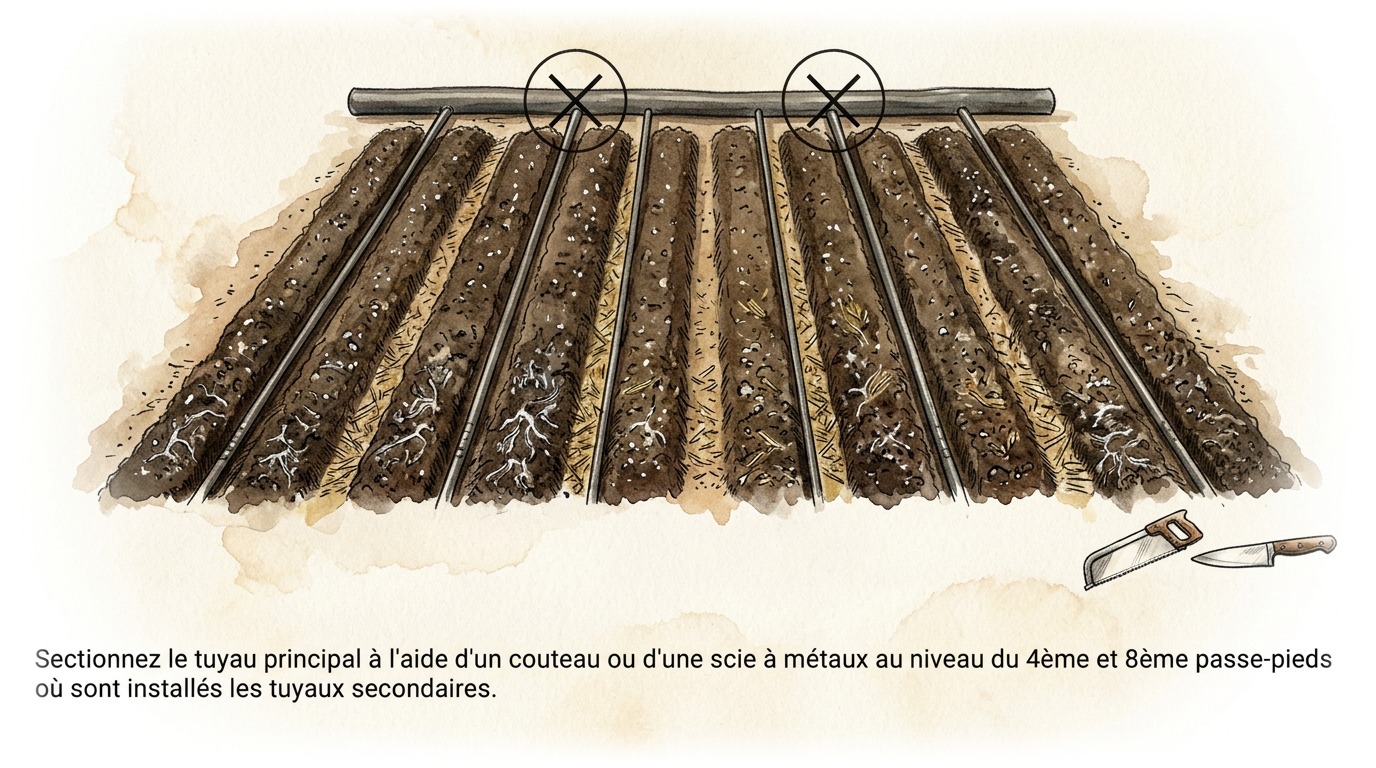
PARTIE 19 SUR 40 Cut the main pipe using a knife or a hacksaw at the level of the 4th and 8th footbridges where the secondary pipes
Cut the main pipe using a knife or a hacksaw at the level of the 4th and 8th footbridges where the secondary pipes

Cut the main pipe using a knife or a hacksaw at the level of the 4th and 8th footbridges where the secondary pipes

are installed.

20
PARTIE 20 SUR 40 2x
2x

2x

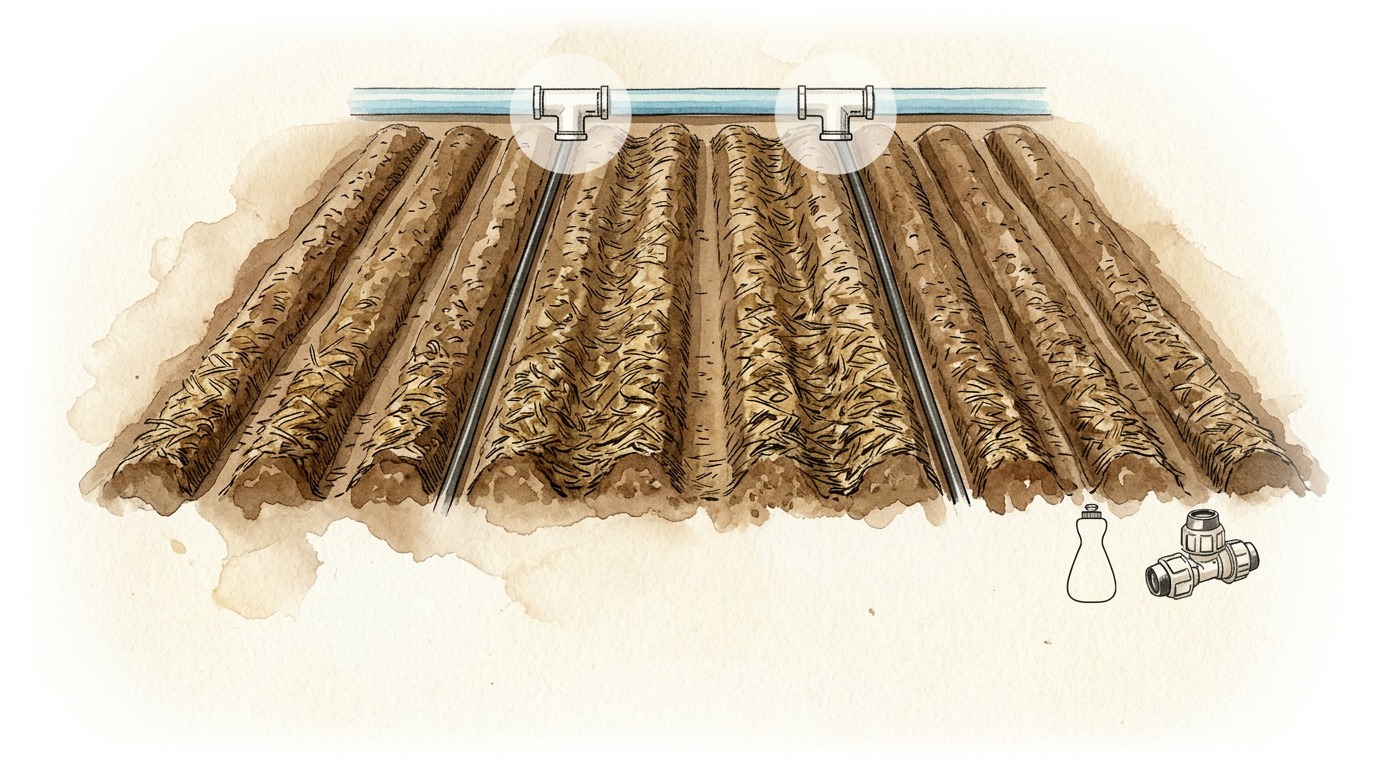
Install the 2 tees of 40/32 on the main pipe of 40 mm.

Then connect the secondary pipes of 32 mm.

21
PARTIE 21 SUR 40 4x
4x

4x

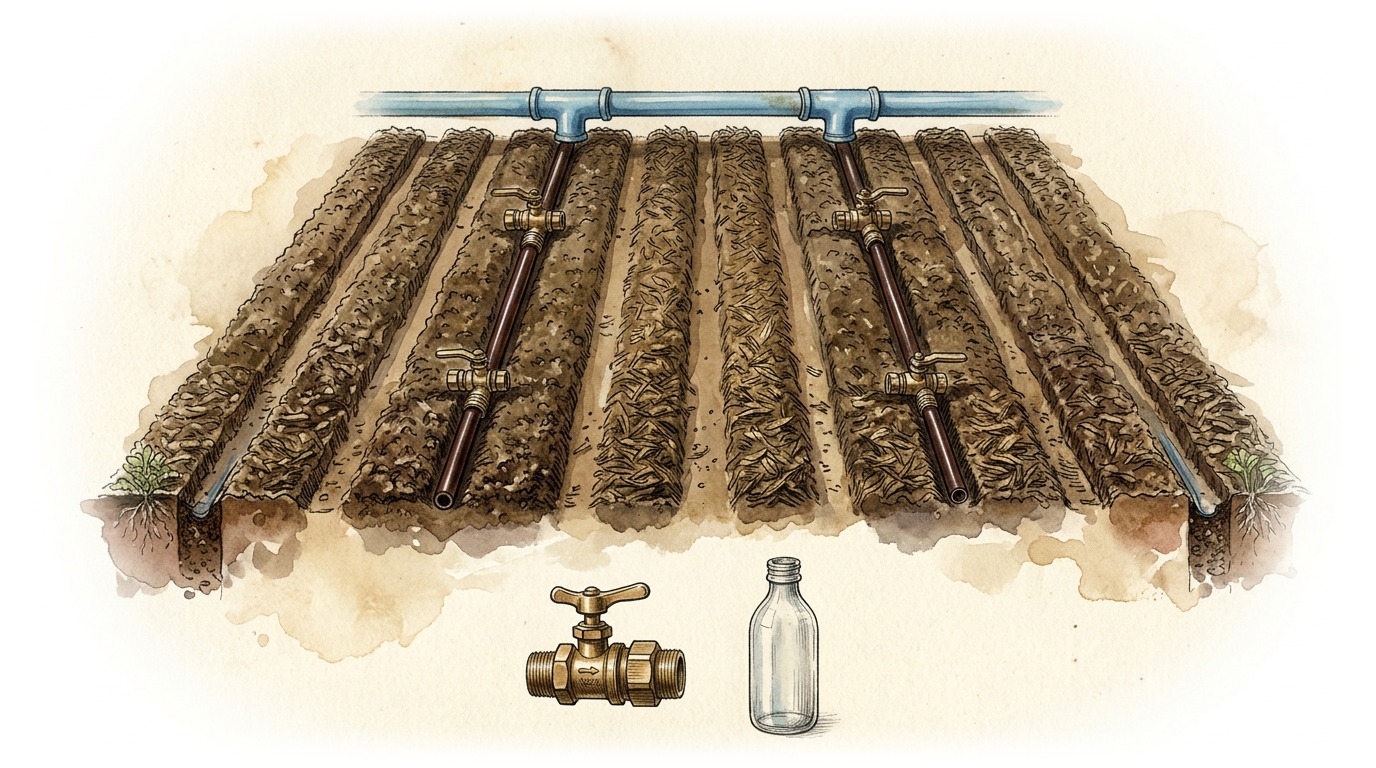
Install the 4 valves of 32 mm at the ends and at the beginnings of the secondary lines. This will facilitate

maintenance and an extension of the irrigation system.

22
PARTIE 22 SUR 40 INSTALLATION OF THE SPRINKLER SYSTEM ON A 100M2 PLOT
INSTALLATION OF THE SPRINKLER SYSTEM ON A 100M2 PLOT

INSTALLATION OF THE SPRINKLER SYSTEM ON A 100M2 PLOT

STEP 3 : INSTALLING THE SPRAY RODS

23
PARTIE 23 SUR 40 3m
3m

3m

4m

3m

4x

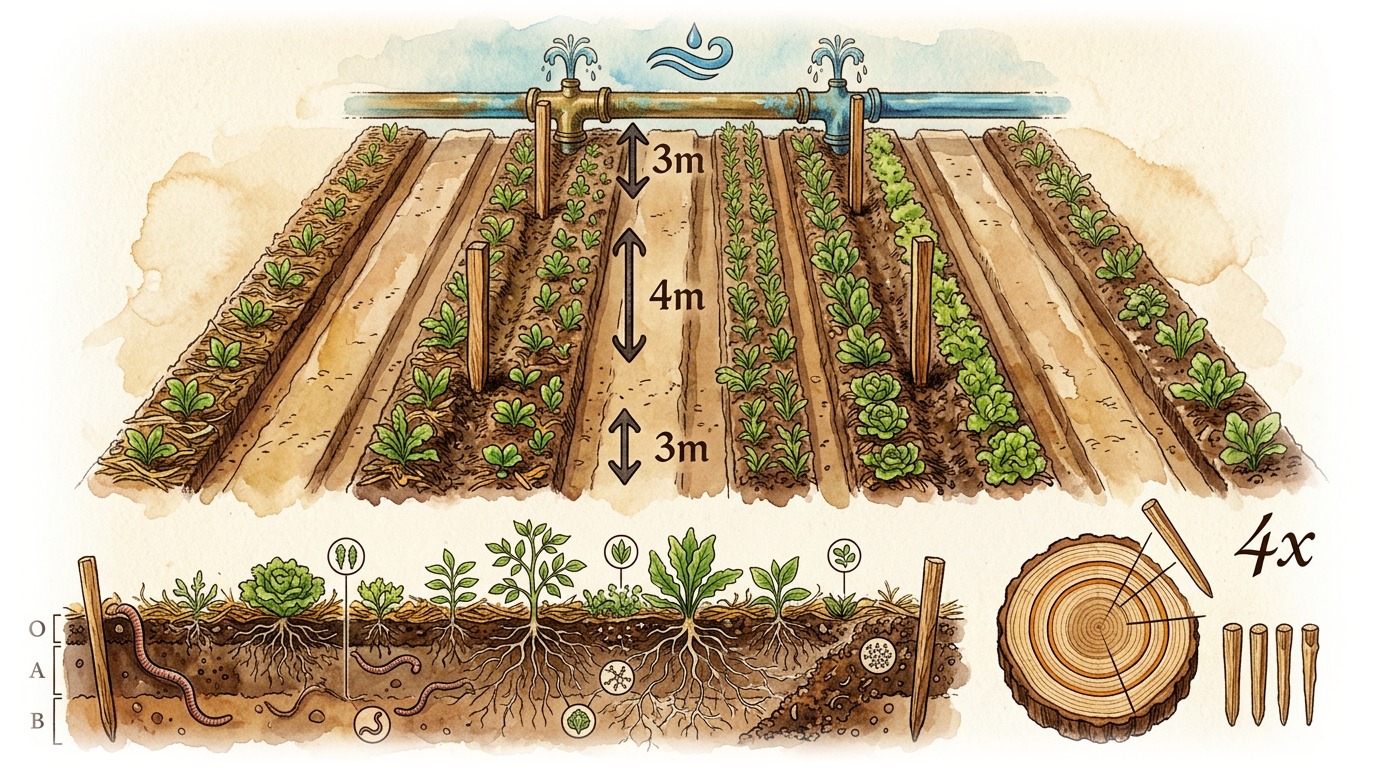
Measure 3 m starting from the beginning of the board to place the first stabilization stake.

Then measure 4 m from the first stake to place the second stake.

Repeat these operations on the second secondary line.

24
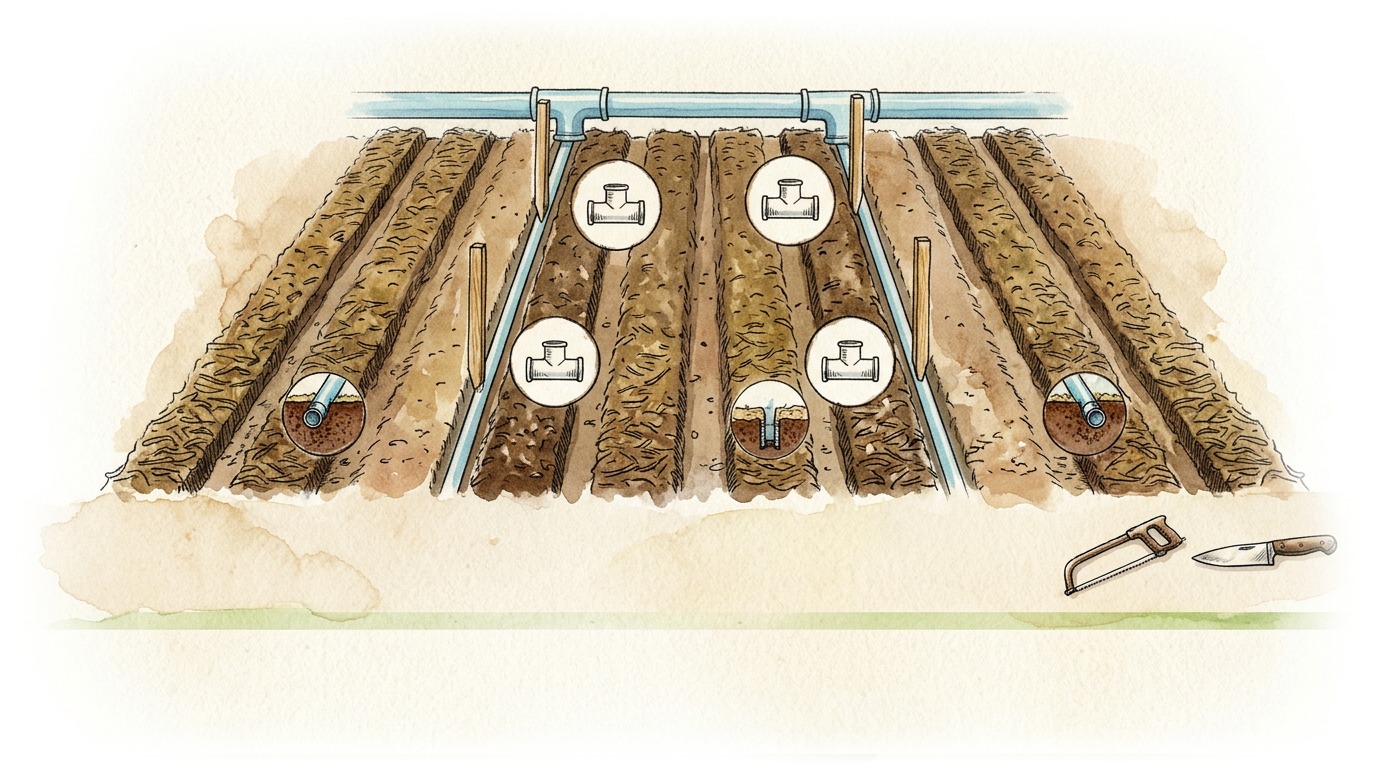
PARTIE 24 SUR 40 Cut the secondary lines at the level of the stakes to install the 4 connection tees of 30/25 mm.
Cut the secondary lines at the level of the stakes to install the 4 connection tees of 30/25 mm.

Cut the secondary lines at the level of the stakes to install the 4 connection tees of 30/25 mm.

Cut the secondary lines at the level of the stakes to install the 4 connection tees of 30/25 mm.

25
PARTIE 25 SUR 40 Tee fitting or
Tee fitting or

Tee fitting or

Take off collar 30/25

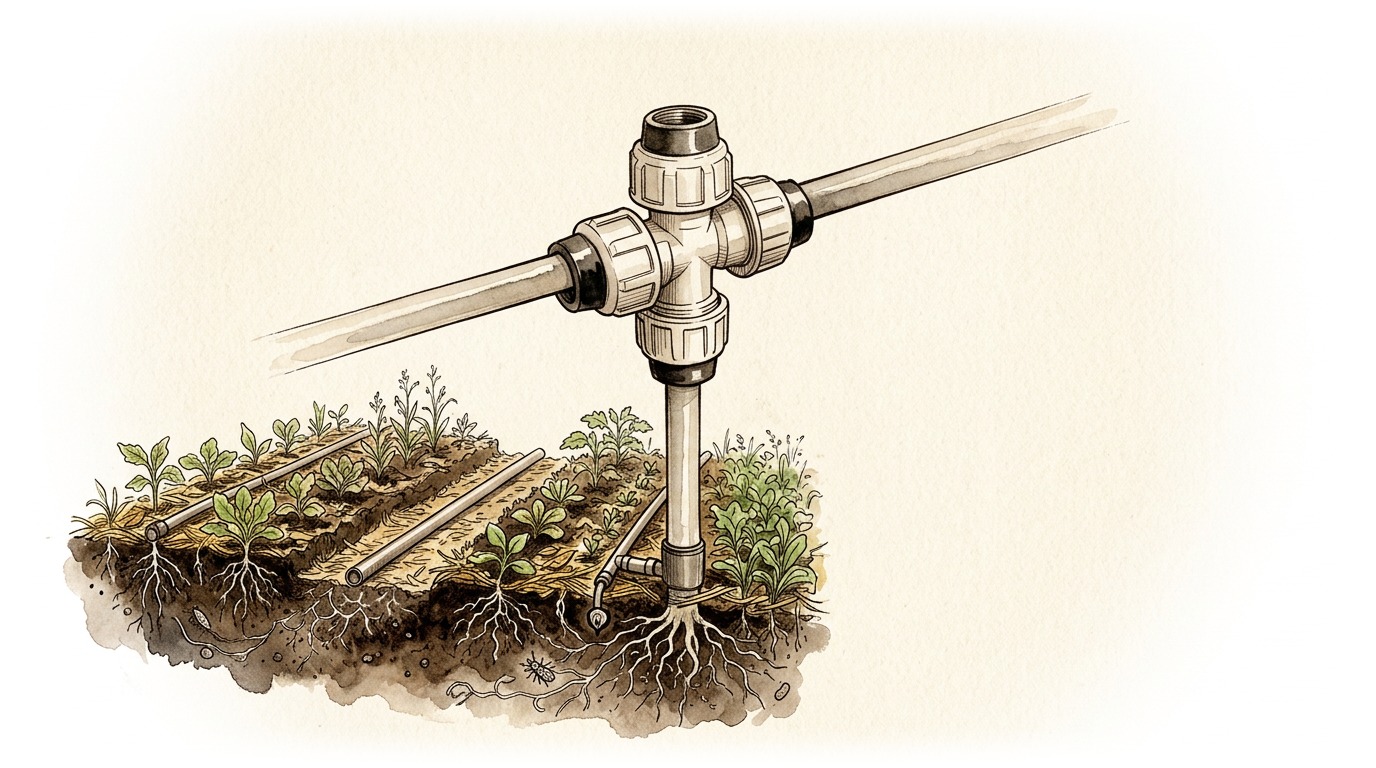
Connect the tee fitting to the secondary rail. Tee fitting or 30/25 take-off collar.

26
PARTIE 26 SUR 40 PER pipe
PER pipe

PER pipe

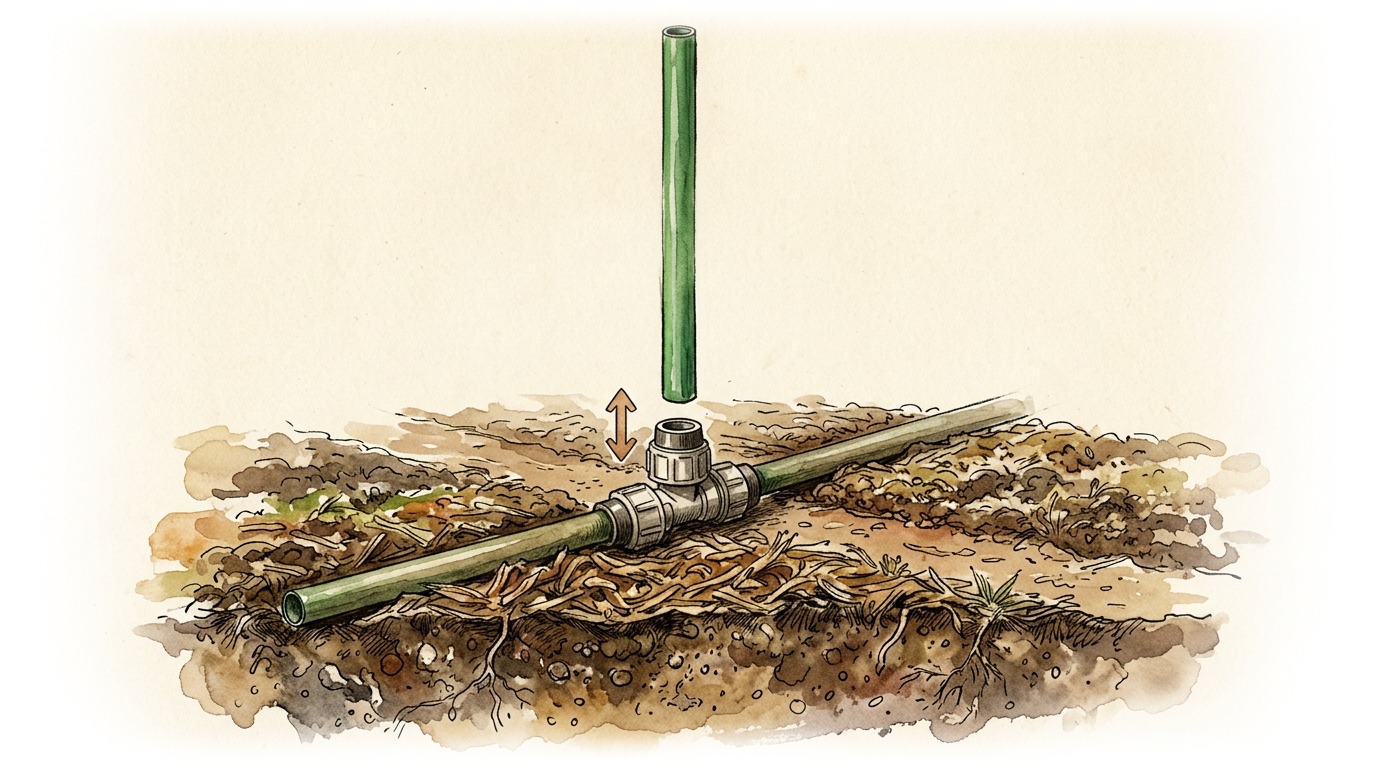
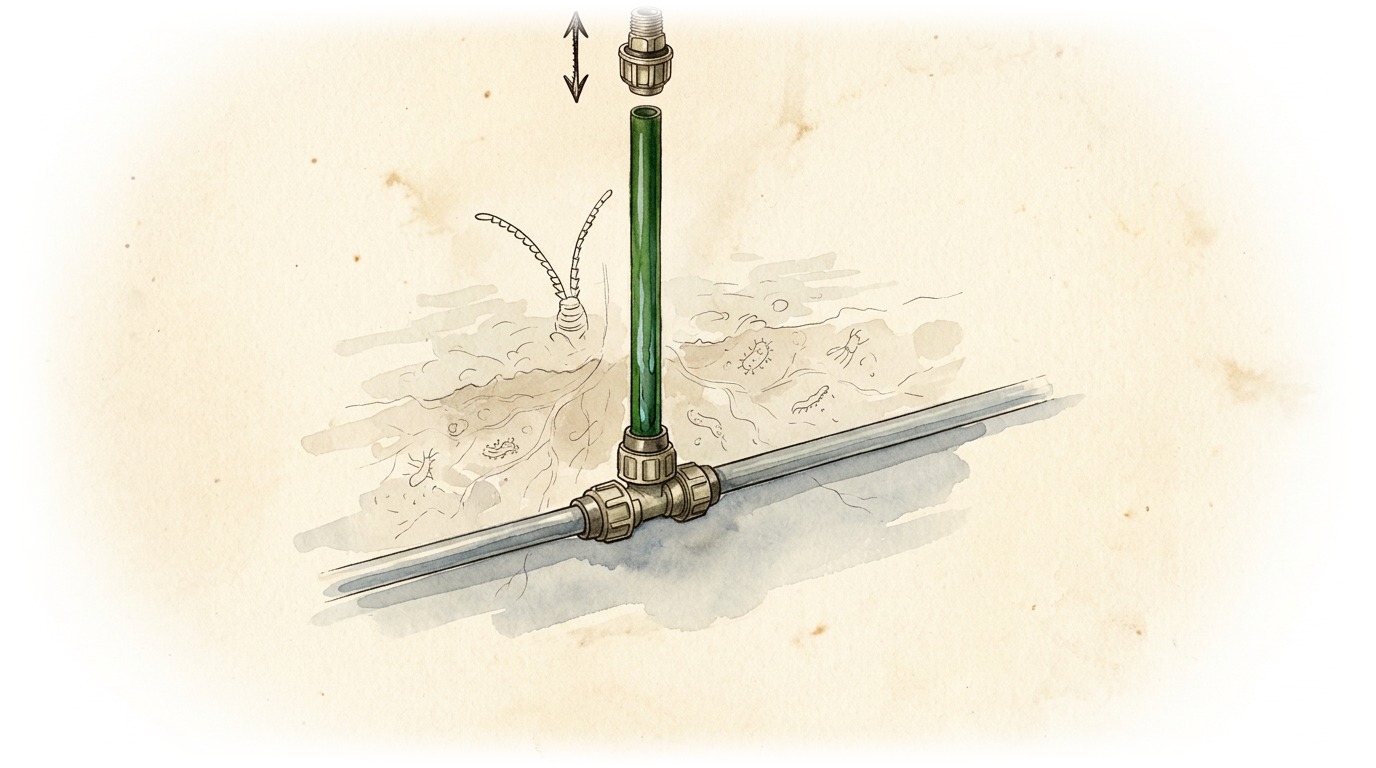
Connect the 1 m PER pipe to the connection tee.

27
PARTIE 27 SUR 40 Male fitting 25/15
Male fitting 25/15

Male fitting 25/15

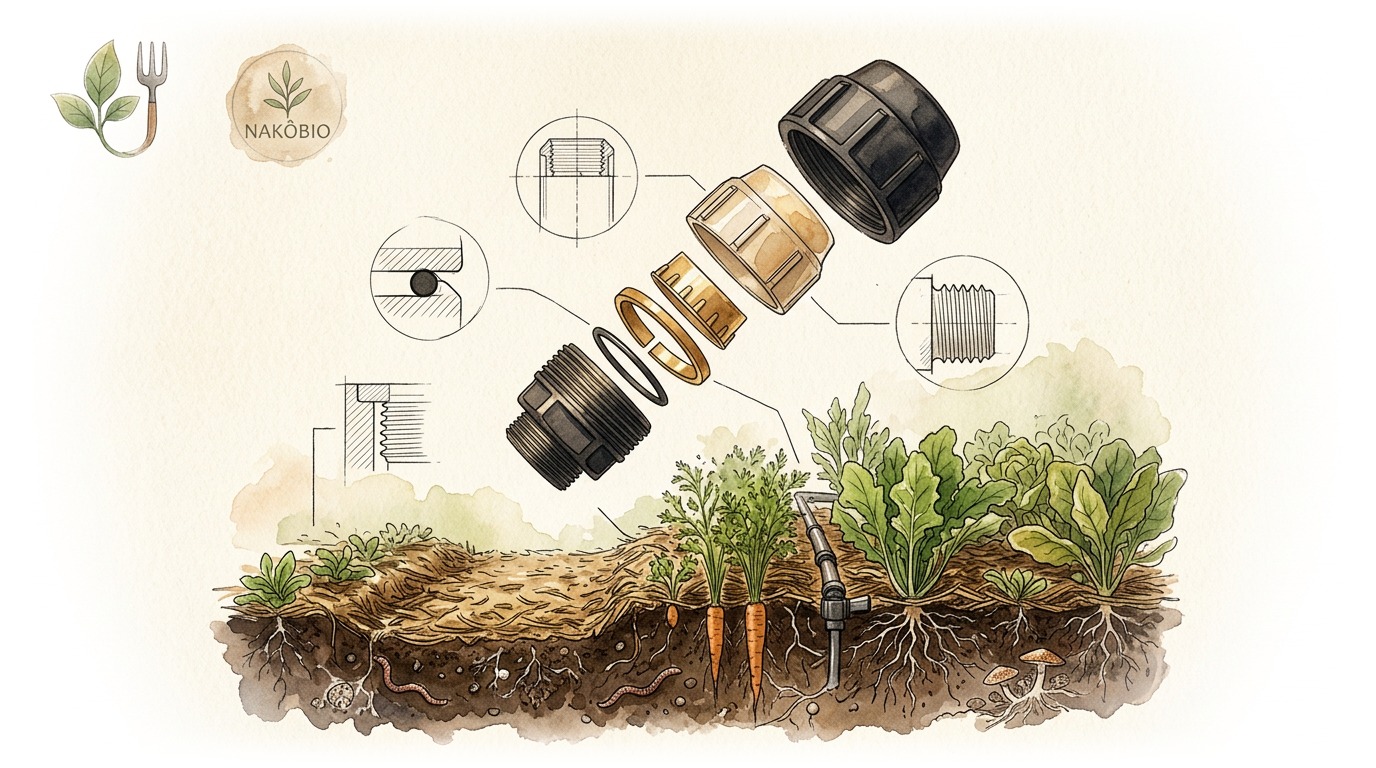
Then connect the male fitting to the PER pipe: the male fitting fits onto the upper side of the pipe.

28
PARTIE 28 SUR 40 Clamping nut
Clamping nut

Clamping nut

Compression ring

O-ring seal

Support ring

Body

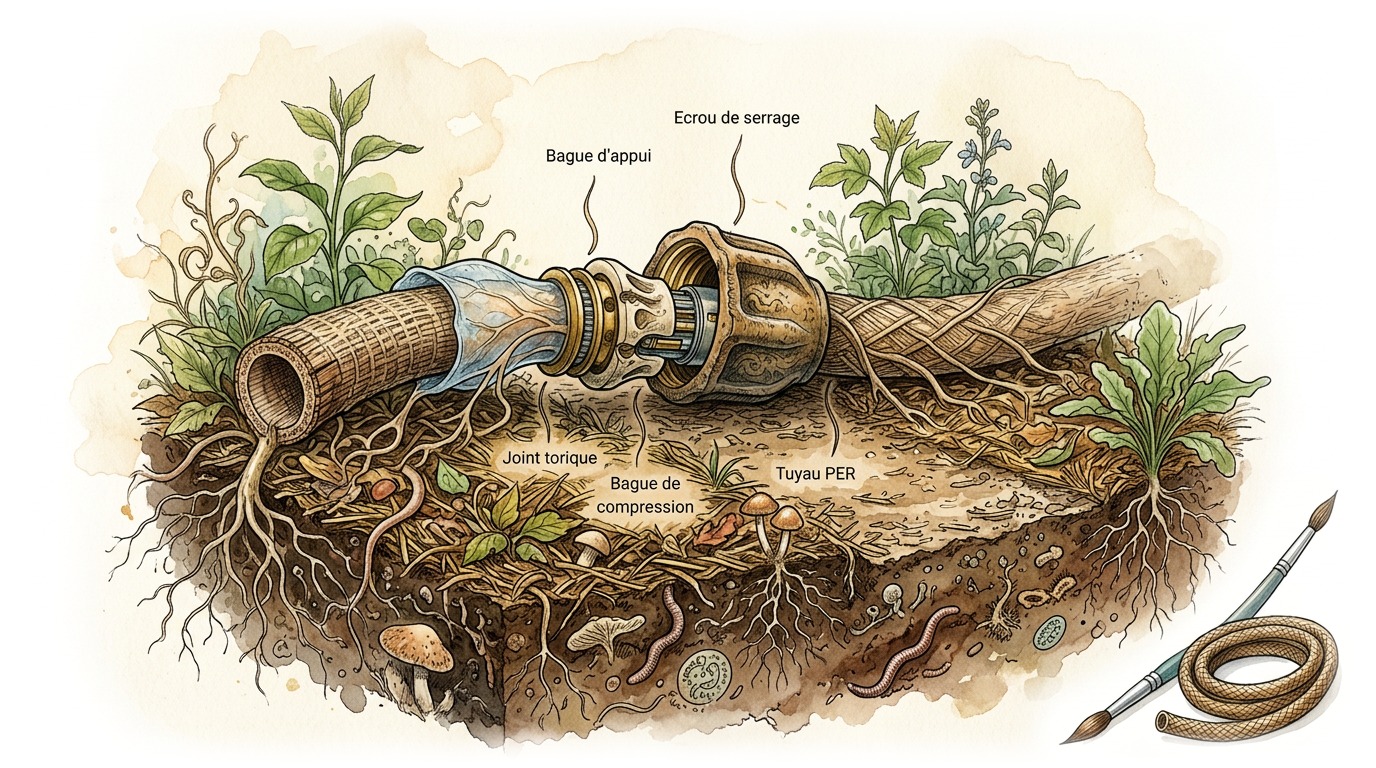
Here is the assembly of the male connector up close.

29
PARTIE 29 SUR 40 Clamping nut
Clamping nut

Clamping nut

Support ring

O-ring seal

Compression ring

Here is the assembly of the male connector up close.

PER pipe

30
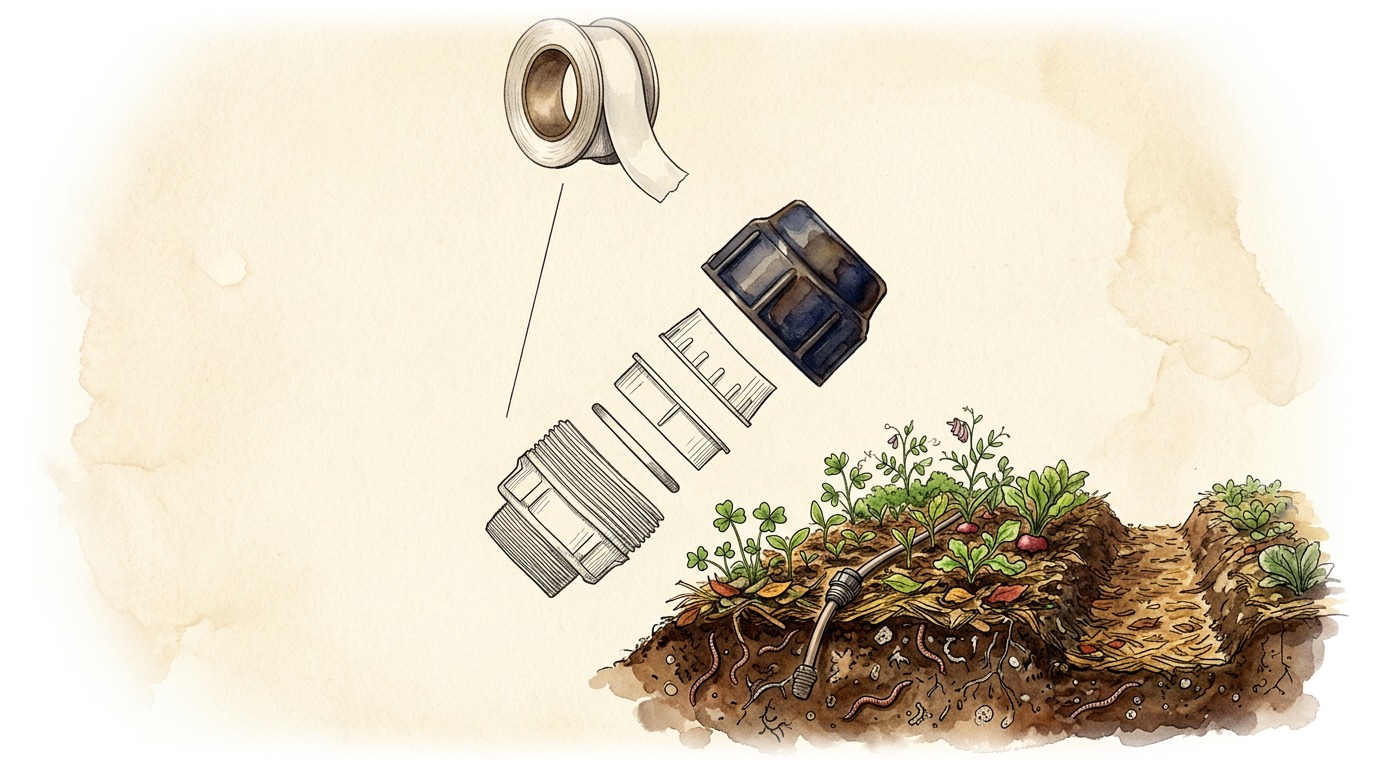
PARTIE 30 SUR 40 To ensure the sealing, without damaging the male thread, make two turns of teflon in the direction of the thread.
To ensure the sealing, without damaging the male thread, make two turns of teflon in the direction of the thread.

To ensure the sealing, without damaging the male thread, make two turns of teflon in the direction of the thread.

To ensure the sealing, without damaging the male thread, make two turns of teflon in the direction of the thread.

31
PARTIE 31 SUR 40 Female
Female

Female

valve

15mm

Connect the male fitting to the female valve.

32
PARTIE 32 SUR 40 Connect the female valve of 15 mm for the sprinkler heads.
Connect the female valve of 15 mm for the sprinkler heads.

Connect the female valve of 15 mm for the sprinkler heads.

They will allow you to open or close each sprinkler individually in case of maintenance.

You therefore do not need to stop the entire system if there is a fault or a leak at a sprinkler.

33
PARTIE 33 SUR 40 Make two turns of teflon on the thread of the watering head in the direction of the thread.
Make two turns of teflon on the thread of the watering head in the direction of the thread.

Make two turns of teflon on the thread of the watering head in the direction of the thread.

Then connect the watering head to the valve.

34
PARTIE 34 SUR 40 Repeat these operations on the three other spray rods.
Repeat these operations on the three other spray rods.

Repeat these operations on the three other spray rods.

Repeat these operations on the three other spray rods.

35
PARTIE 35 SUR 40 Attach the rods to the stabilization stakes with a rope.
Attach the rods to the stabilization stakes with a rope.

Attach the rods to the stabilization stakes with a rope.

Attach the rods to the stabilization stakes with a rope.

36
PARTIE 36 SUR 40 INSTALLATION OF THE SPRINKLER SYSTEM ON A 100M2 PLOT
INSTALLATION OF THE SPRINKLER SYSTEM ON A 100M2 PLOT

INSTALLATION OF THE SPRINKLER SYSTEM ON A 100M2 PLOT

STEP 4 : PRESSURIZATION OF THE SYSTEM

37
PARTIE 37 SUR 40 Test the system to ensure proper functioning and to check that there are no leaks.
Test the system to ensure proper functioning and to check that there are no leaks.

Test the system to ensure proper functioning and to check that there are no leaks.

This allows for the validation of the proper functioning of the sprinklers for the flow rate and the available

pressure.

38
PARTIE 38 SUR 40 INSTALLATION OF THE SPRINKLER SYSTEM ON A 100M2 PLOT
INSTALLATION OF THE SPRINKLER SYSTEM ON A 100M2 PLOT

INSTALLATION OF THE SPRINKLER SYSTEM ON A 100M2 PLOT

STEP 5 : MAINTAINING YOUR IRRIGATION SYSTEM

39
PARTIE 39 SUR 40 Visually check that the system is working properly and that there are no leaks when you switch it on.
Visually check that the system is working properly and that there are no leaks when you switch it on.

Visually check that the system is working properly and that there are no leaks when you switch it on.

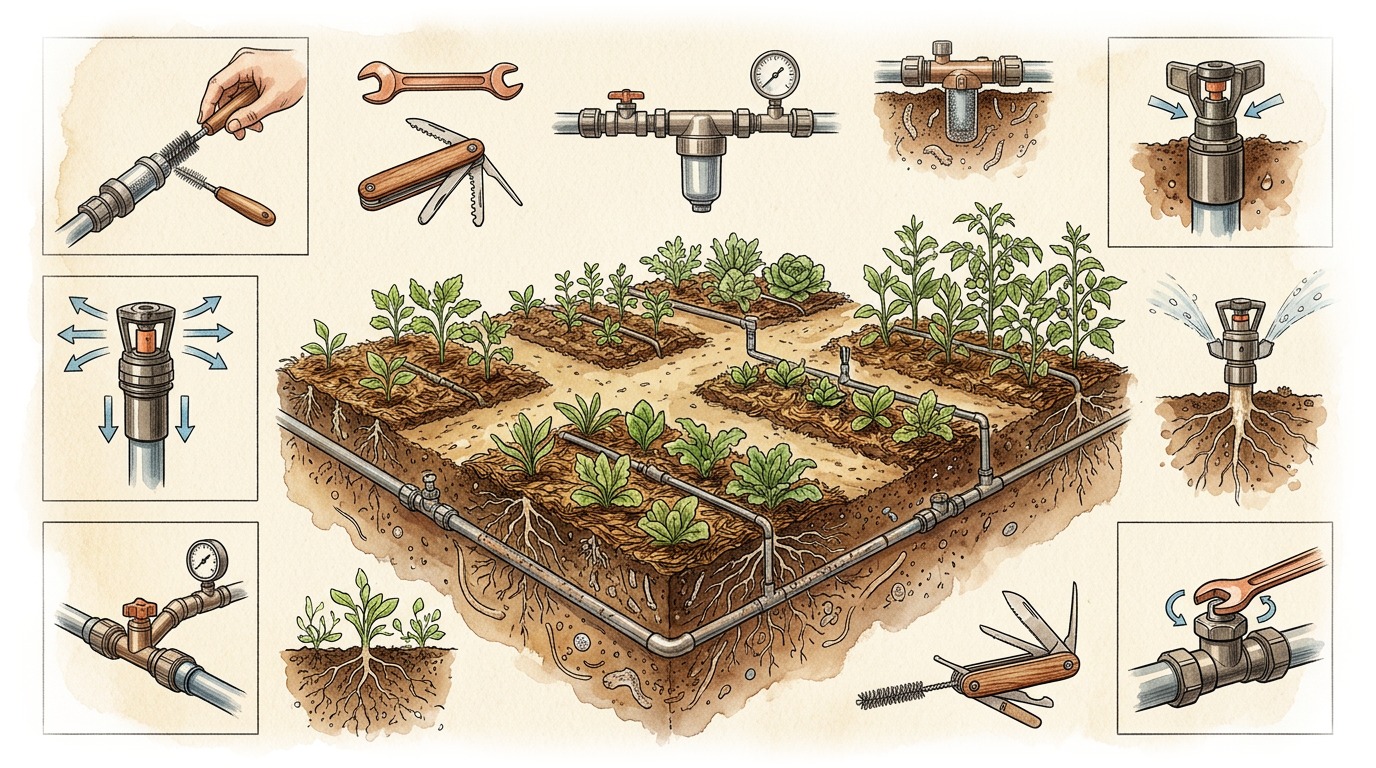
Grease rotating parts regularly.

Make sure that the spray nozzles are not clogged with lime or organic waste.

40
PARTIE 40 SUR 40 Congratulations ! You've just learned how to create your own sprinkler irrigation system.
Congratulations ! You've just learned how to create your own sprinkler irrigation system.
Congratulations ! You've just learned how to create your own sprinkler irrigation system.
Congratulations ! You've just learned how to create your own sprinkler irrigation system.