Campus
M3.3 🌱 Techniques & Practices 📖 35 parties ☀️ Terroir tropical & sahélien 🌐 English

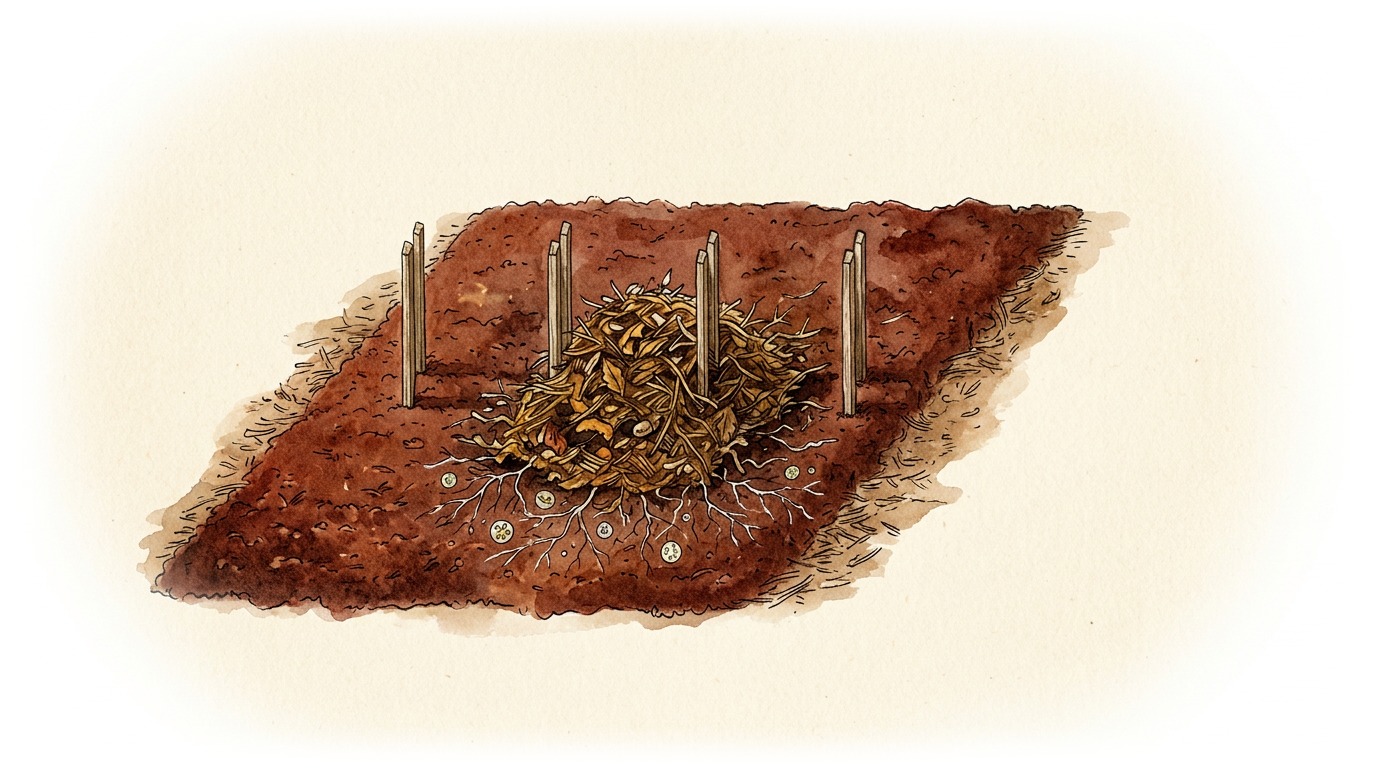
Making Compost & Building a Composter

Step-by-step winter compost production (greens/browns/manure, moisture, temperature rise) and building a local wooden or wire mesh composter.

📋 Sommaire des chapitres (35 parties) Afficher / Masquer
1 We will show you how to set up your compost in a market gardening business 2 What is compost? 3 To make and use your compost, you will need the following tools: a measuring tape, 1 shovel or a hoe, 1 4 To make compost, you will need the following ingredients: 1.5 m3 of green ingredients such as residues 5 1.5 m3 of brown materials such as dead leaves, branches, dry crop residues or 6 You will also need 5 buckets of cow dung or cow urine or soil or old compost, and the volume of a 7 Compost setup is a 6-step process. If all materials are gathered, it's a job that takes no more 8 STEP 1: STARTING COMPOST PRODUCTION 9 Layer brown and green materials alternately, adding a microorganism-rich starter after each layer 10 The first 30 cm layer is made with brown material. Sprinkle a bucket of one of the starters on top. 11 The second 30 cm layer is made with green matter. Then sprinkle a bucket of your starter. 12 Repeat the operation to obtain 5 to 6 layers of 30 cm, always finishing with the most readily available material 13 STEP 2: TRANSFER AND 14 After 2-3 weeks, the raw organic matter has decreased in volume. 15 Using the shovel, transfer the compost to the 2nd compartment, adding half the bag of charcoal. 16 Mix for a Homogeneous Pile 17 As soon as the 1st compartment is empty, restart compost production as seen in step 1. 18 STEP 3: FINALIZING THE COMPOST 19 After 2-3 weeks, the compost in the 2nd compartment has reduced in volume. 20 Transfer it to the 3rd compartment using the second half of the charcoal bag. The parts 21 As in Step 2, transfer the 1st compartment into the 2nd, adding half a bag of charcoal. 22 When the first compartment is free: stack the ingredients again. 23 After 2-3 weeks, empty the 2nd compartment into the 3rd and the 1st into the 2nd. 24 STEP 4: CONTINUE FEEDING THE 25 Now that you know the winter composting technique, repeat these operations throughout the winter 26 STEP 5: PREPARING COMPOST TEA 27 x2 28 x3 29 STEP 6: USING COMPOST 30 Compost and compost tea can be used at different stages of the cropping cycle. 31 Apply compost as an amendment to the beds to prepare the crop beds. 32 Spray compost tea on the soil when flowering begins. 33 Spray compost juice on the soil when fruits and vegetables start to grow. 34 Compost is not a trash can; not all waste decomposes and can even be bad for 35 Congratulations! You now know the technique for making your winter compost and using it in your

1
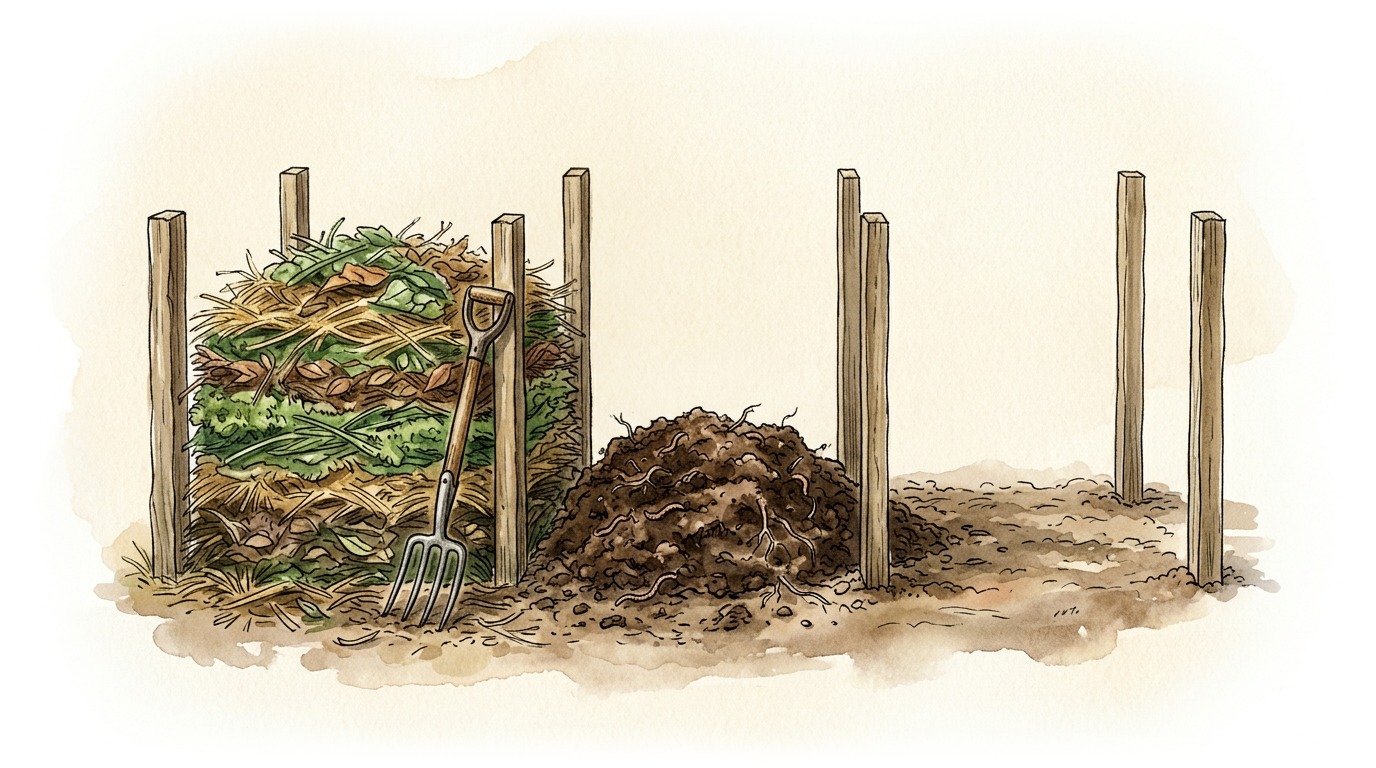
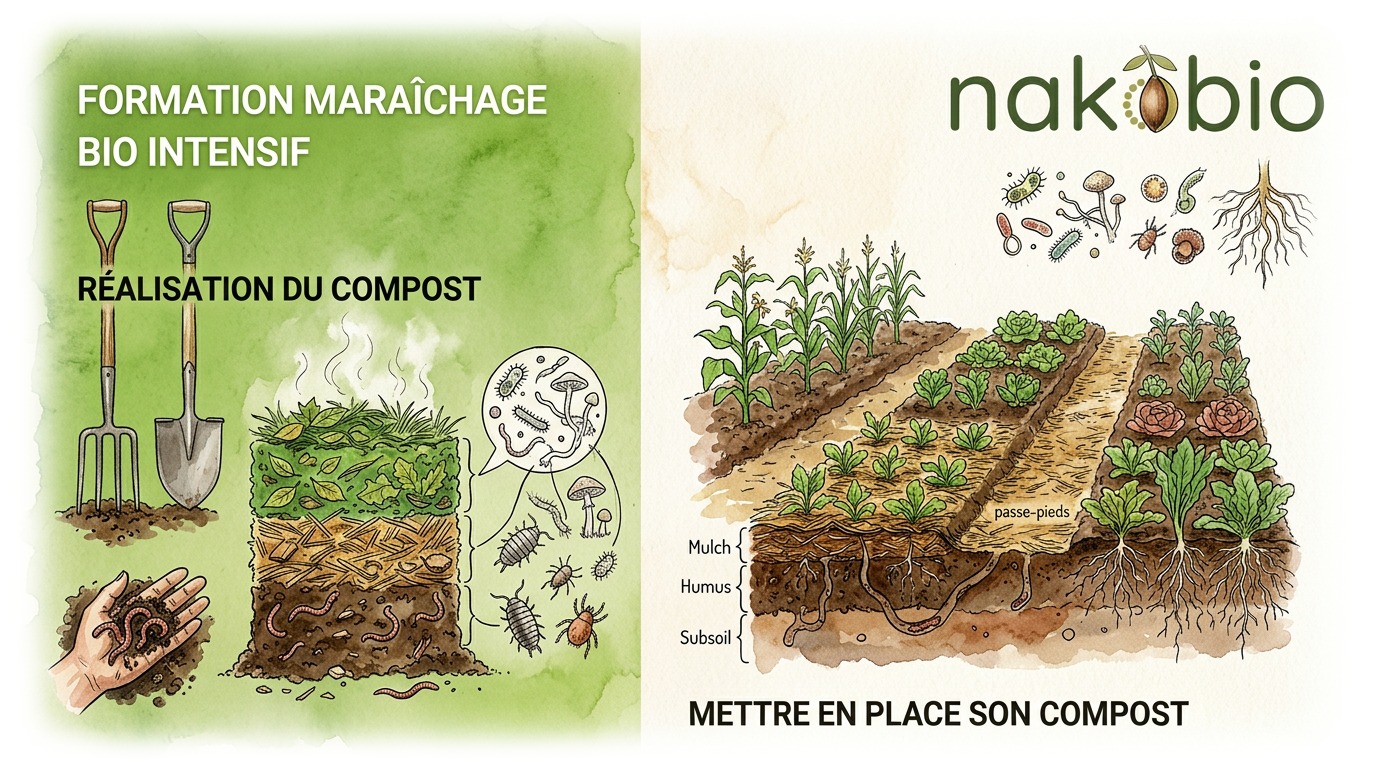
PARTIE 1 SUR 35 We will show you how to set up your compost in a market gardening business
We will show you how to set up your compost in a market gardening business

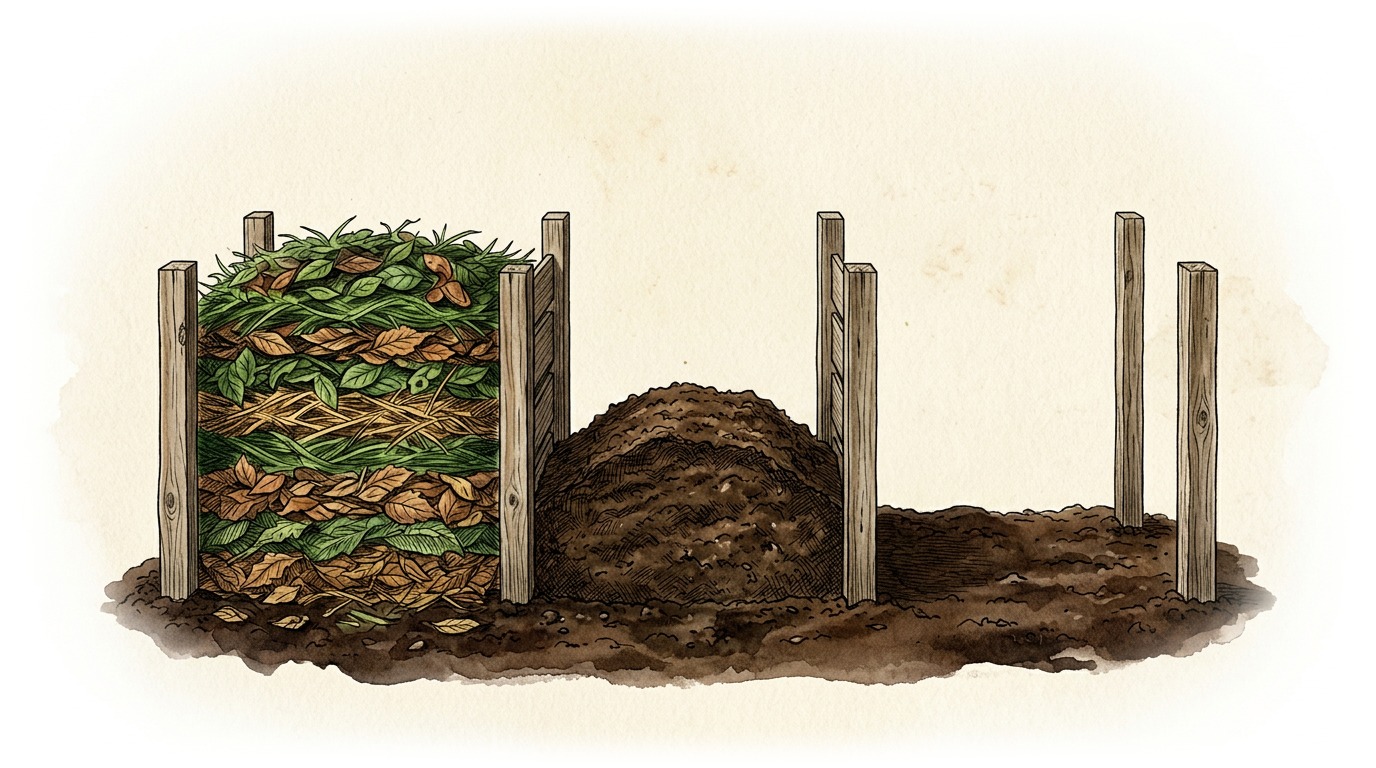
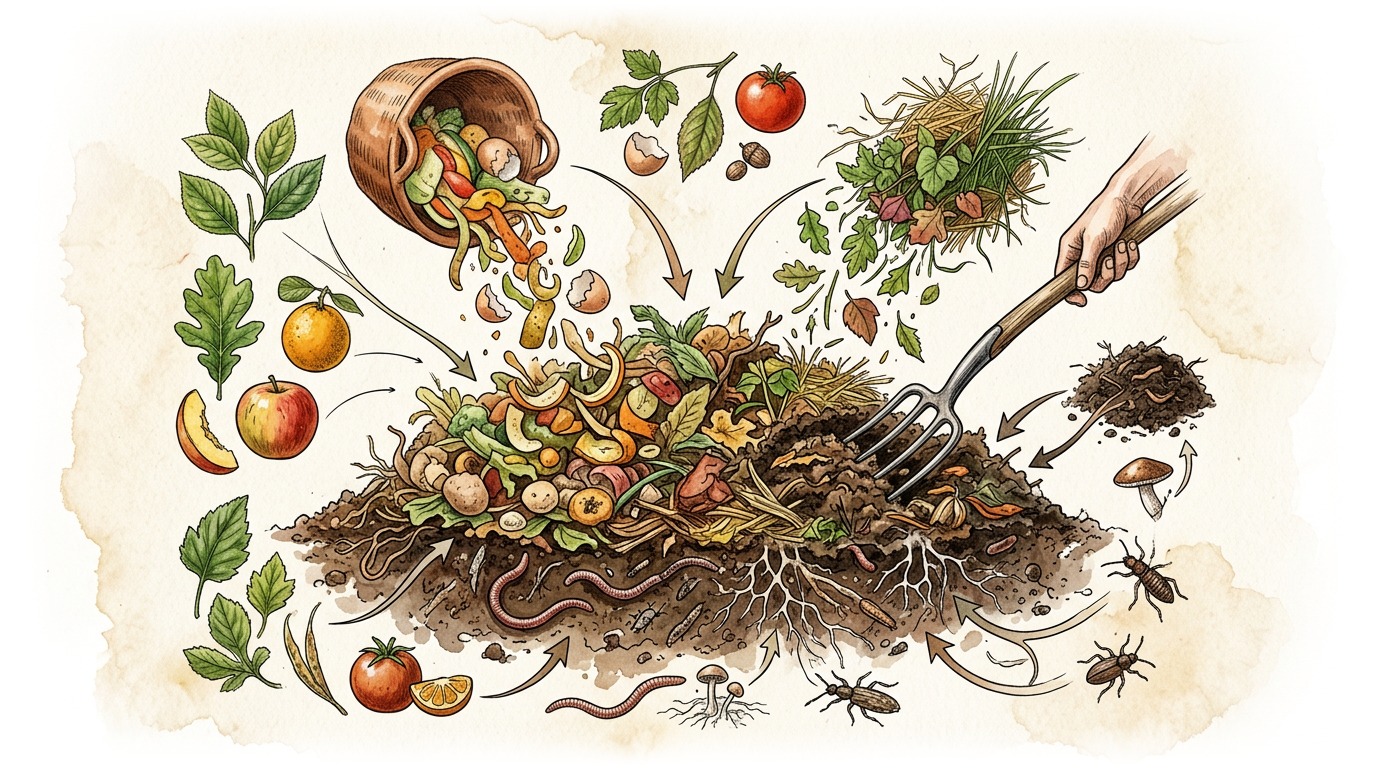
We will show you how to set up your compost in a market gardening business

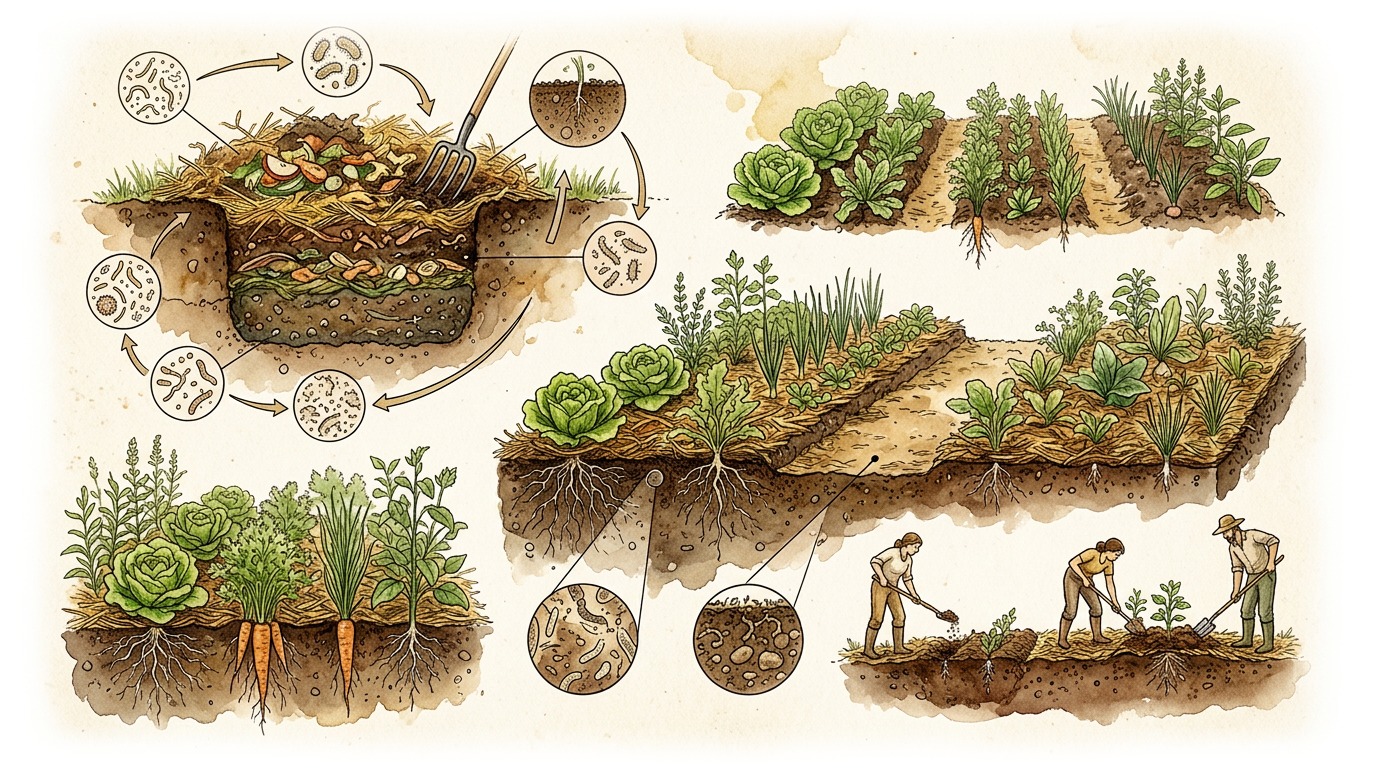
bio-intensive in living soil.

2
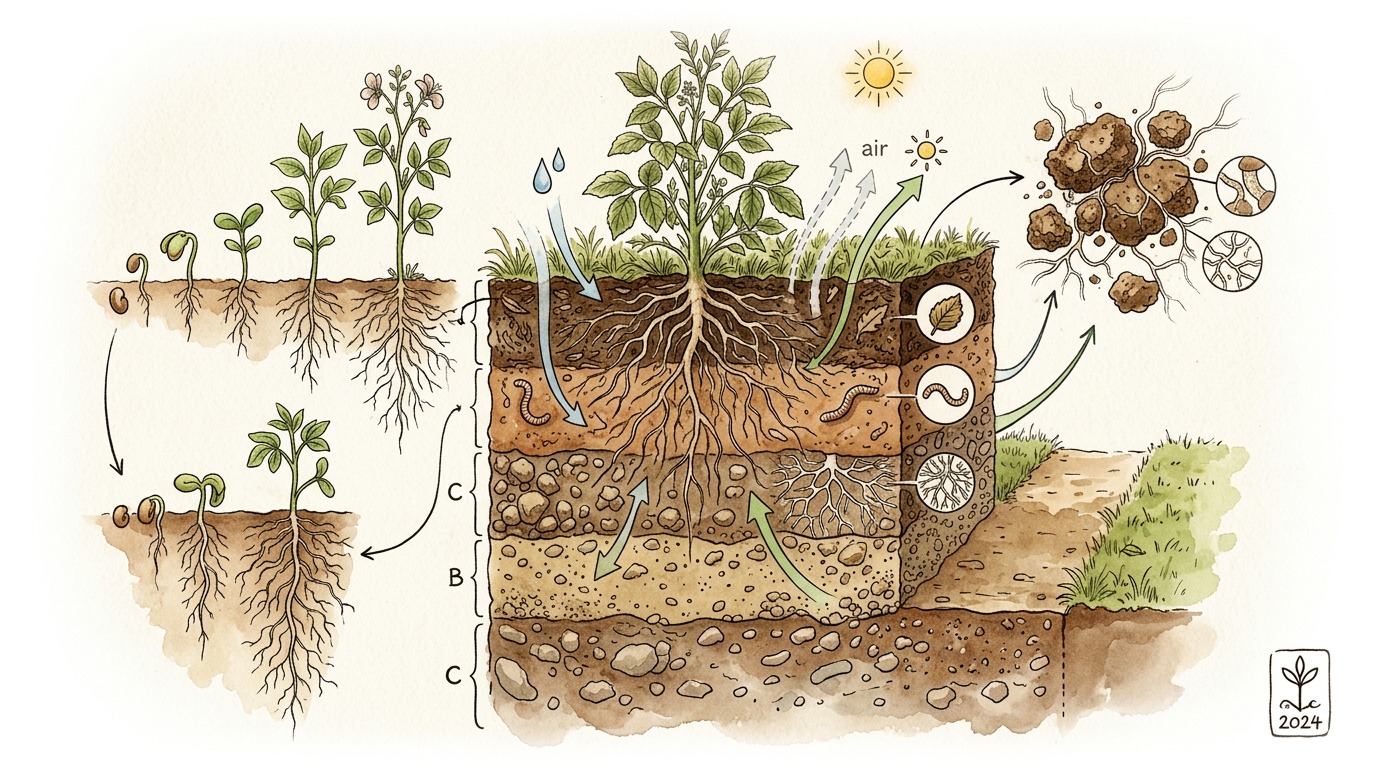
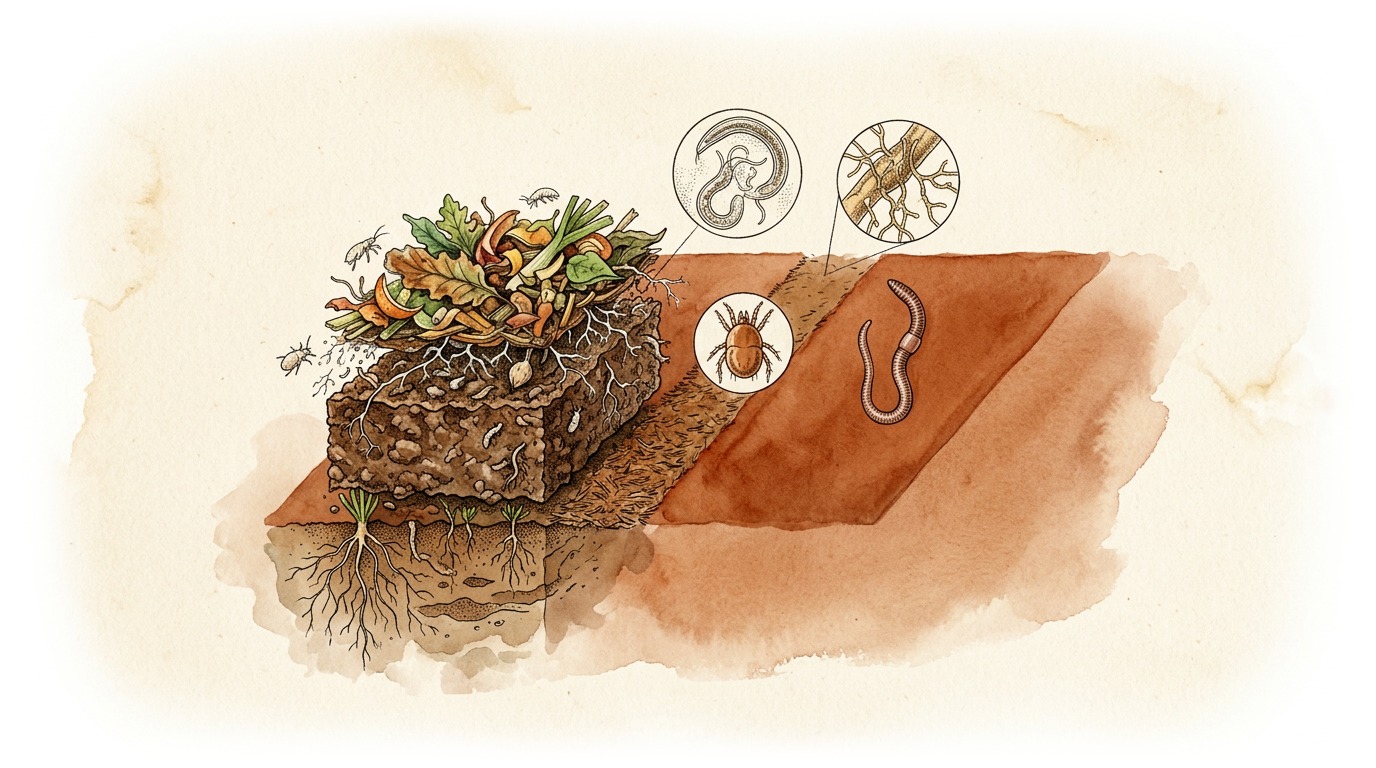
PARTIE 2 SUR 35 What is compost?
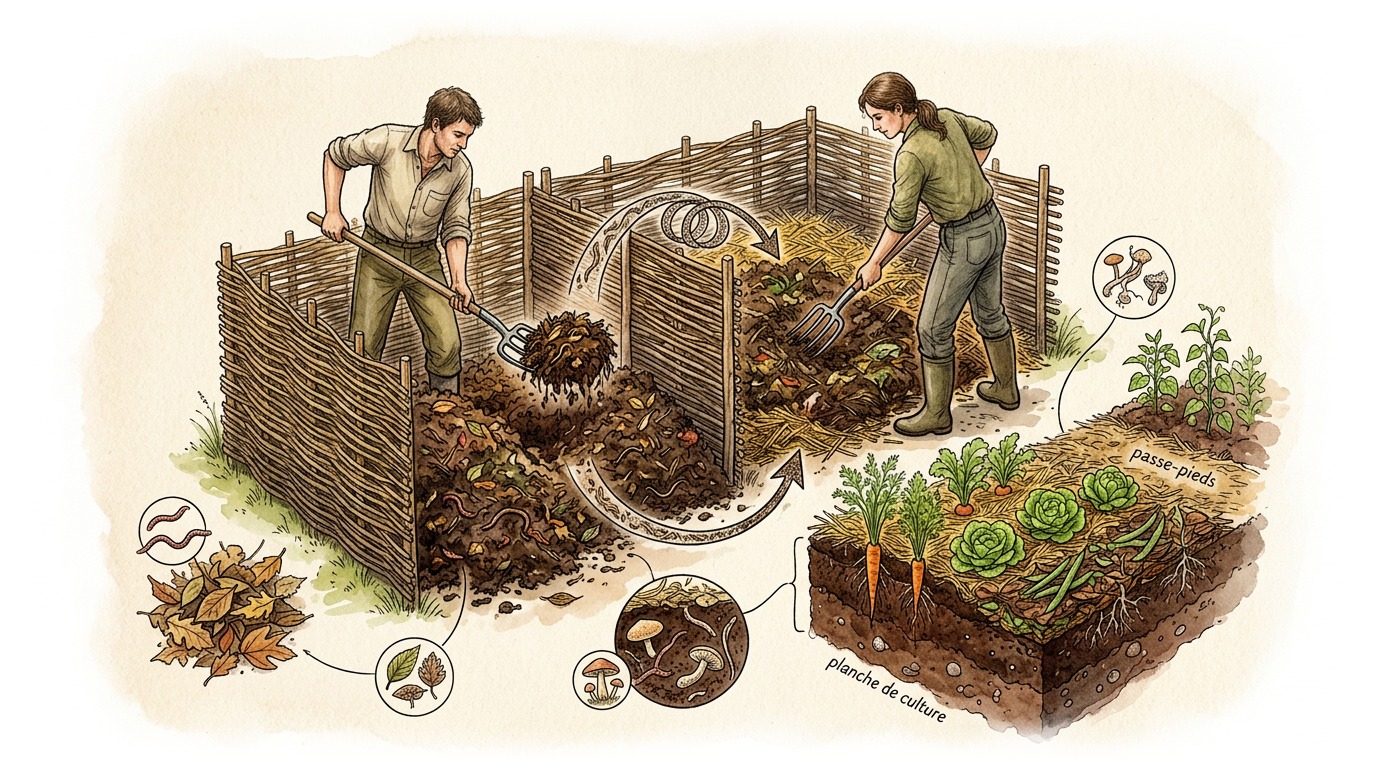
What is compost?

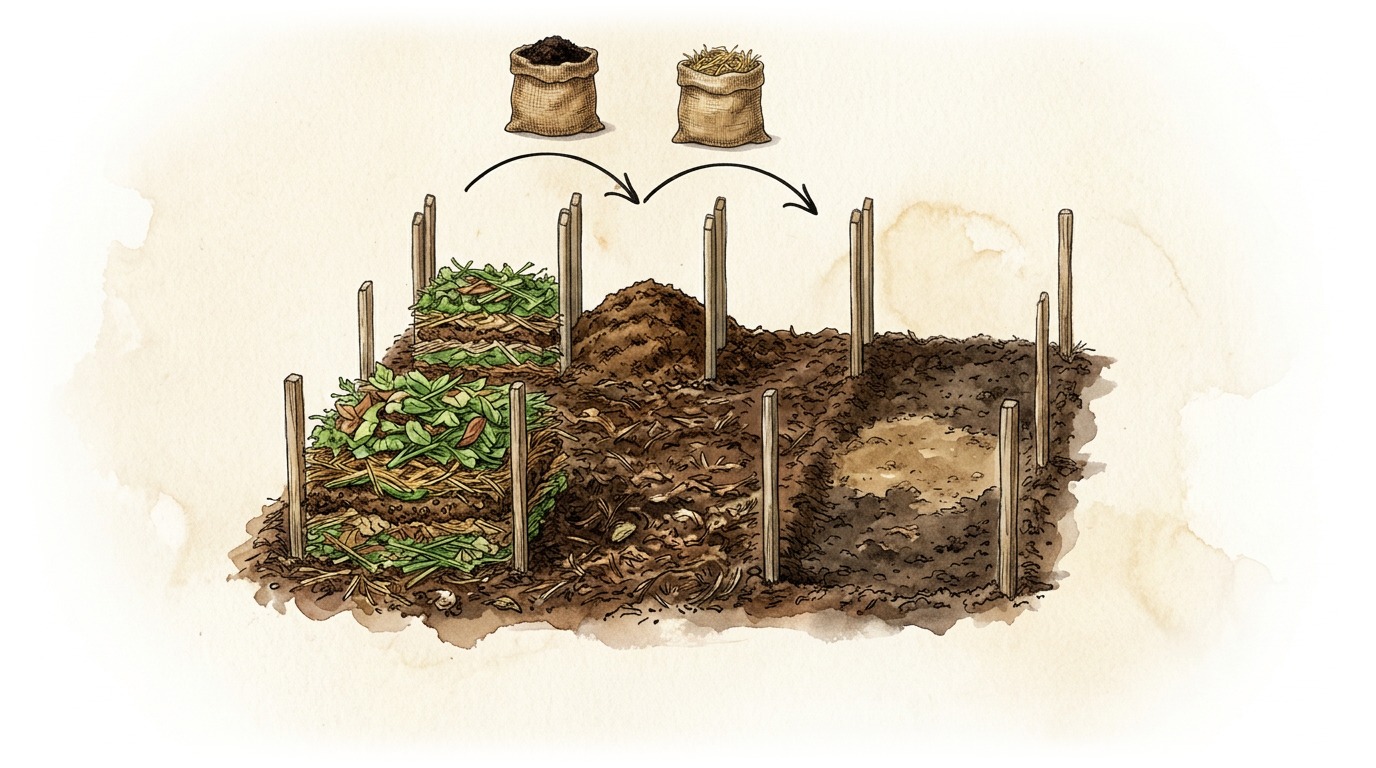
What is compost?

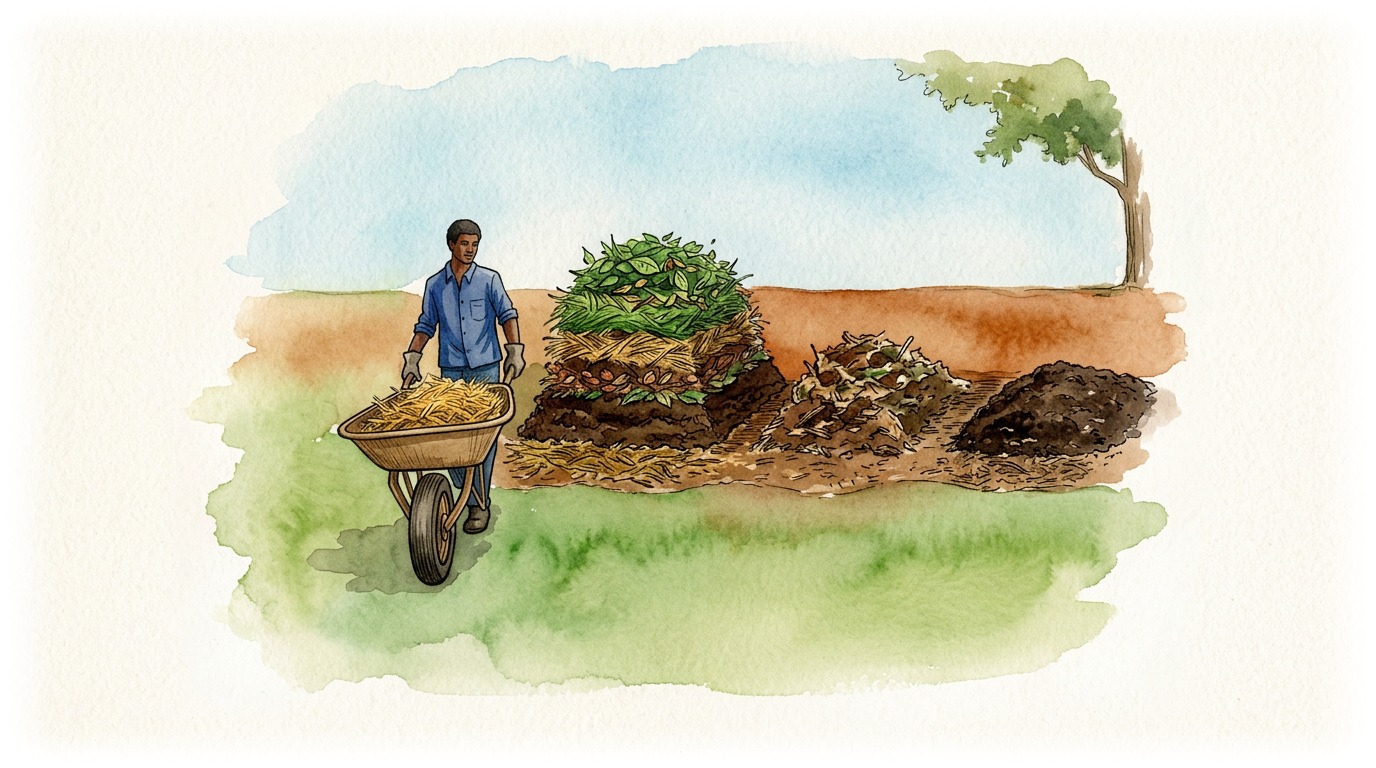
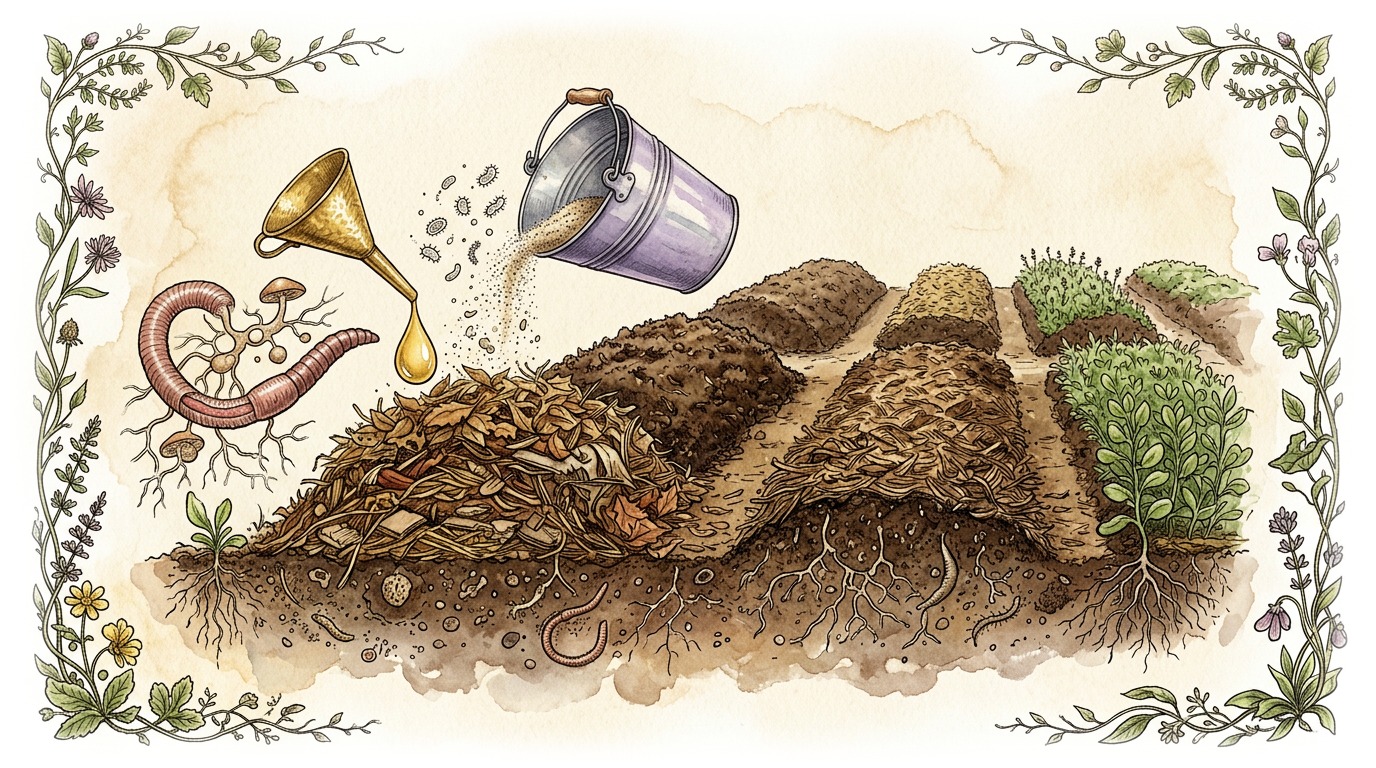
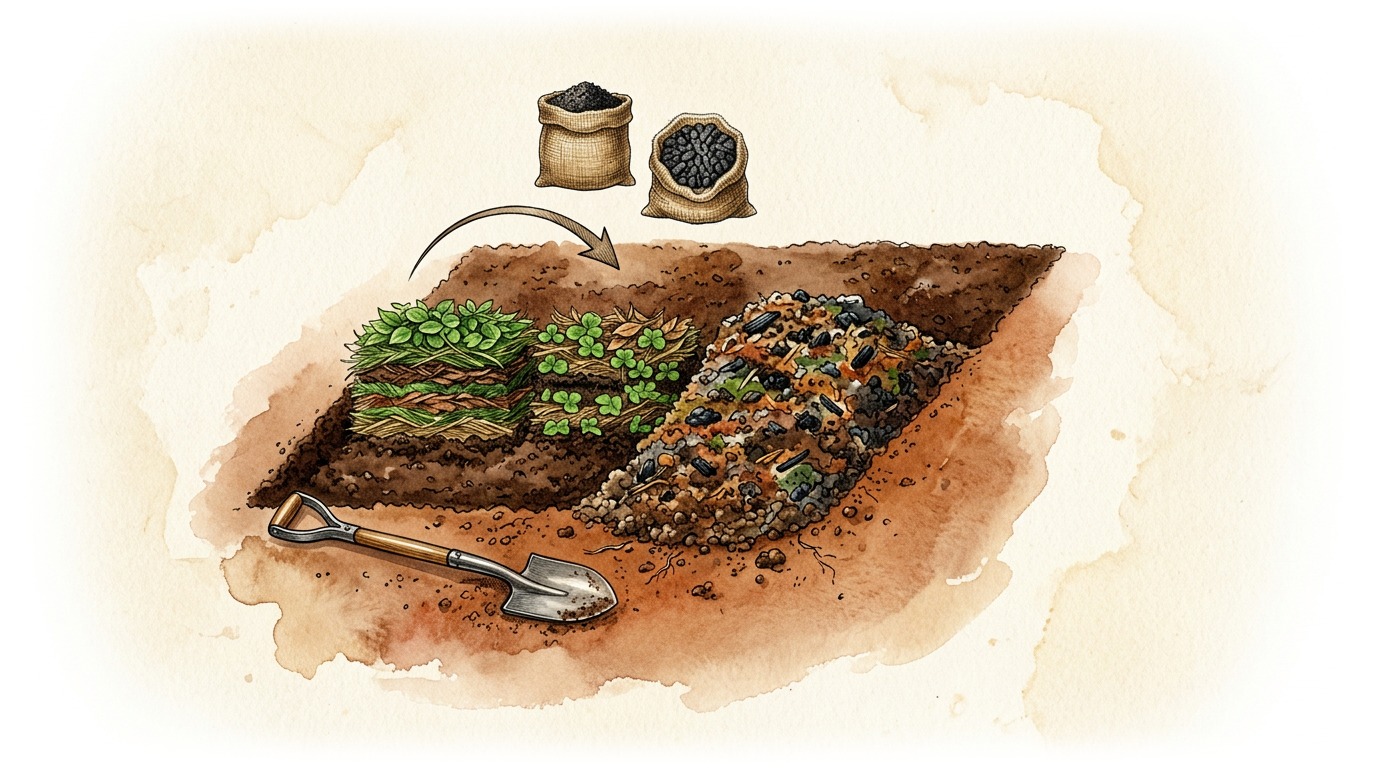
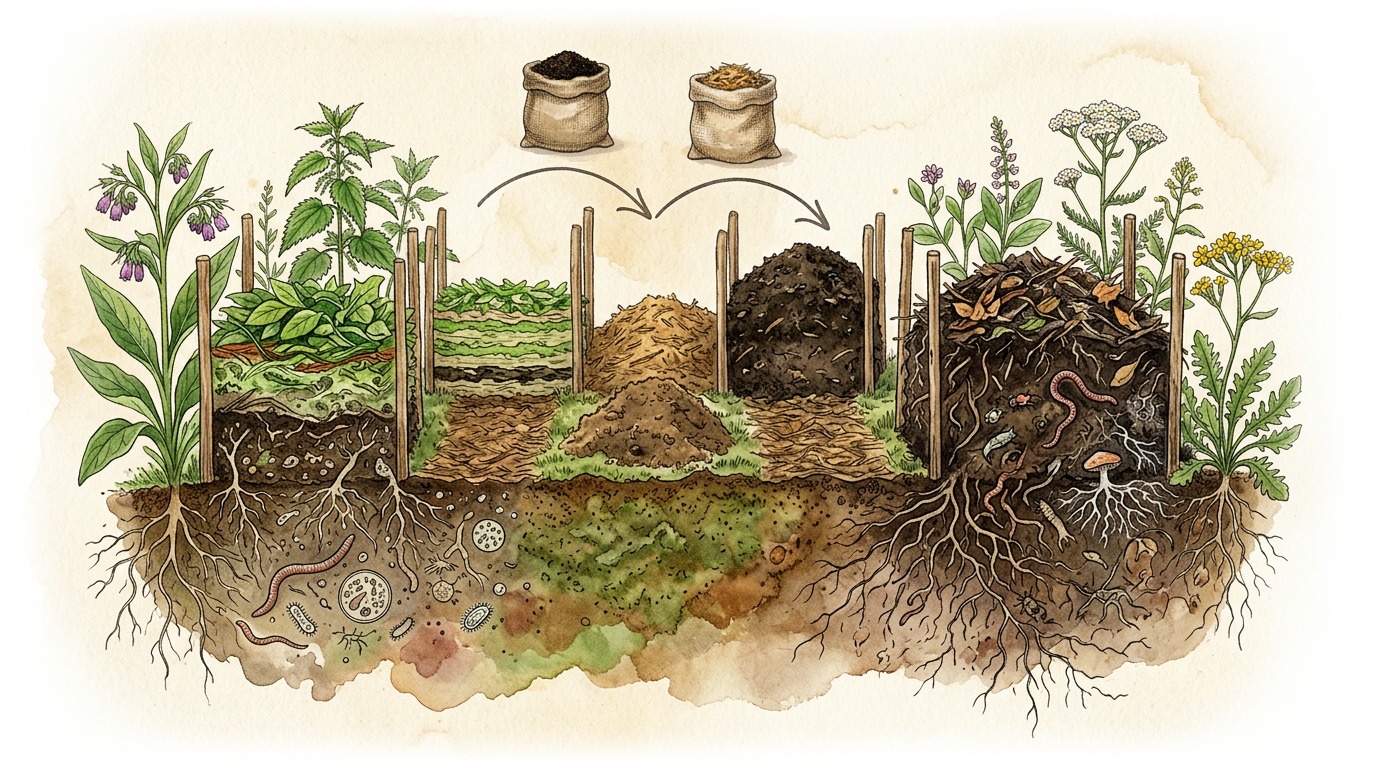
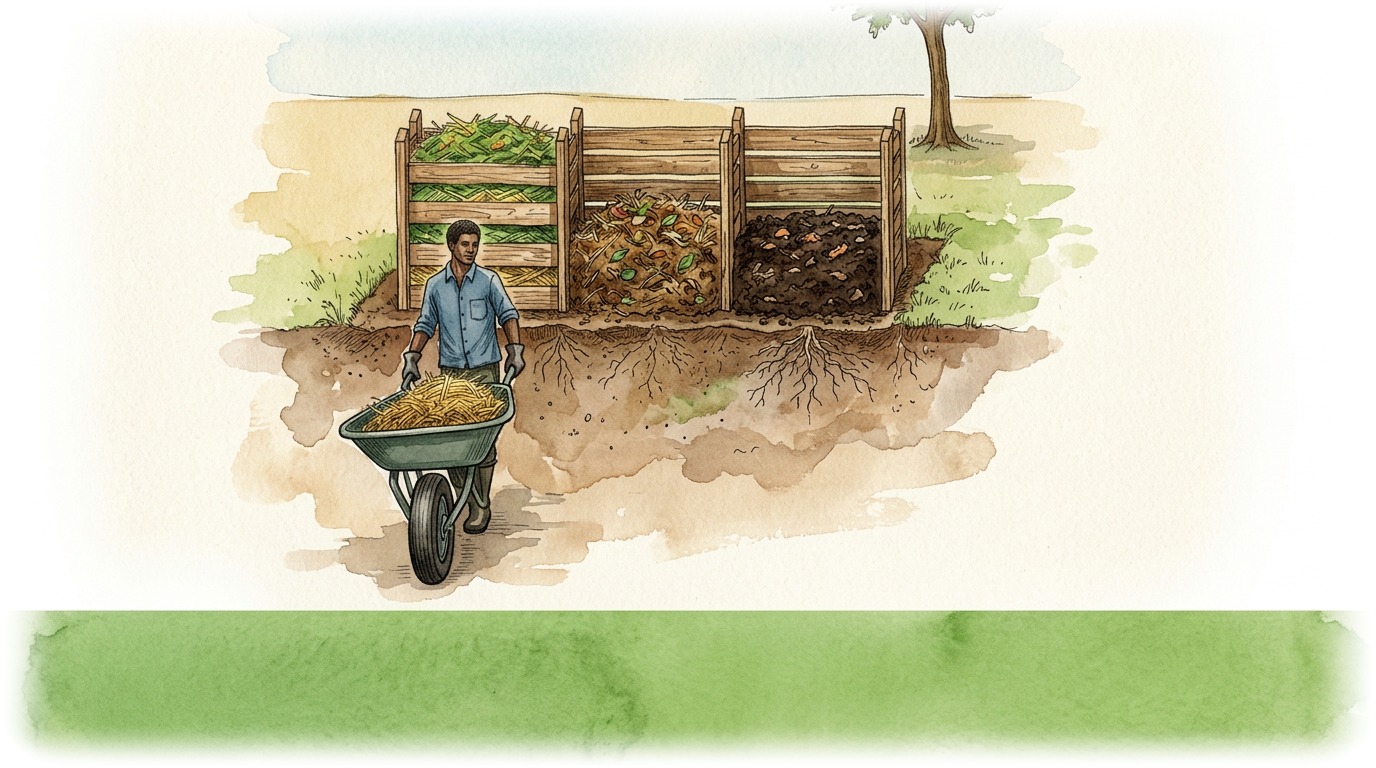
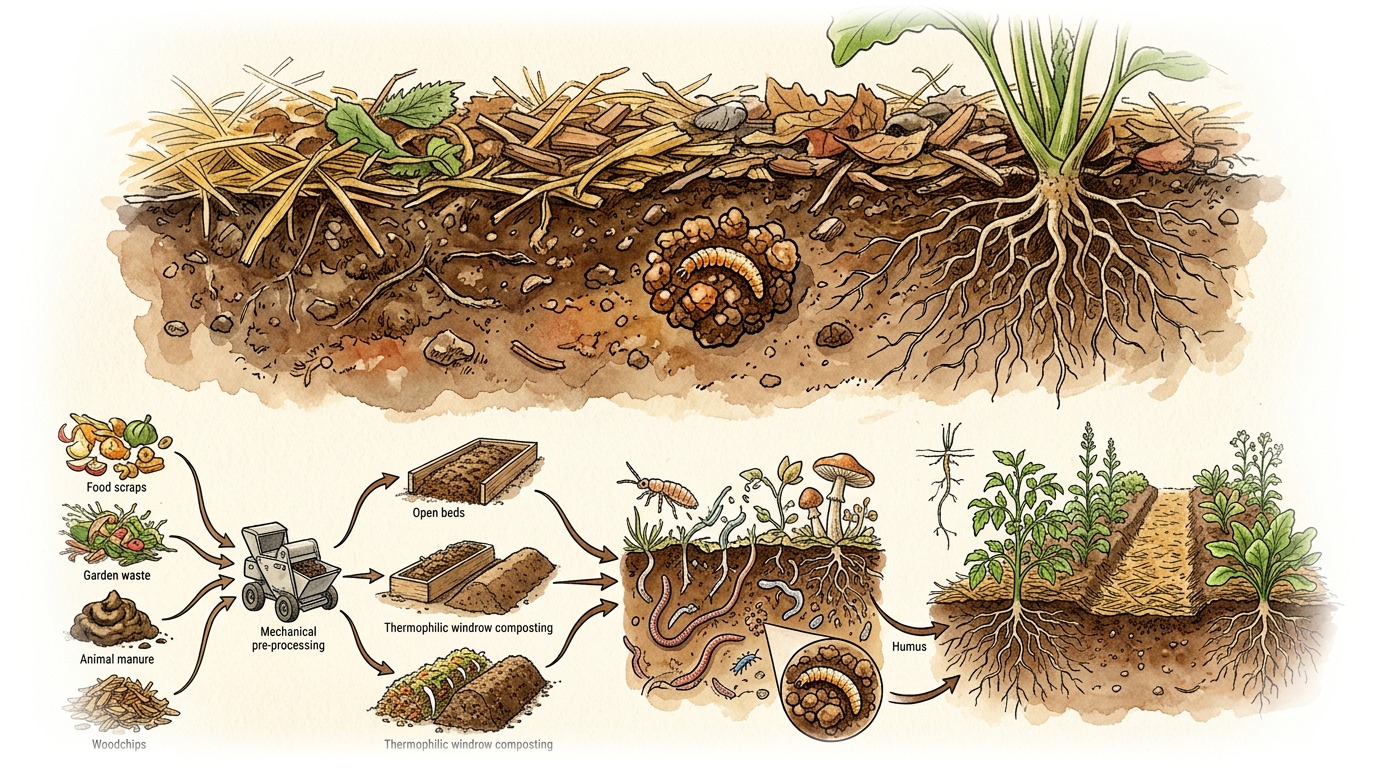
It is the process of decomposing organic waste or materials through soil life, to transform them into a fertile substrate usable for crops.

3
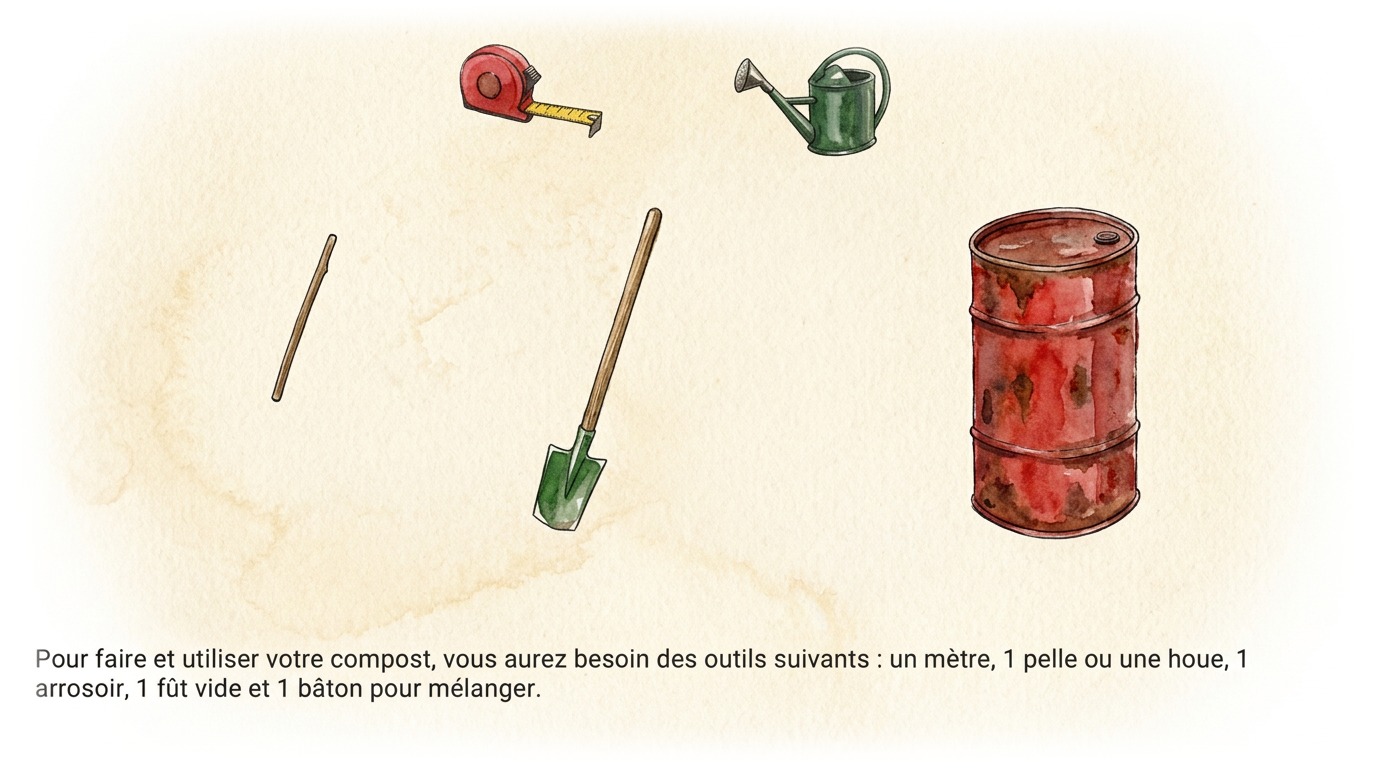
PARTIE 3 SUR 35 To make and use your compost, you will need the following tools: a measuring tape, 1 shovel or a hoe, 1
To make and use your compost, you will need the following tools: a measuring tape, 1 shovel or a hoe, 1

To make and use your compost, you will need the following tools: a measuring tape, 1 shovel or a hoe, 1

watering can, 1 empty barrel, and 1 stick for mixing.

4
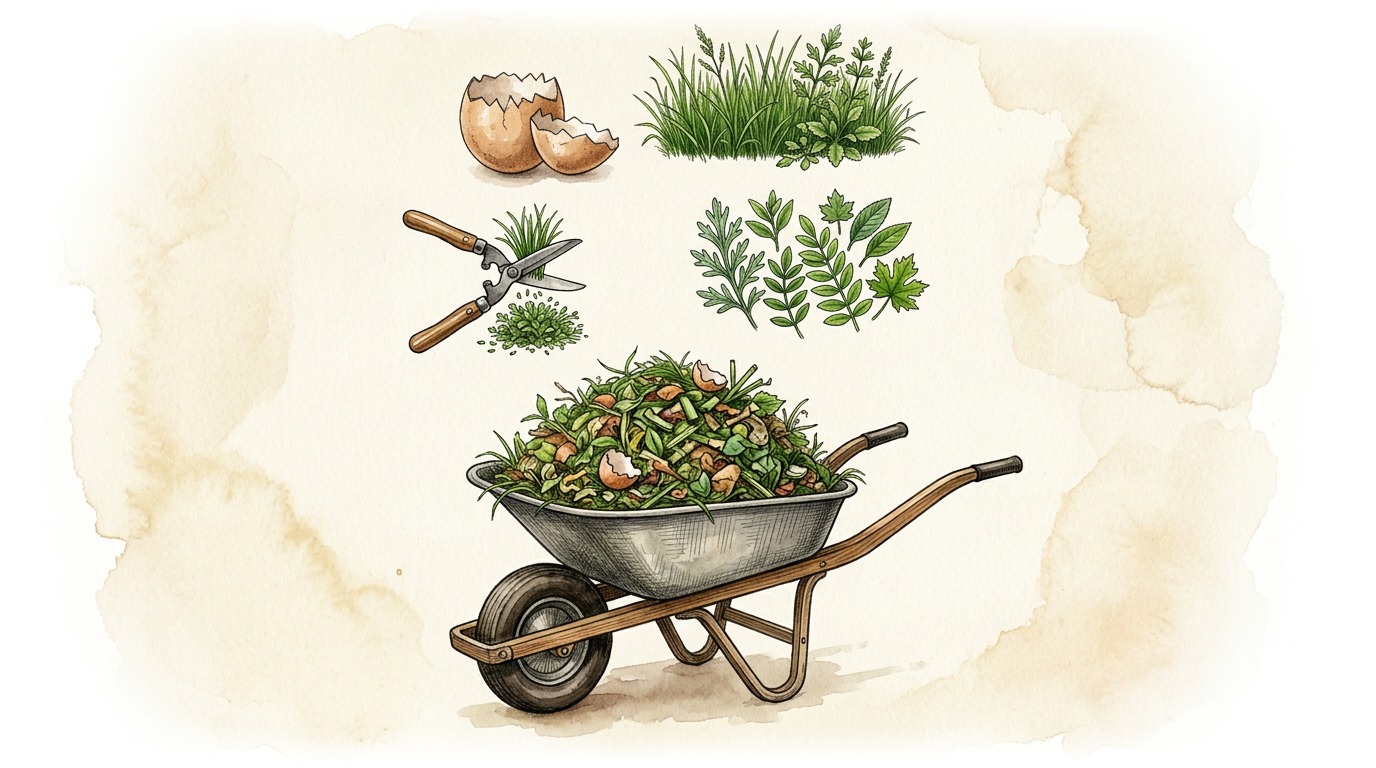
PARTIE 4 SUR 35 To make compost, you will need the following ingredients: 1.5 m3 of green ingredients such as residues
To make compost, you will need the following ingredients: 1.5 m3 of green ingredients such as residues

To make compost, you will need the following ingredients: 1.5 m3 of green ingredients such as residues

from the kitchen, weeding products, green manure mowing, or shrub leaves.

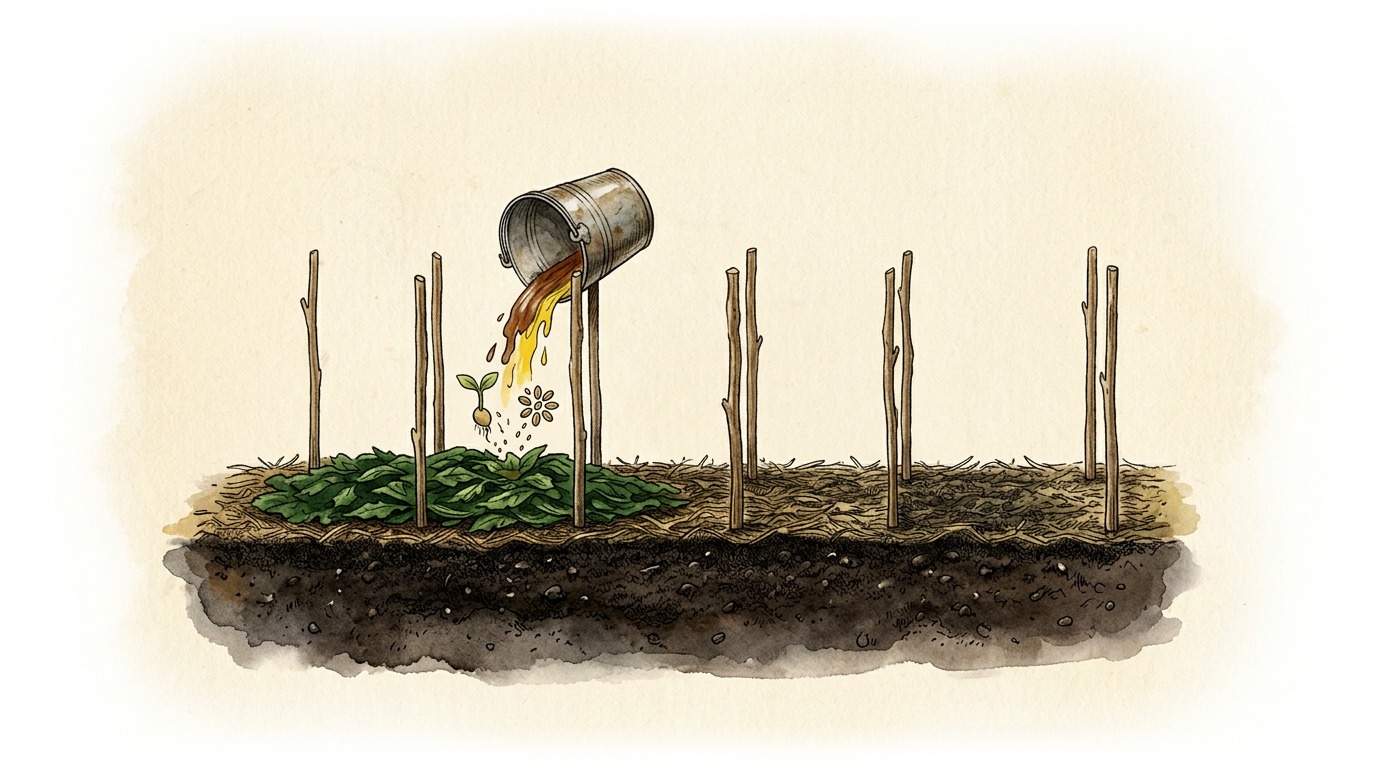
5
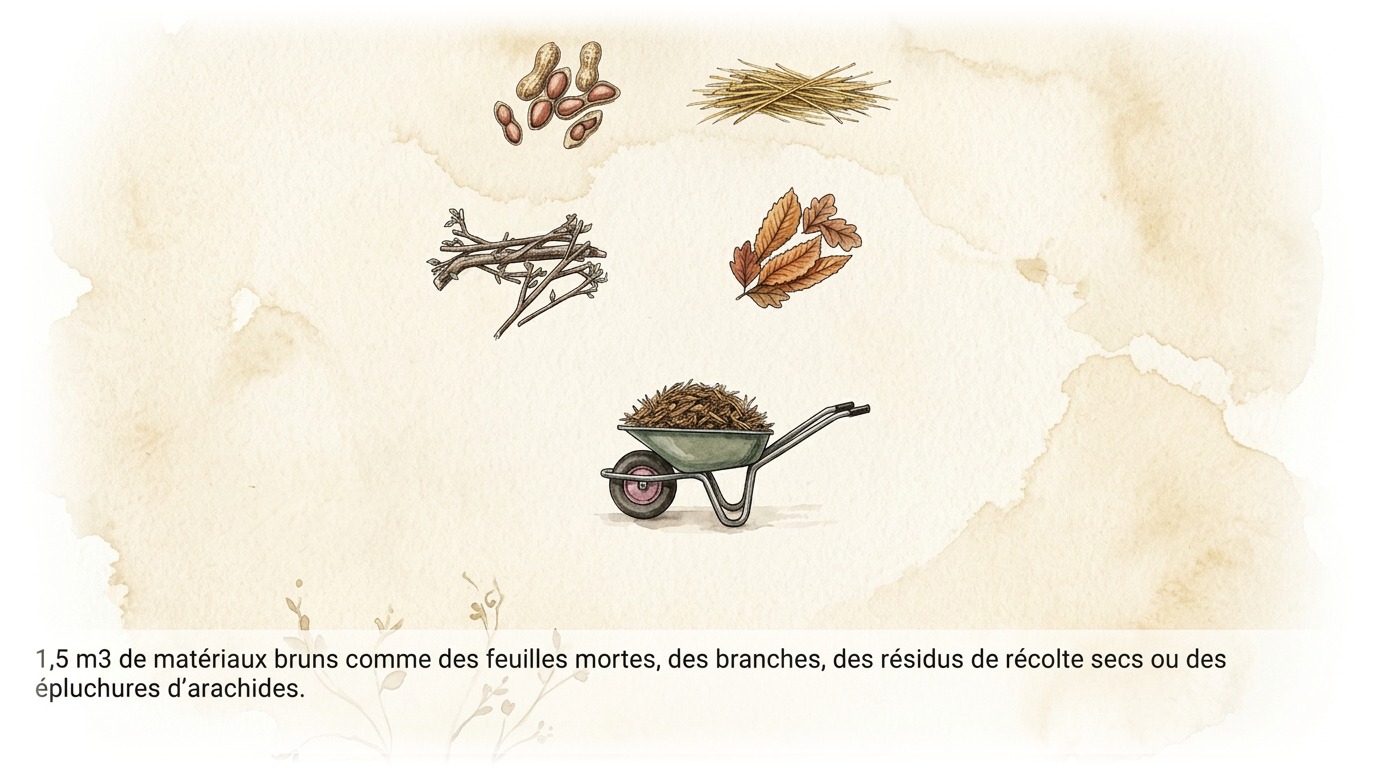
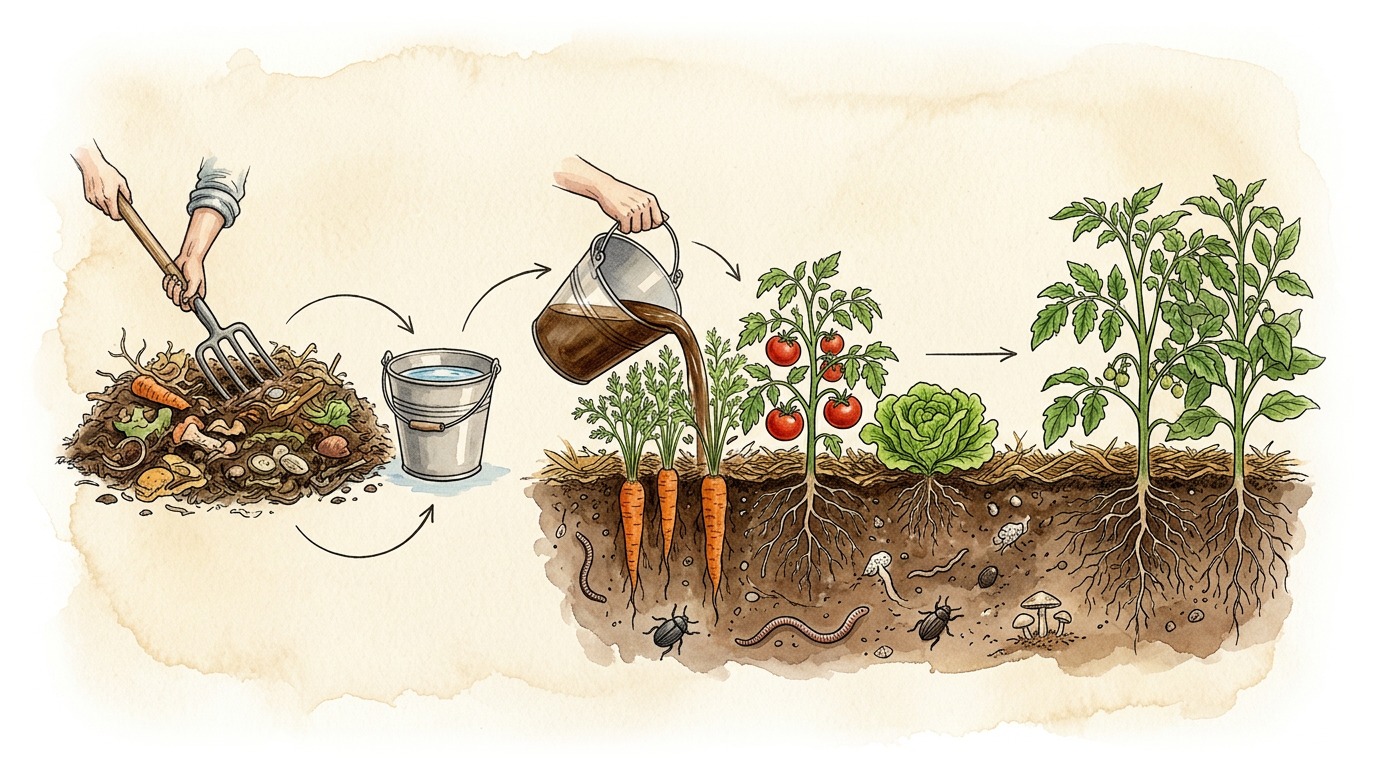
PARTIE 5 SUR 35 1.5 m3 of brown materials such as dead leaves, branches, dry crop residues or
1.5 m3 of brown materials such as dead leaves, branches, dry crop residues or

1.5 m3 of brown materials such as dead leaves, branches, dry crop residues or

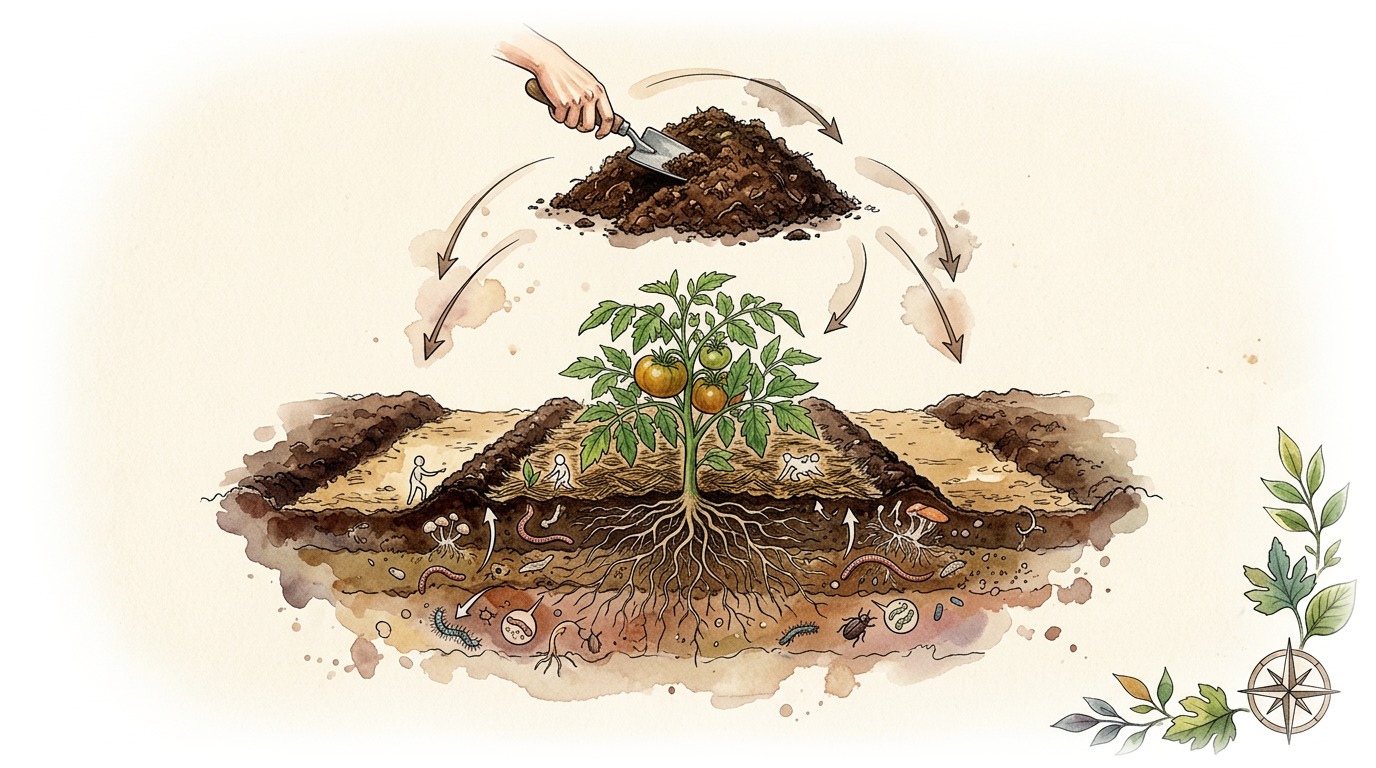
peanut shells.

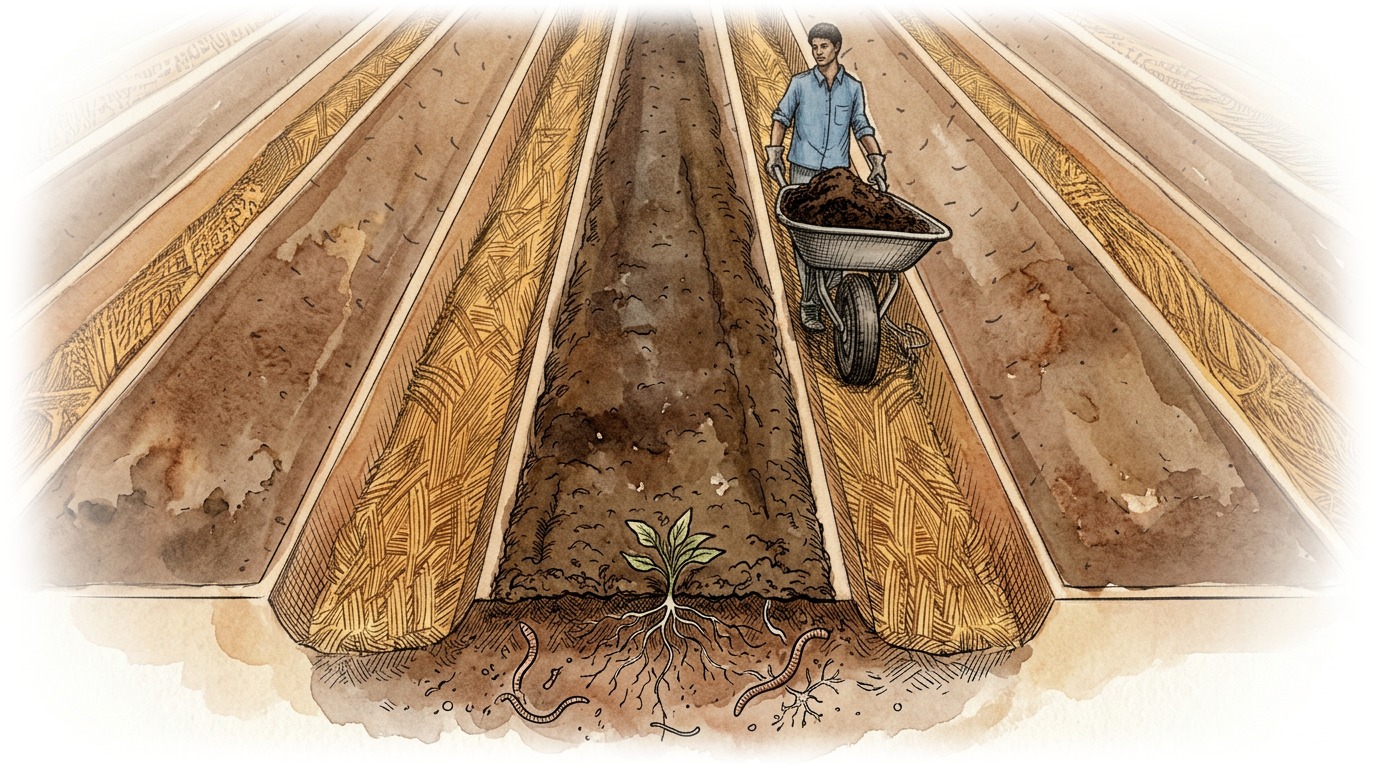
6
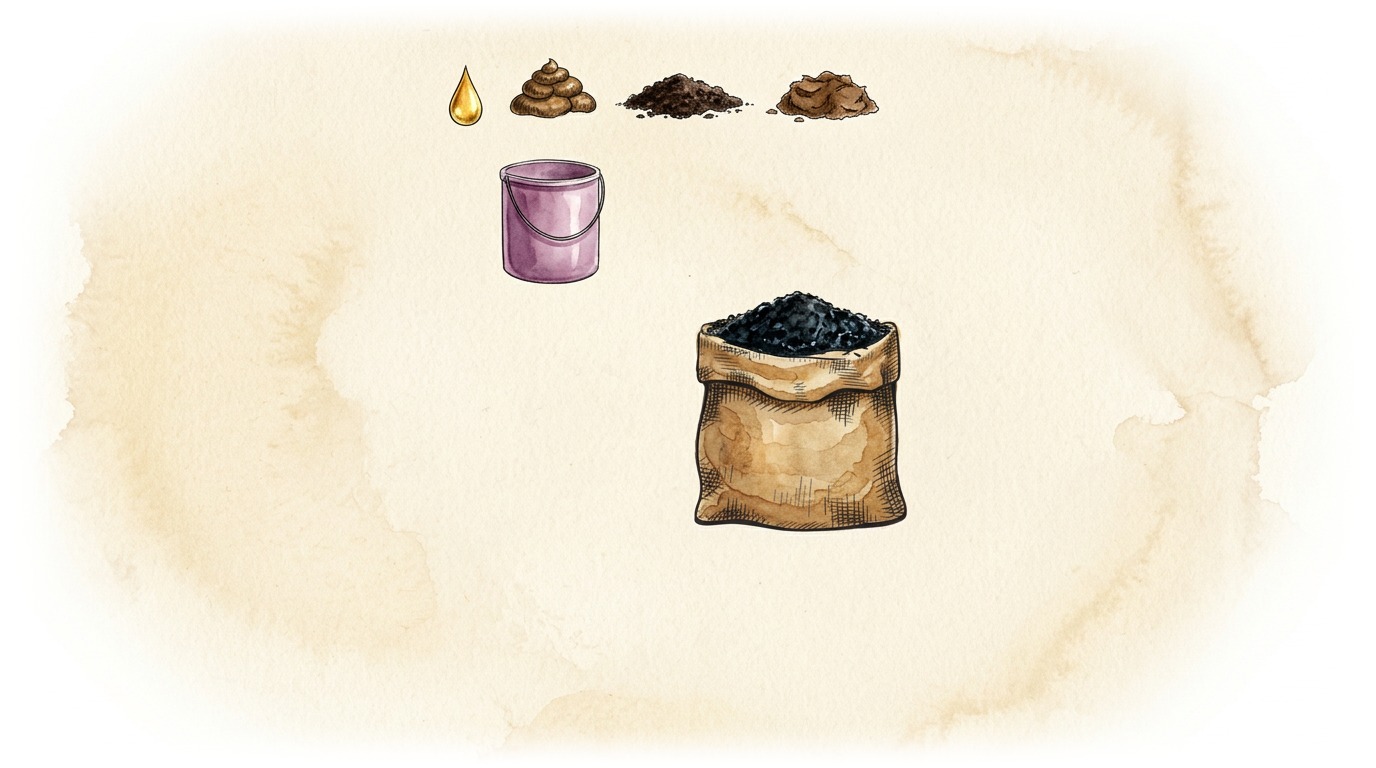
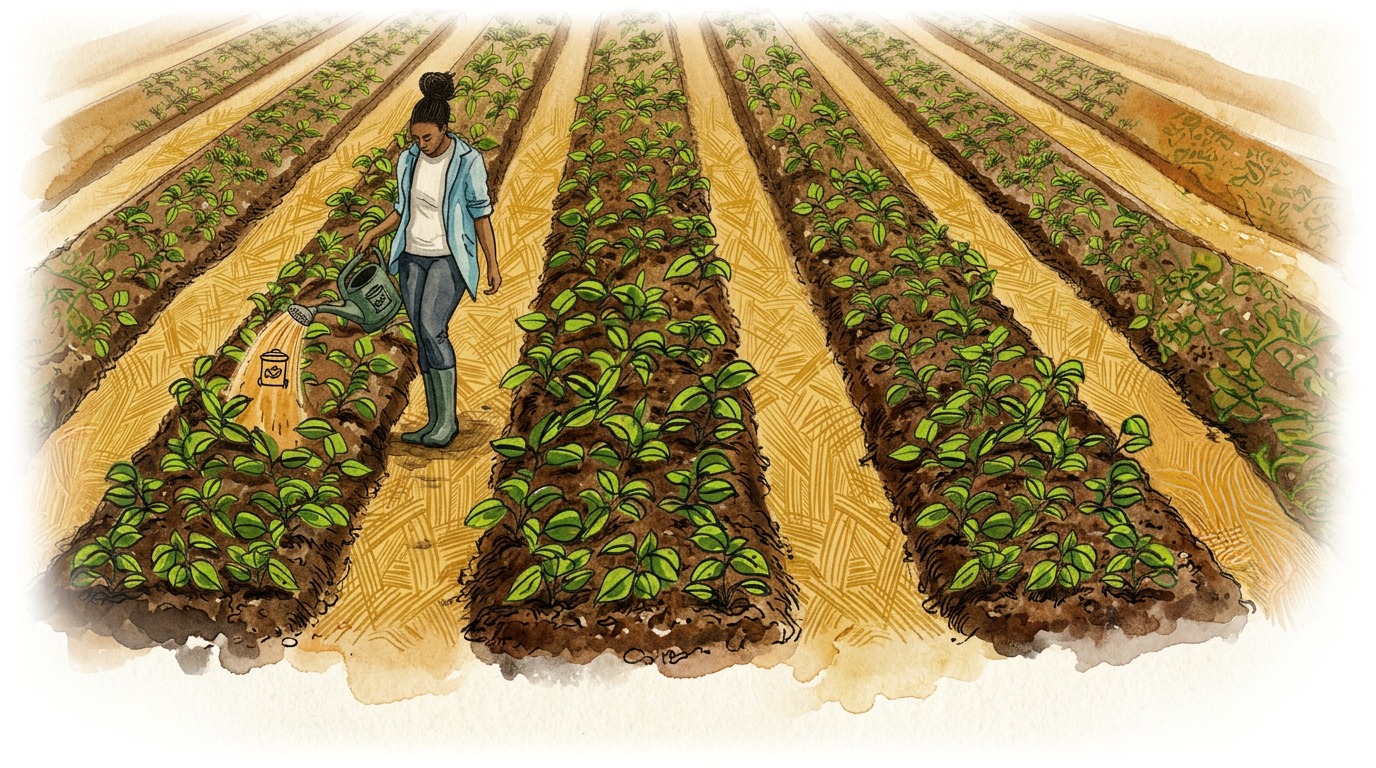
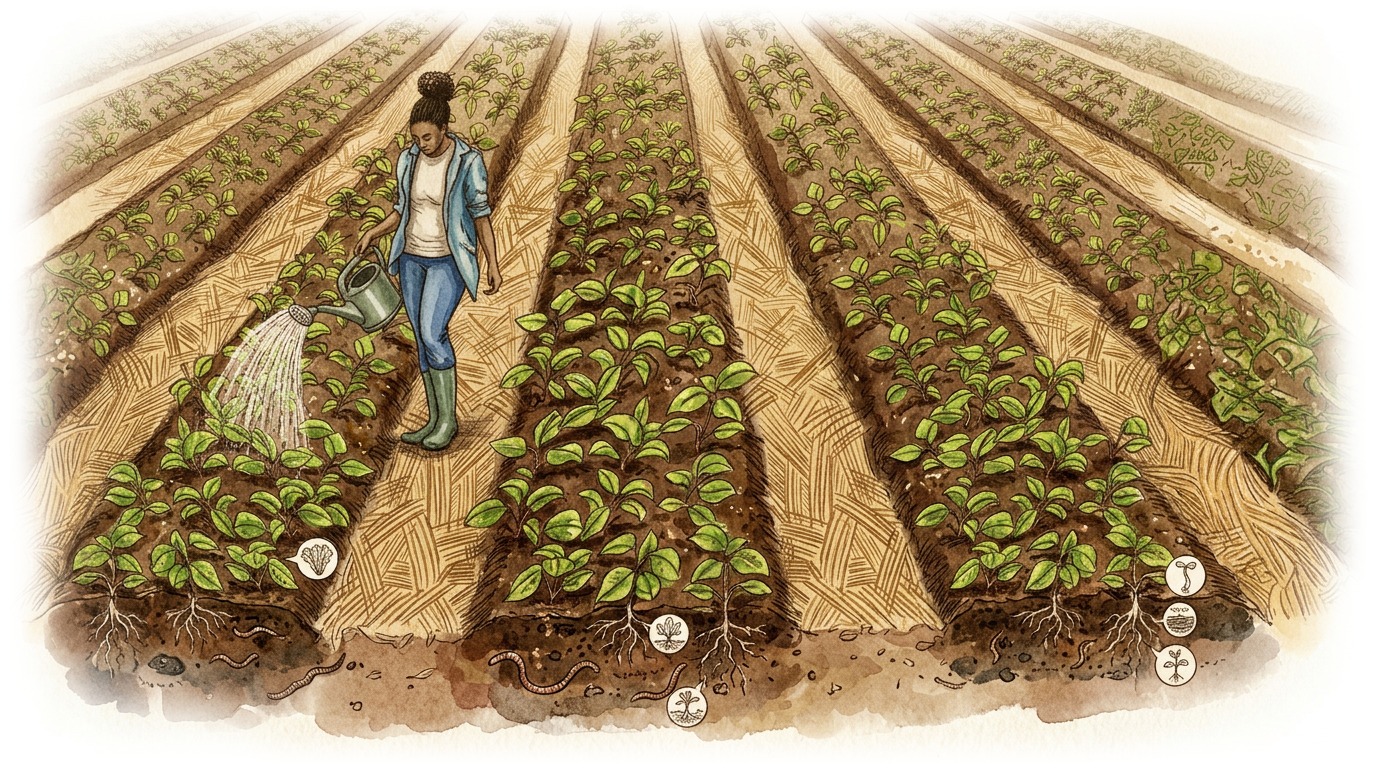
PARTIE 6 SUR 35 You will also need 5 buckets of cow dung or cow urine or soil or old compost, and the volume of a
You will also need 5 buckets of cow dung or cow urine or soil or old compost, and the volume of a

You will also need 5 buckets of cow dung or cow urine or soil or old compost, and the volume of a

100 kg bag of charcoal powder or charcoal remnants.

7
PARTIE 7 SUR 35 Compost setup is a 6-step process. If all materials are gathered, it's a job that takes no more
Compost setup is a 6-step process. If all materials are gathered, it's a job that takes no more

Compost setup is a 6-step process. If all materials are gathered, it's a job that takes no more

than one day for two people.

8
PARTIE 8 SUR 35 STEP 1: STARTING COMPOST PRODUCTION
STEP 1: STARTING COMPOST PRODUCTION

STEP 1: STARTING COMPOST PRODUCTION

STEP 1: STARTING COMPOST PRODUCTION

9
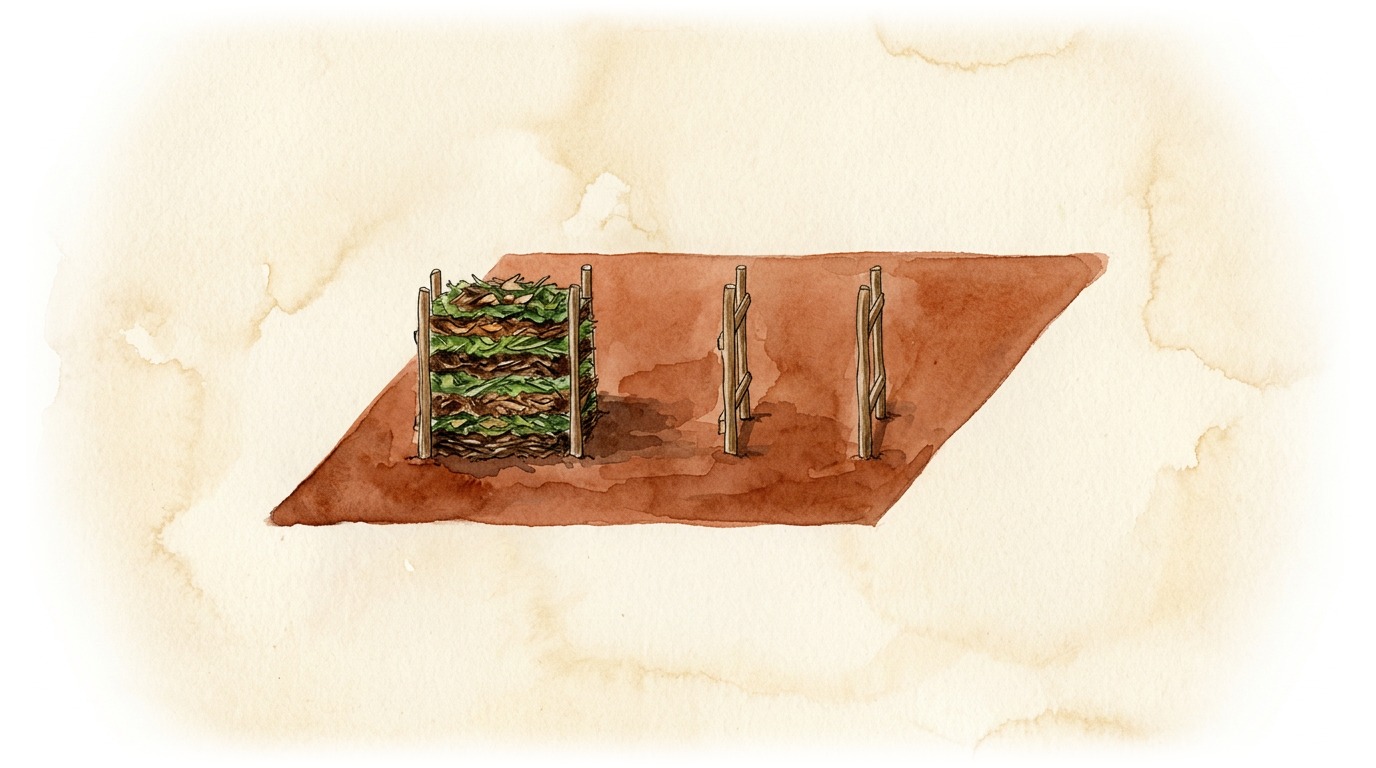
PARTIE 9 SUR 35 Layer brown and green materials alternately, adding a microorganism-rich starter after each layer
Layer brown and green materials alternately, adding a microorganism-rich starter after each layer

Layer brown and green materials alternately, adding a microorganism-rich starter after each layer

microorganisms: either cow dung or urine, or a bucket of old compost.

10
PARTIE 10 SUR 35 The first 30 cm layer is made with brown material. Sprinkle a bucket of one of the starters on top.
The first 30 cm layer is made with brown material. Sprinkle a bucket of one of the starters on top.

The first 30 cm layer is made with brown material. Sprinkle a bucket of one of the starters on top.

at your disposal.

11
PARTIE 11 SUR 35 The second 30 cm layer is made with green matter. Then sprinkle a bucket of your starter.
The second 30 cm layer is made with green matter. Then sprinkle a bucket of your starter.

The second 30 cm layer is made with green matter. Then sprinkle a bucket of your starter.

The second 30 cm layer is made with green matter. Then sprinkle a bucket of your starter.

12
PARTIE 12 SUR 35 Repeat the operation to obtain 5 to 6 layers of 30 cm, always finishing with the most readily available material
Repeat the operation to obtain 5 to 6 layers of 30 cm, always finishing with the most readily available material

Repeat the operation to obtain 5 to 6 layers of 30 cm, always finishing with the most readily available material

available.

13
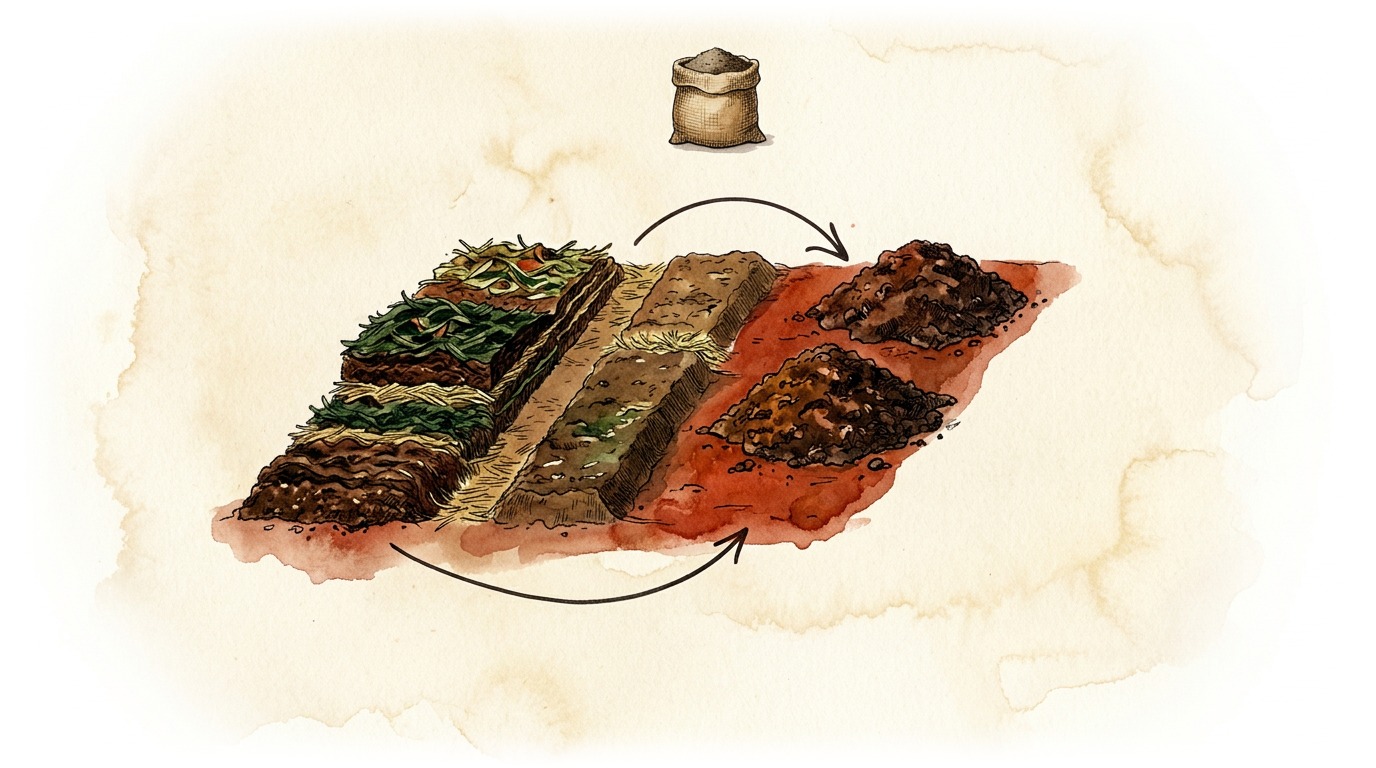
PARTIE 13 SUR 35 STEP 2: TRANSFER AND
STEP 2: TRANSFER AND

STEP 2: TRANSFER AND

MIX THE COMPOST

14
PARTIE 14 SUR 35 After 2-3 weeks, the raw organic matter has decreased in volume.
After 2-3 weeks, the raw organic matter has decreased in volume.

After 2-3 weeks, the raw organic matter has decreased in volume.

After 2-3 weeks, the raw organic matter has decreased in volume.

15
PARTIE 15 SUR 35 Using the shovel, transfer the compost to the 2nd compartment, adding half the bag of charcoal.
Using the shovel, transfer the compost to the 2nd compartment, adding half the bag of charcoal.

Using the shovel, transfer the compost to the 2nd compartment, adding half the bag of charcoal.

The outside should end up in the middle and the center on the outside.

16
PARTIE 16 SUR 35 Mix for a Homogeneous Pile
Mix for a Homogeneous Pile

Mix for a Homogeneous Pile

Mix for a homogeneous pile.

17
PARTIE 17 SUR 35 As soon as the 1st compartment is empty, restart compost production as seen in step 1.
As soon as the 1st compartment is empty, restart compost production as seen in step 1.

As soon as the 1st compartment is empty, restart compost production as seen in step 1.

As soon as the 1st compartment is empty, restart compost production as seen in step 1.

18
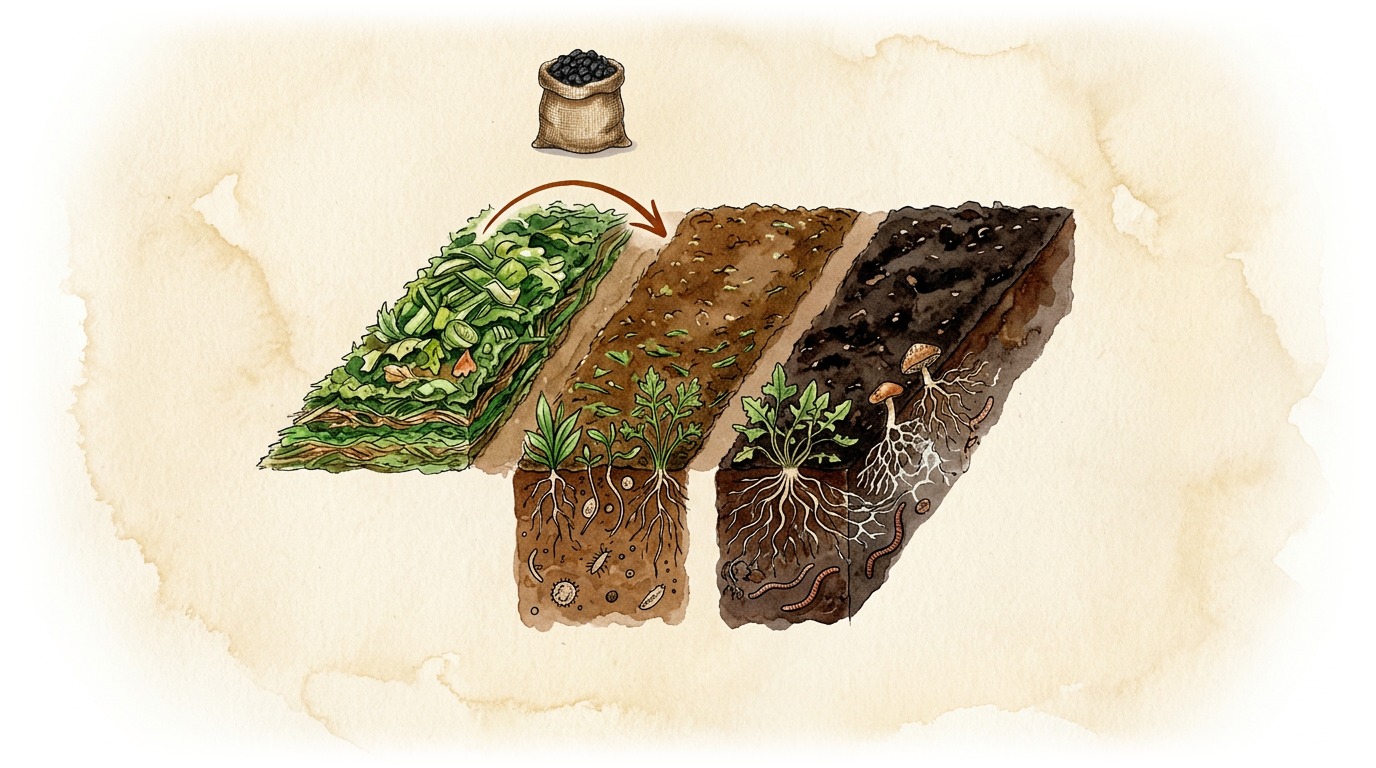
PARTIE 18 SUR 35 STEP 3: FINALIZING THE COMPOST
STEP 3: FINALIZING THE COMPOST

STEP 3: FINALIZING THE COMPOST

STEP 3: FINALIZING THE COMPOST

19
PARTIE 19 SUR 35 After 2-3 weeks, the compost in the 2nd compartment has reduced in volume.
After 2-3 weeks, the compost in the 2nd compartment has reduced in volume.

After 2-3 weeks, the compost in the 2nd compartment has reduced in volume.

After 2-3 weeks, the compost in the 2nd compartment has reduced in volume.

20
PARTIE 20 SUR 35 Transfer it to the 3rd compartment using the second half of the charcoal bag. The parts
Transfer it to the 3rd compartment using the second half of the charcoal bag. The parts

Transfer it to the 3rd compartment using the second half of the charcoal bag. The parts

outside should end up in the middle and vice versa. The mixture must be very homogeneous at the end.

21
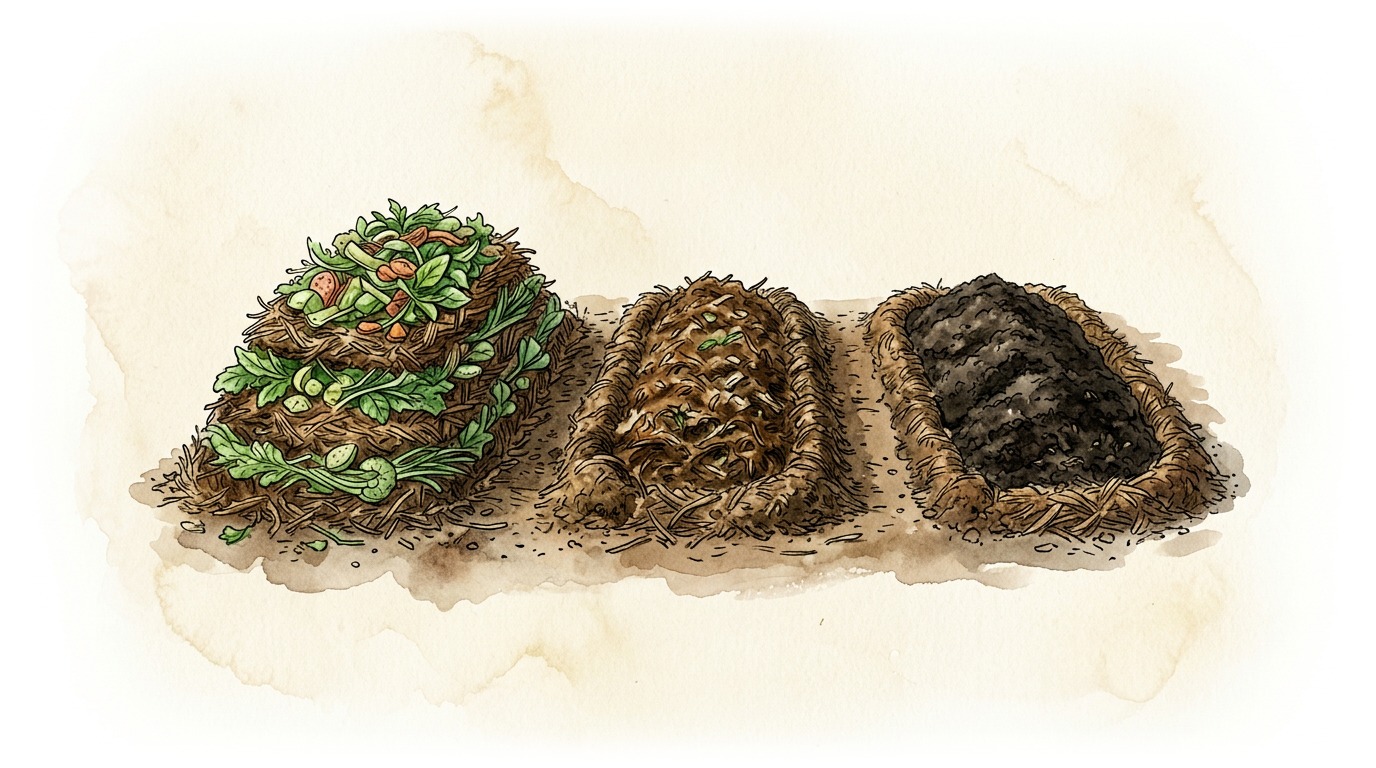
PARTIE 21 SUR 35 As in Step 2, transfer the 1st compartment into the 2nd, adding half a bag of charcoal.
As in Step 2, transfer the 1st compartment into the 2nd, adding half a bag of charcoal.

As in Step 2, transfer the 1st compartment into the 2nd, adding half a bag of charcoal.

As in Step 2, transfer the 1st compartment into the 2nd, adding half a bag of charcoal.

22
PARTIE 22 SUR 35 When the first compartment is free: stack the ingredients again.
When the first compartment is free: stack the ingredients again.

When the first compartment is free: stack the ingredients again.

When the first compartment is free: stack the ingredients again.

23
PARTIE 23 SUR 35 After 2-3 weeks, empty the 2nd compartment into the 3rd and the 1st into the 2nd.
After 2-3 weeks, empty the 2nd compartment into the 3rd and the 1st into the 2nd.

After 2-3 weeks, empty the 2nd compartment into the 3rd and the 1st into the 2nd.

When the 1st compartment is empty, stack the ingredients again. And so on.

24
PARTIE 24 SUR 35 STEP 4: CONTINUE FEEDING THE
STEP 4: CONTINUE FEEDING THE

STEP 4: CONTINUE FEEDING THE

COMPOST PILE

25
PARTIE 25 SUR 35 Now that you know the winter composting technique, repeat these operations throughout the winter
Now that you know the winter composting technique, repeat these operations throughout the winter

Now that you know the winter composting technique, repeat these operations throughout the winter

until you obtain 5 m3 of compost.

26
PARTIE 26 SUR 35 STEP 5: PREPARING COMPOST TEA
STEP 5: PREPARING COMPOST TEA

STEP 5: PREPARING COMPOST TEA

STEP 5: PREPARING COMPOST TEA

27
PARTIE 27 SUR 35 x2
x2

x2

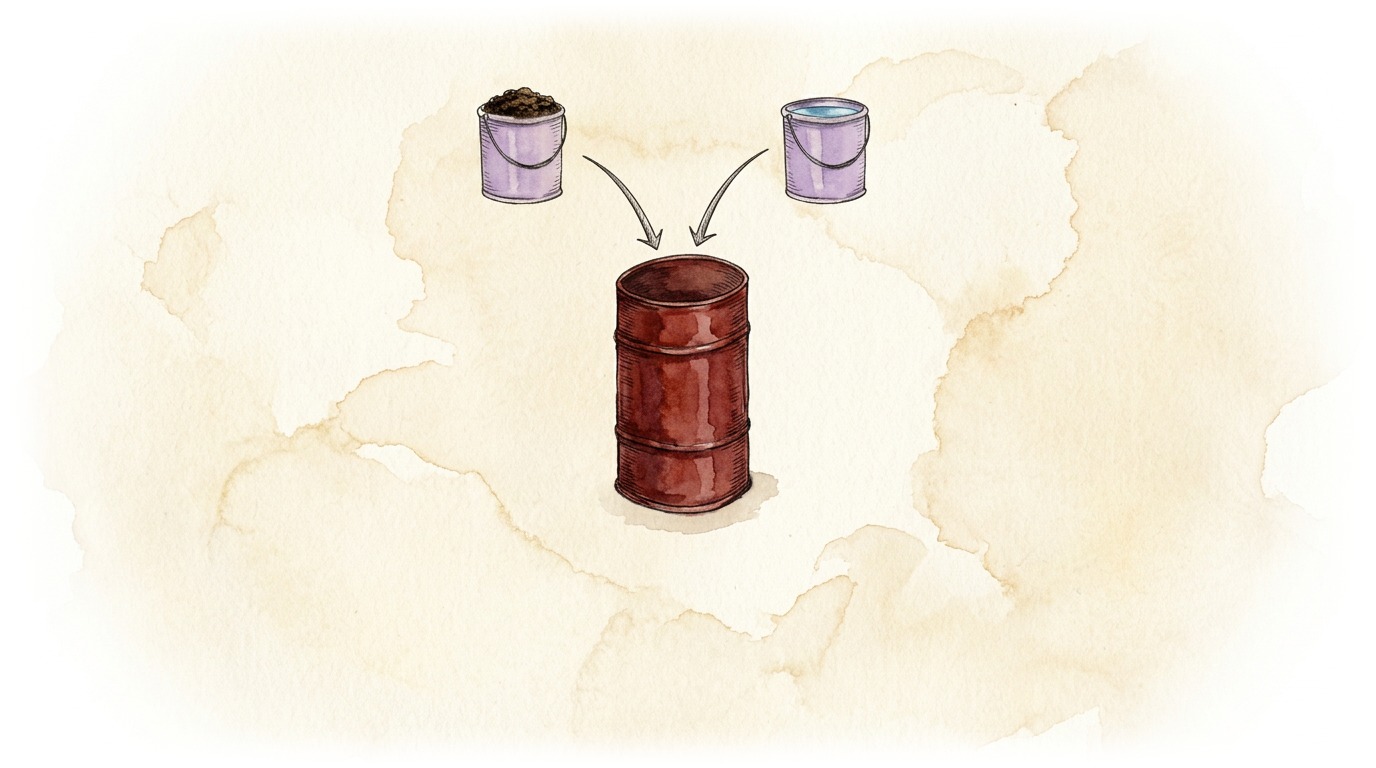
x 20 Put 2 buckets of compost into the barrel and add twenty buckets of rainwater, forage water, or well water. Avoid using tap water, which may contain a disinfectant.

28
PARTIE 28 SUR 35 x3
x3

x3

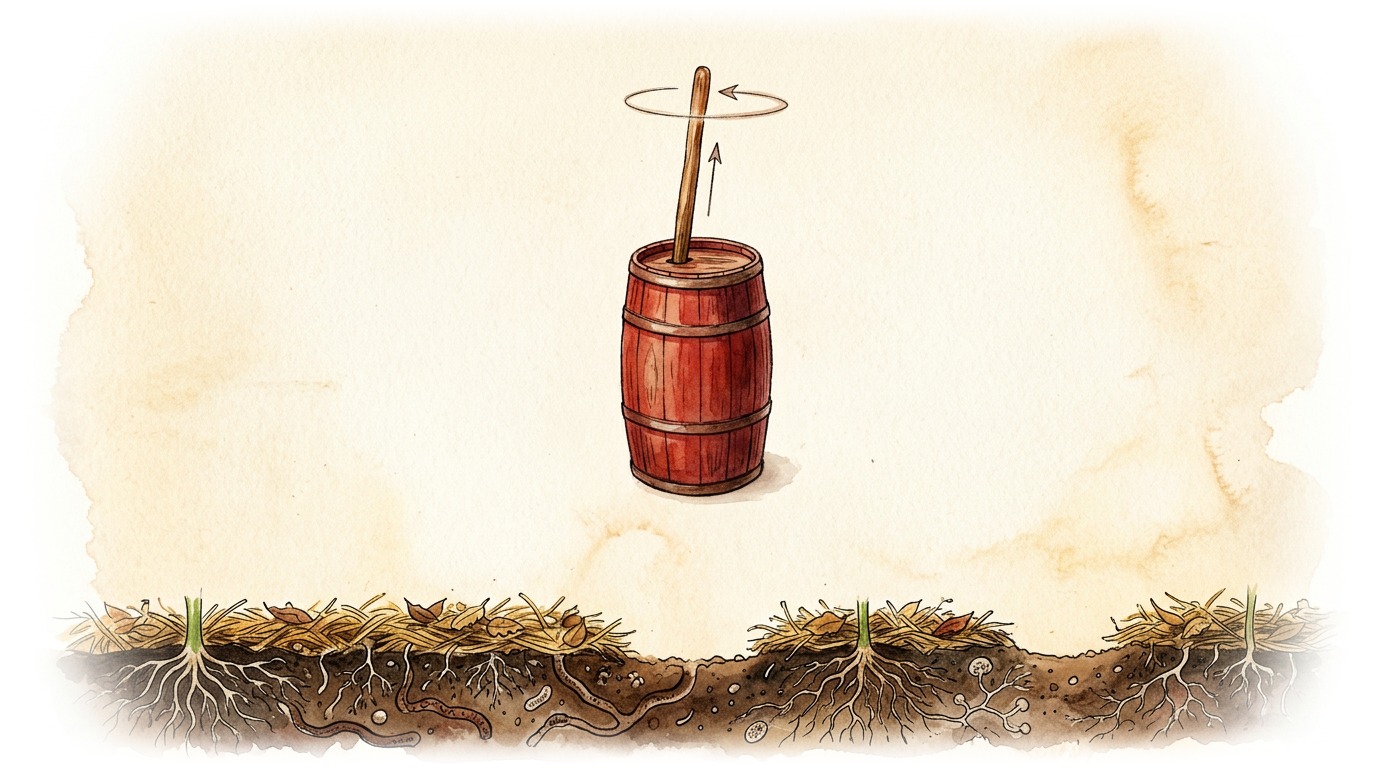
Stir the mixture 3 times.

After 3 days, your compost tea is ready to use.

29
PARTIE 29 SUR 35 STEP 6: USING COMPOST
STEP 6: USING COMPOST

STEP 6: USING COMPOST

STEP 6: USING COMPOST

30
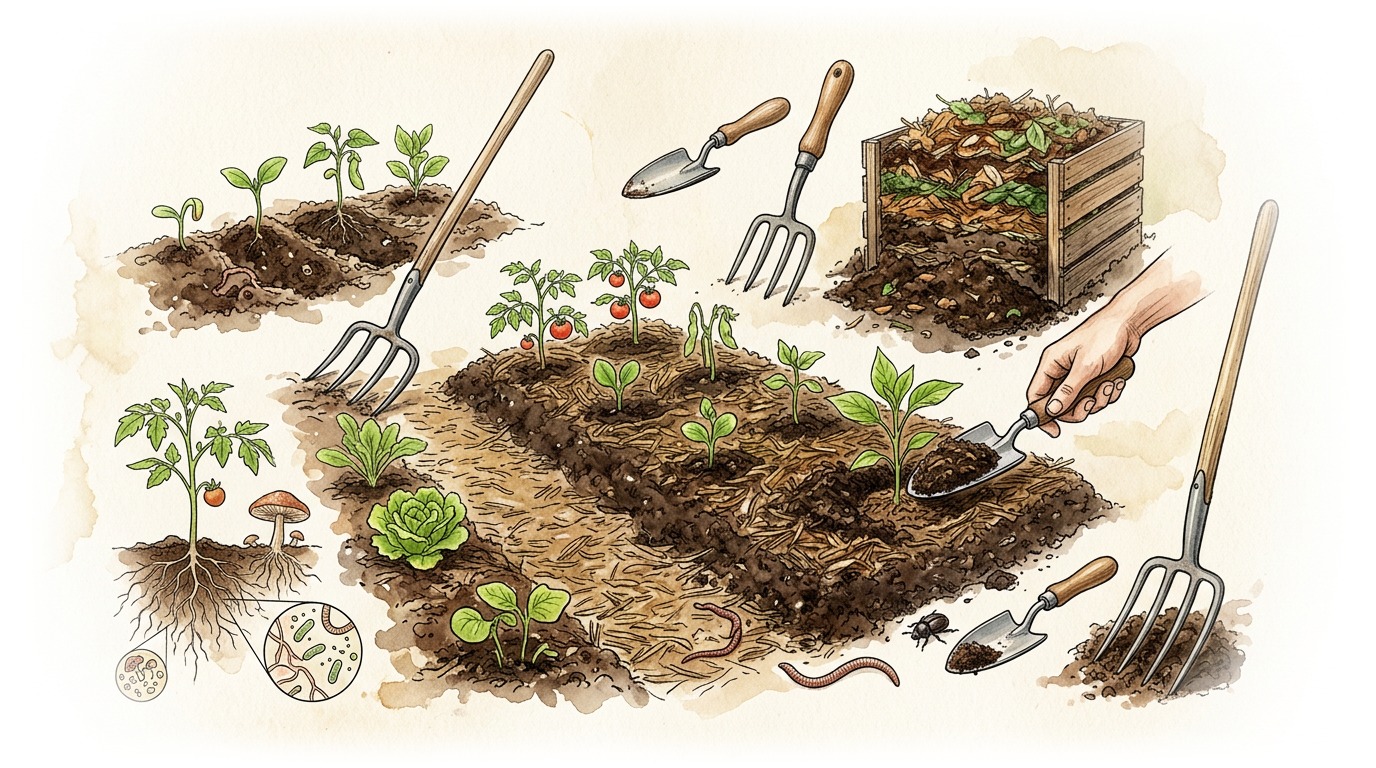
PARTIE 30 SUR 35 Compost and compost tea can be used at different stages of the cropping cycle.
Compost and compost tea can be used at different stages of the cropping cycle.

Compost and compost tea can be used at different stages of the cropping cycle.

Compost and compost tea can be used at different stages of the cropping cycle.

31
PARTIE 31 SUR 35 Apply compost as an amendment to the beds to prepare the crop beds.
Apply compost as an amendment to the beds to prepare the crop beds.

Apply compost as an amendment to the beds to prepare the crop beds.

Apply compost as an amendment to the beds to prepare the crop beds.

32
PARTIE 32 SUR 35 Spray compost tea on the soil when flowering begins.
Spray compost tea on the soil when flowering begins.

Spray compost tea on the soil when flowering begins.

Spray compost tea on the soil when flowering begins.

33
PARTIE 33 SUR 35 Spray compost juice on the soil when fruits and vegetables start to grow.
Spray compost juice on the soil when fruits and vegetables start to grow.

Spray compost juice on the soil when fruits and vegetables start to grow.

Spray compost juice on the soil when fruits and vegetables start to grow.

34
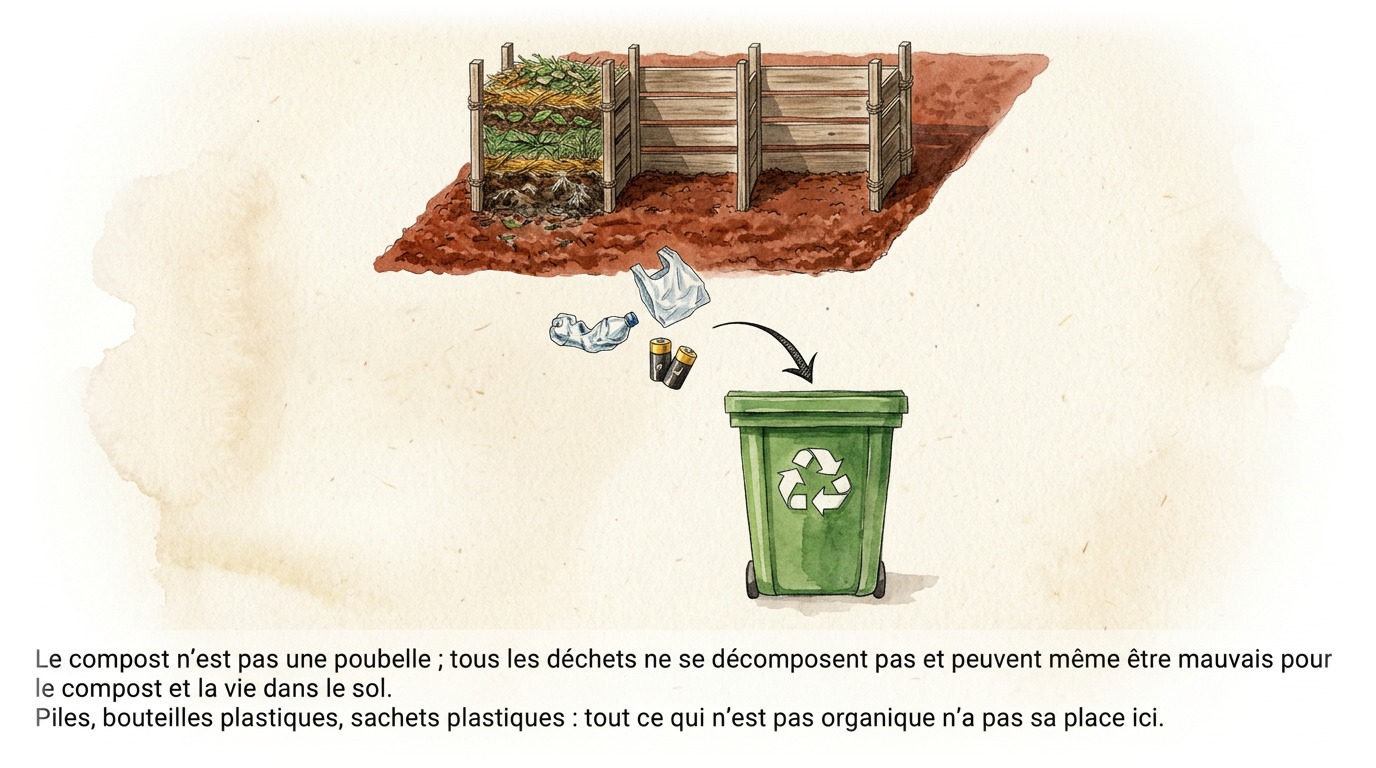
PARTIE 34 SUR 35 Compost is not a trash can; not all waste decomposes and can even be bad for
Compost is not a trash can; not all waste decomposes and can even be bad for

Compost is not a trash can; not all waste decomposes and can even be bad for

compost and soil life.

Batteries, plastic bottles, plastic bags: anything that is not organic does not belong here.

35
PARTIE 35 SUR 35 Congratulations! You now know the technique for making your winter compost and using it in your
Congratulations! You now know the technique for making your winter compost and using it in your
Congratulations! You now know the technique for making your winter compost and using it in your
intensive organic market gardening crops in living soil.